
Growing Wheatgrass Trays
Growing Wheatgrass can be a terrific way to provide your bun with fresh greens year round. Wheatgrass is extremely high in beta-carotene, high in the B-complex vitamins, vitamins E and K, phosphorus, magnesium, potassium, protein, and other nutrients. It also contains large amounts of silicates that will help wear a rabbit’s teeth. Fresh-grown wheatgrass, if it is not washed before giving it to the rabbit, also provides a source of vitamin B12, which is produced by bacteria that adheres to the grass blades.
These first steps apply to both growing methods
Measure out your seeds - I usually do 3/4 - 1c at a time.
As a rule of thumb, use about 1 cup (225 g), of wheatgrass seeds per tray. You can store seeds in a cool, dark, dry spot for up to 2 years, so spoilage isn’t a major concern.

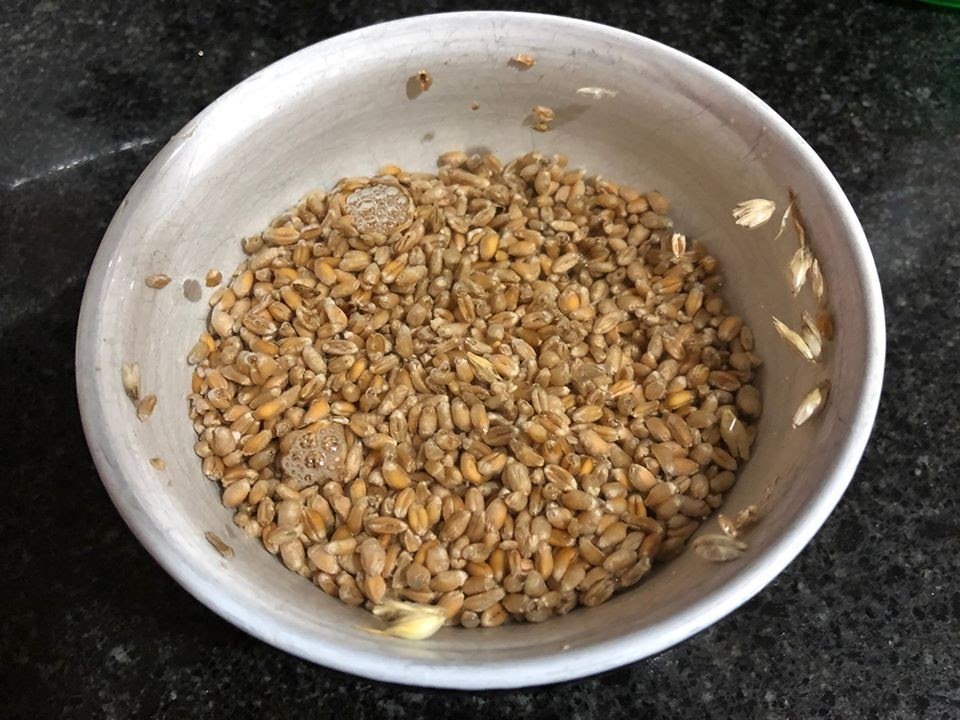
Drain and rinse well using a sieve by filling the container with water, invert it and let the water drain through the mesh, leaving it upside down or tip into a sieve and rinse well, placing the sieve over the bowl and leaving it to drain.
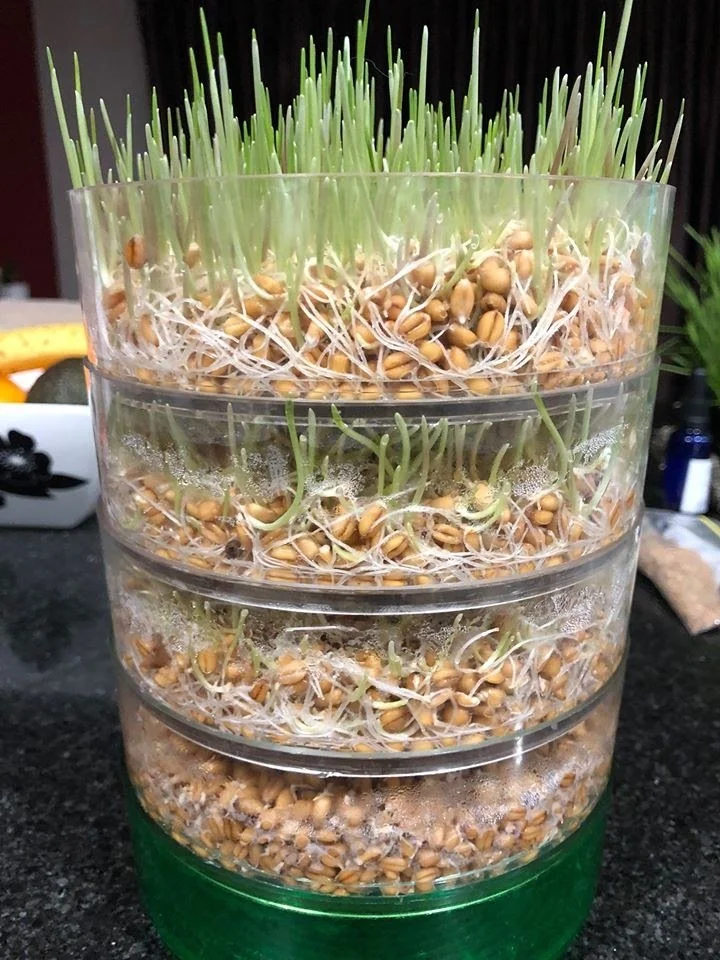
I’ve also played with growing the seeds to the ‘well sprouted really to plant stage’ in a sprouting tower. This worked quite well however the quantity you can start on each day is smaller.To use this method, place the seeds in the lowest tray once they have had their initial overnight soak and then move the lowest tray up one place every day. Once it reaches the top level, then either plant onto soil for grow on in a soil free container.
Growing with Soil -
This is a soil based technique that is reliable and effective.
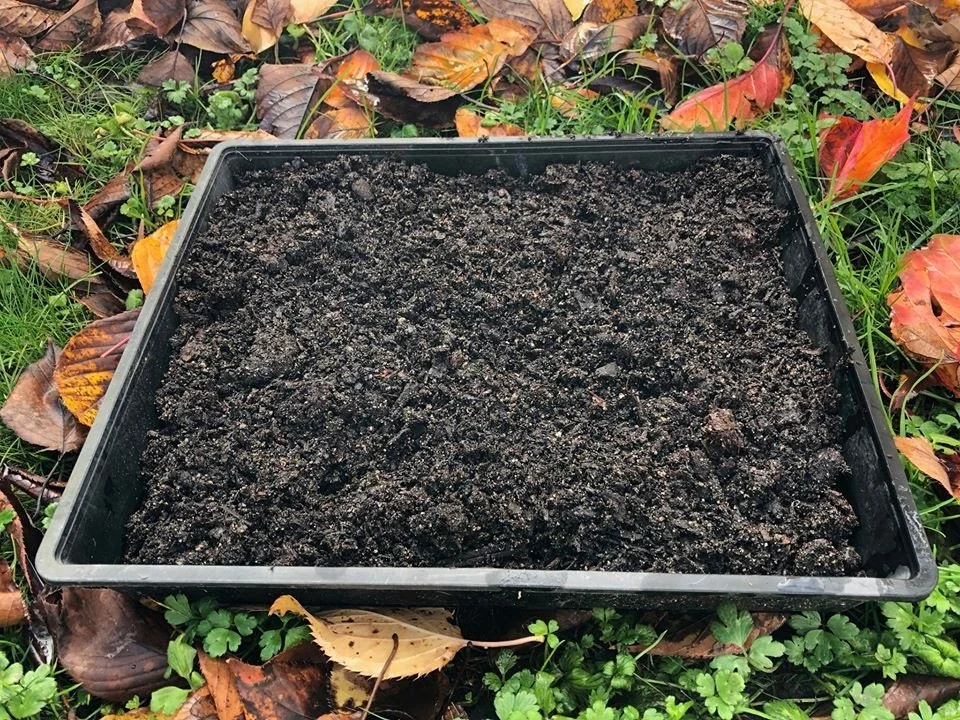
The next step is to prepare the planting trays. Use a low-sided tray, cat litter tray or any other shallow container - with drainage holes drilled in it. Fill your chosen tray with about 3-5cm of dirt. I use organic potting mix, but you can use any good garden or natural soil. If using a seedling tray I line the tray with paper towels first to stop the soil falling through the drainage holes. Moisten the dirt well before spreading the seeds on top of the dirt. Spray the filled trays lightly with water and cover with another of whatever container you are using.
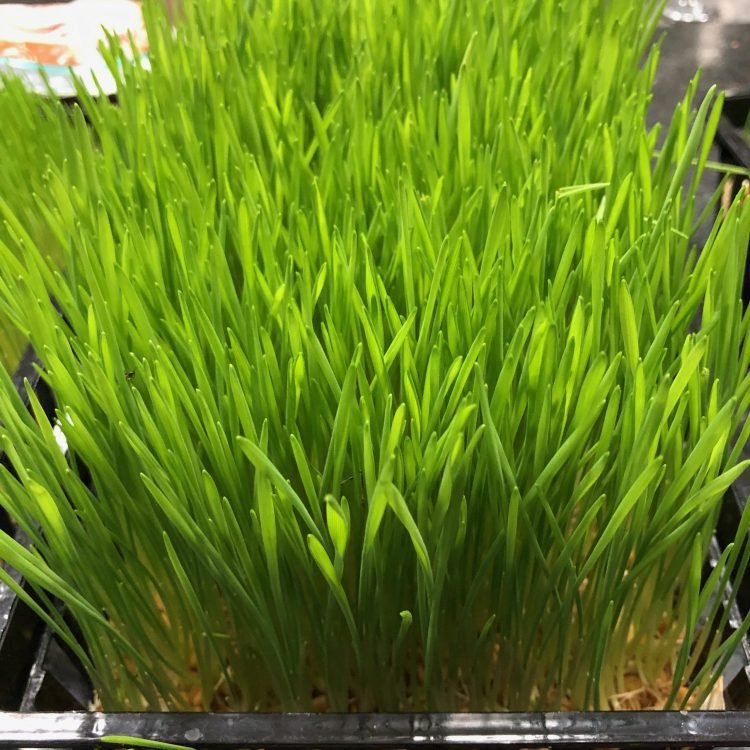
Place the planting trays in an area away from direct sunlight. Check daily until you see the grass growing (1–3 days), then remove the top and let the grass get a little sunlight to stimulate chlorophyll production. Keep the trays moist, but not soaked. There is always the possibility of mould, depending upon growing location, so it is better to under-water than over-water. (Should mould develop on the bottom of your grass mat throw it away and start over, keeping it less moist.)
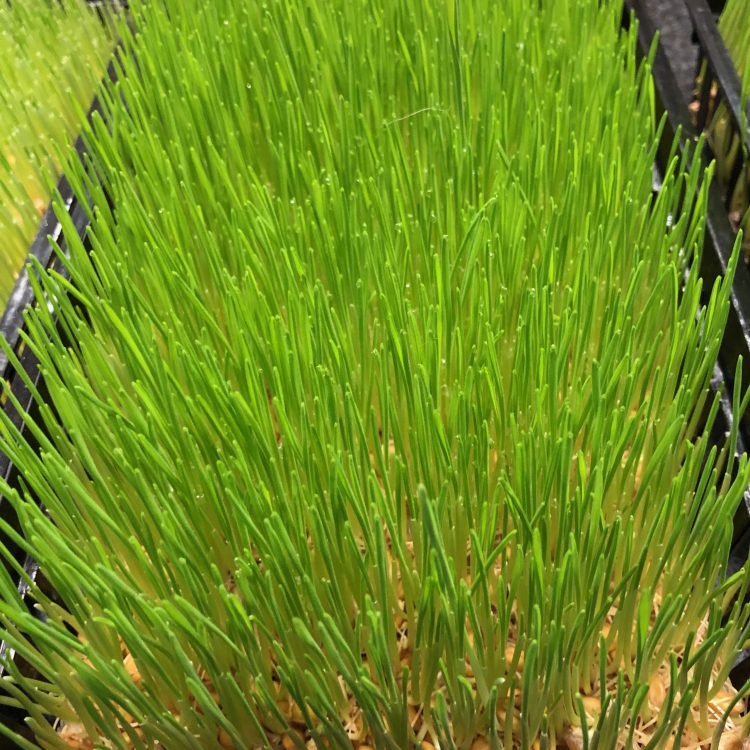
The grass usually grows up to about 10-15cm a week so after a week it should be ready for the first harvest. You can put the tray down on the floor and let your bunny graze to his heart’s content! Or, if you wish to harvest the grass you can now cut the grass down to just above the soil surface.
After harvesting the grass the first time, you can place the tray back in the growing area, and after a few days the grass mat will be ready for a second harvest, and even a third. After you are done you can compost your leftover wheatgrass mat or plant it outside , where it may even come up once again.
Growing without Soil
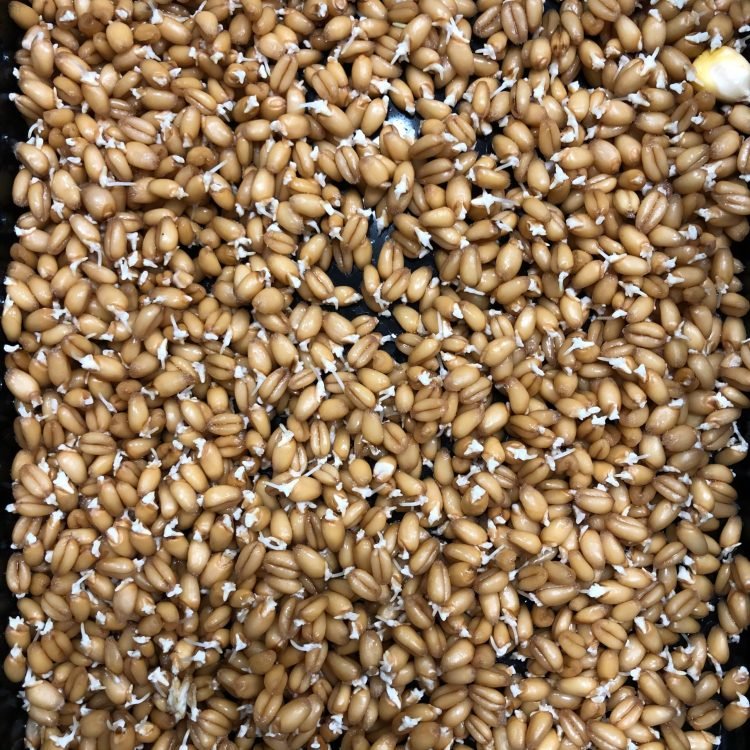
Growing Wheatgrass without soil is similar to the first method. First you need to use the exact same method to get to your sprouting wheat stage.
This is where the fun starts with this method!
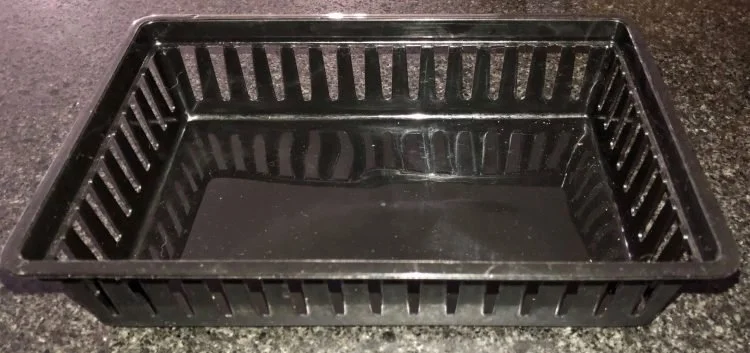
Choose shallow containers that have open drainage on the sides - I use the shallow tray shown, which I get from Countdown.
Put a layer of sprouted seeds into this container, fill the base with water, let it soak for a few minutes then using your fingers as a ‘strainer’ tip the container over to the side and allow it to drain. You can place another of the same containers on top of this to help keep it dark and retain moisture.
Rinse the tray a couple of times a day and keep it in a semi dark area.
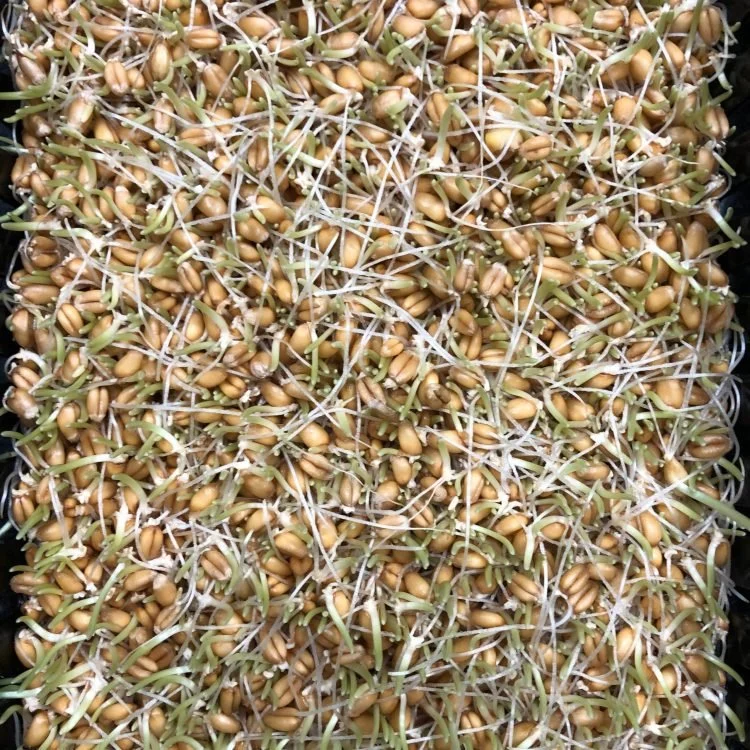
Over the next few days the sprouts will grow and once they are around 2cm tall take off the covering tray and let them do their thing.

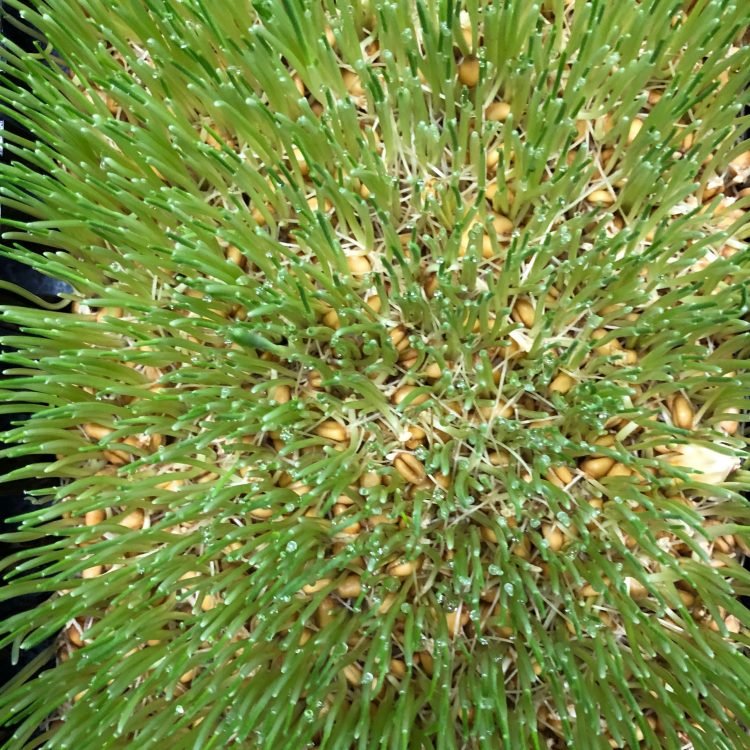
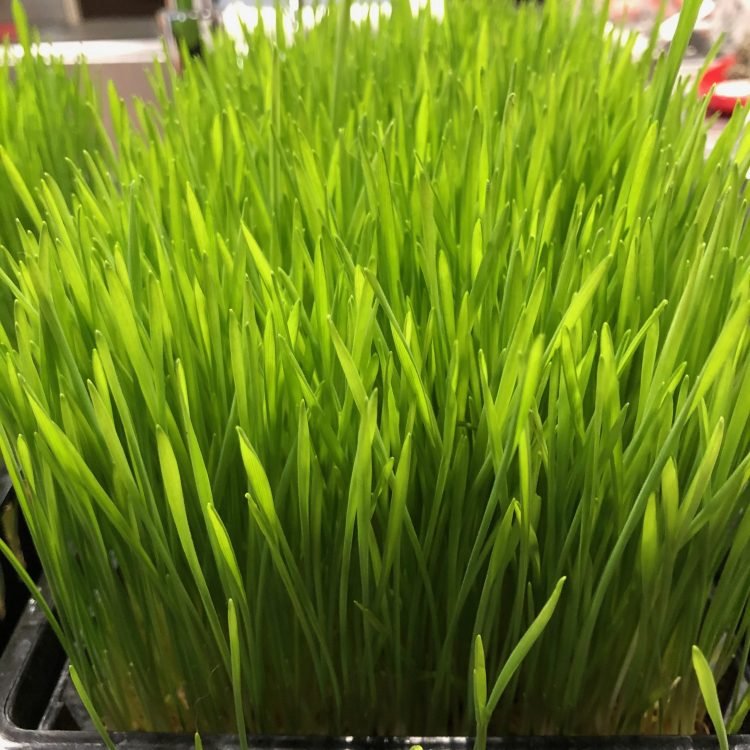
Once they are around 8cm tall place the tray in a light area to allow the Chlorophyll to develop.
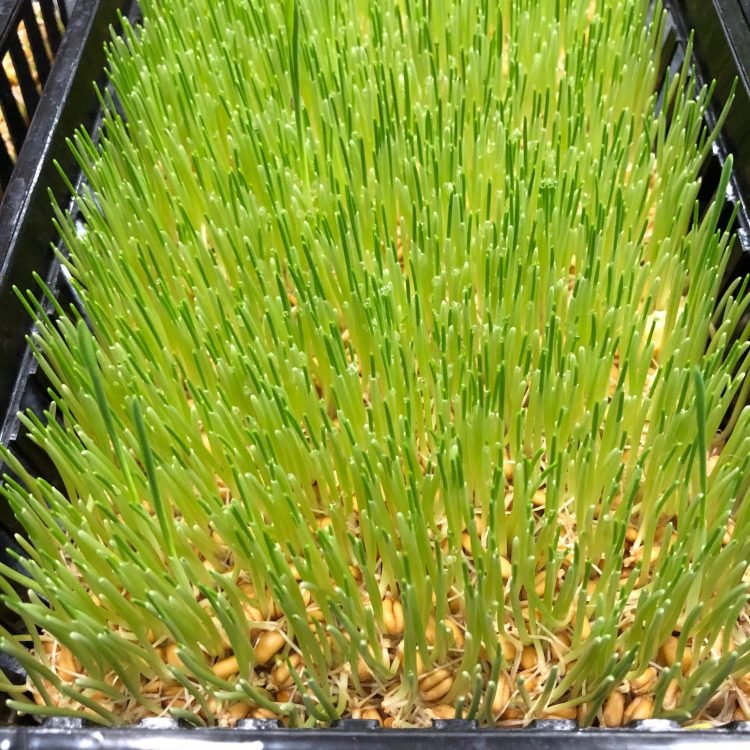
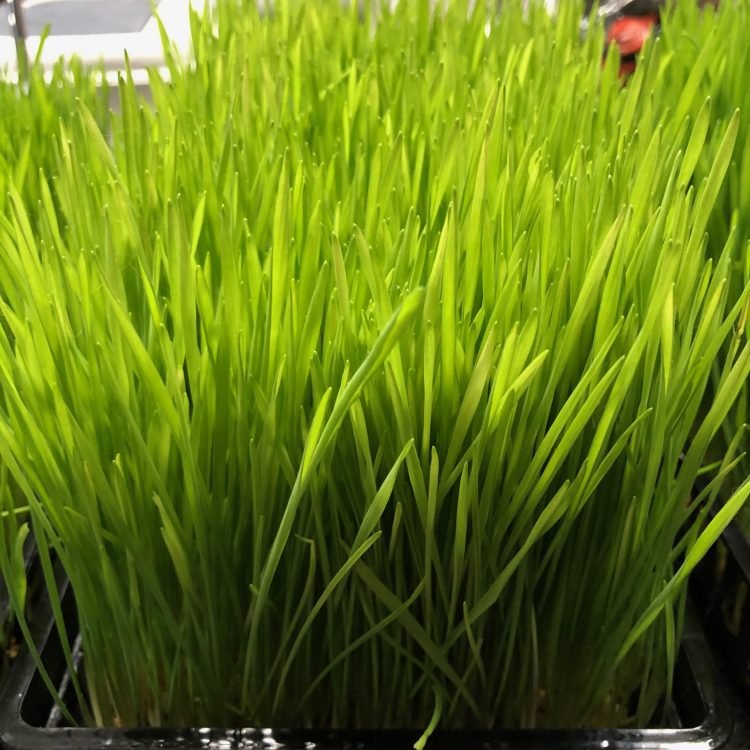
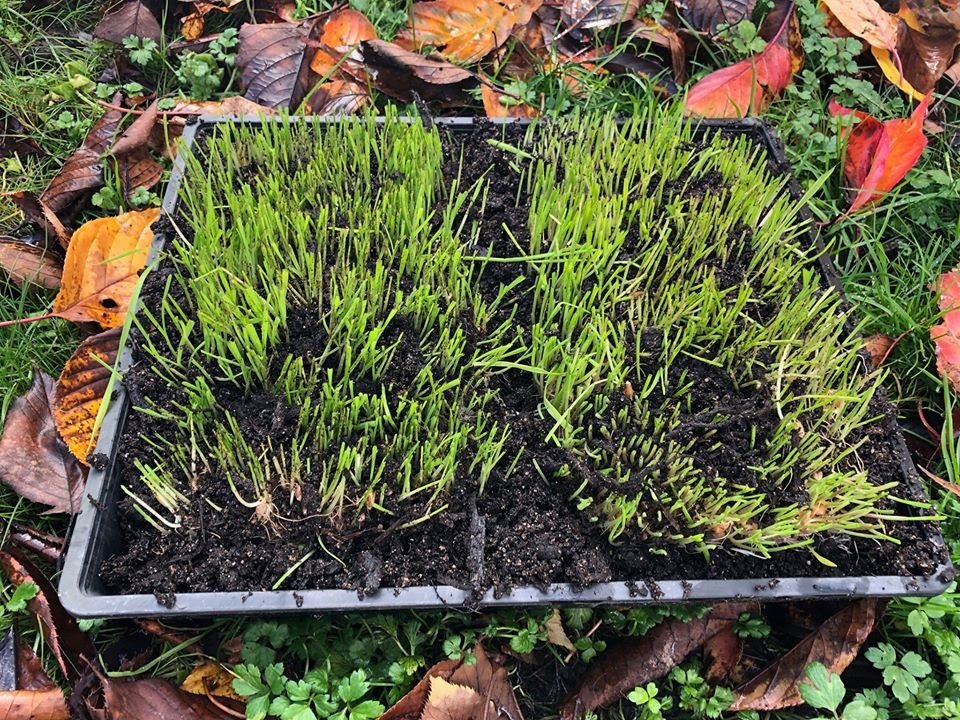
If you want a continual harvest you can start a new tray every day so that you have a constant supply. I have found you can harvest and regrow even with the soil free method, at least once. The photo below shows a series of trays growing on my bench in mid winter with minimal natural light. The longest tray is about 10 days old and is ready to harvest.

Some folks feed the whole thing - seed mat and all, but I worry about mould so prefer to pick the grass only.
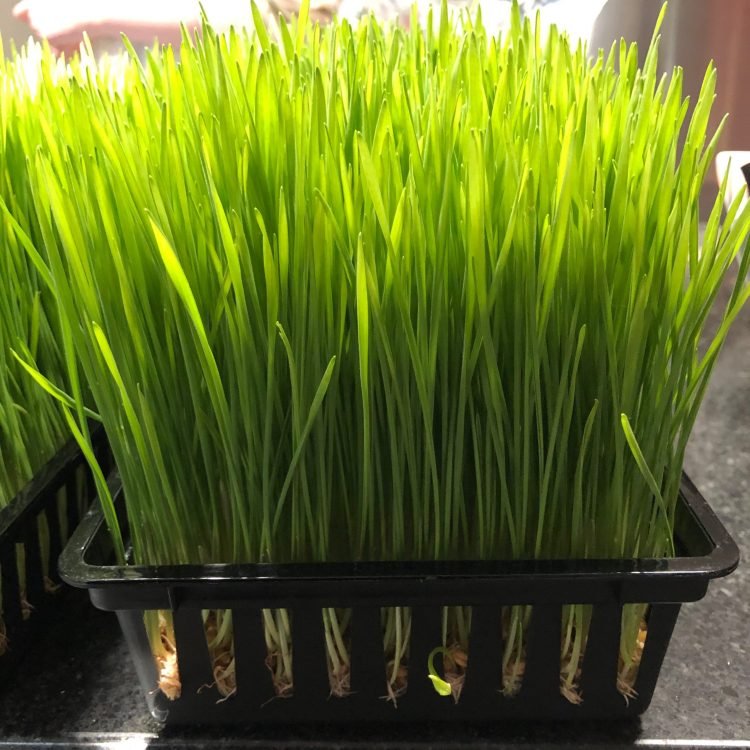
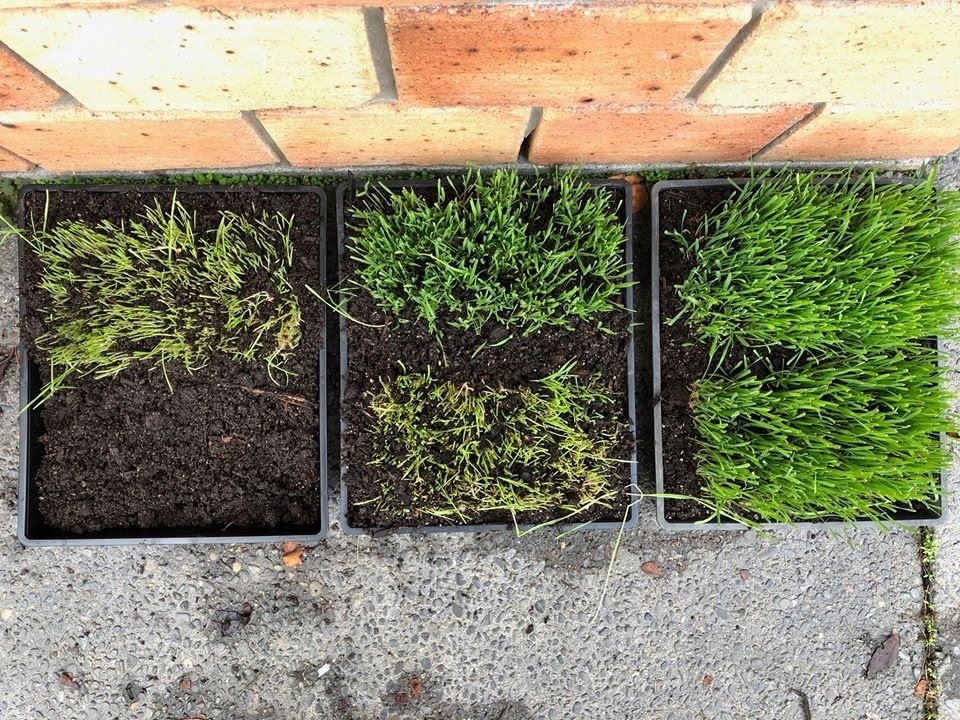
After a soil free tray has been harvested, I do one further step to get even more grass from the seed mat that will now have formed. This is a really good thing to do during the winter. Mine will grow like this outside in a warm spot (mine are on concrete with bricks behind them, in full light) right through the winter, further extending the harvest I get from my seeds.
Fill a seedling tray about 2/3 full with good quality potting mix, then place the seed mat on one 1/2 of the tray, on top of the soil. Fill in around the sides with more potting mix. The next day do the same with the next seed mat and fill in around it as well.
Hoppy Sowing and Growing!
Copyright ©️ Jen Herd/Westley’s World 2020