
Original WW Snuggle Box Cutting & Construction Guide
The following notes correspond to our The Westley's World Snuggle Box Plans .
The plans and this Construction Guide are free for you to access. They are the result of hundreds of hours of voluntary work by multiple volunteers. Our goal is to make it easier for everyone to have access to quality housing for their rabbits.

SNUGGLE BOX CUTTING GUIDE
FRONT PAGE - Simple Rabbit hutch - from 2 sheets of approx 18mm Plywood
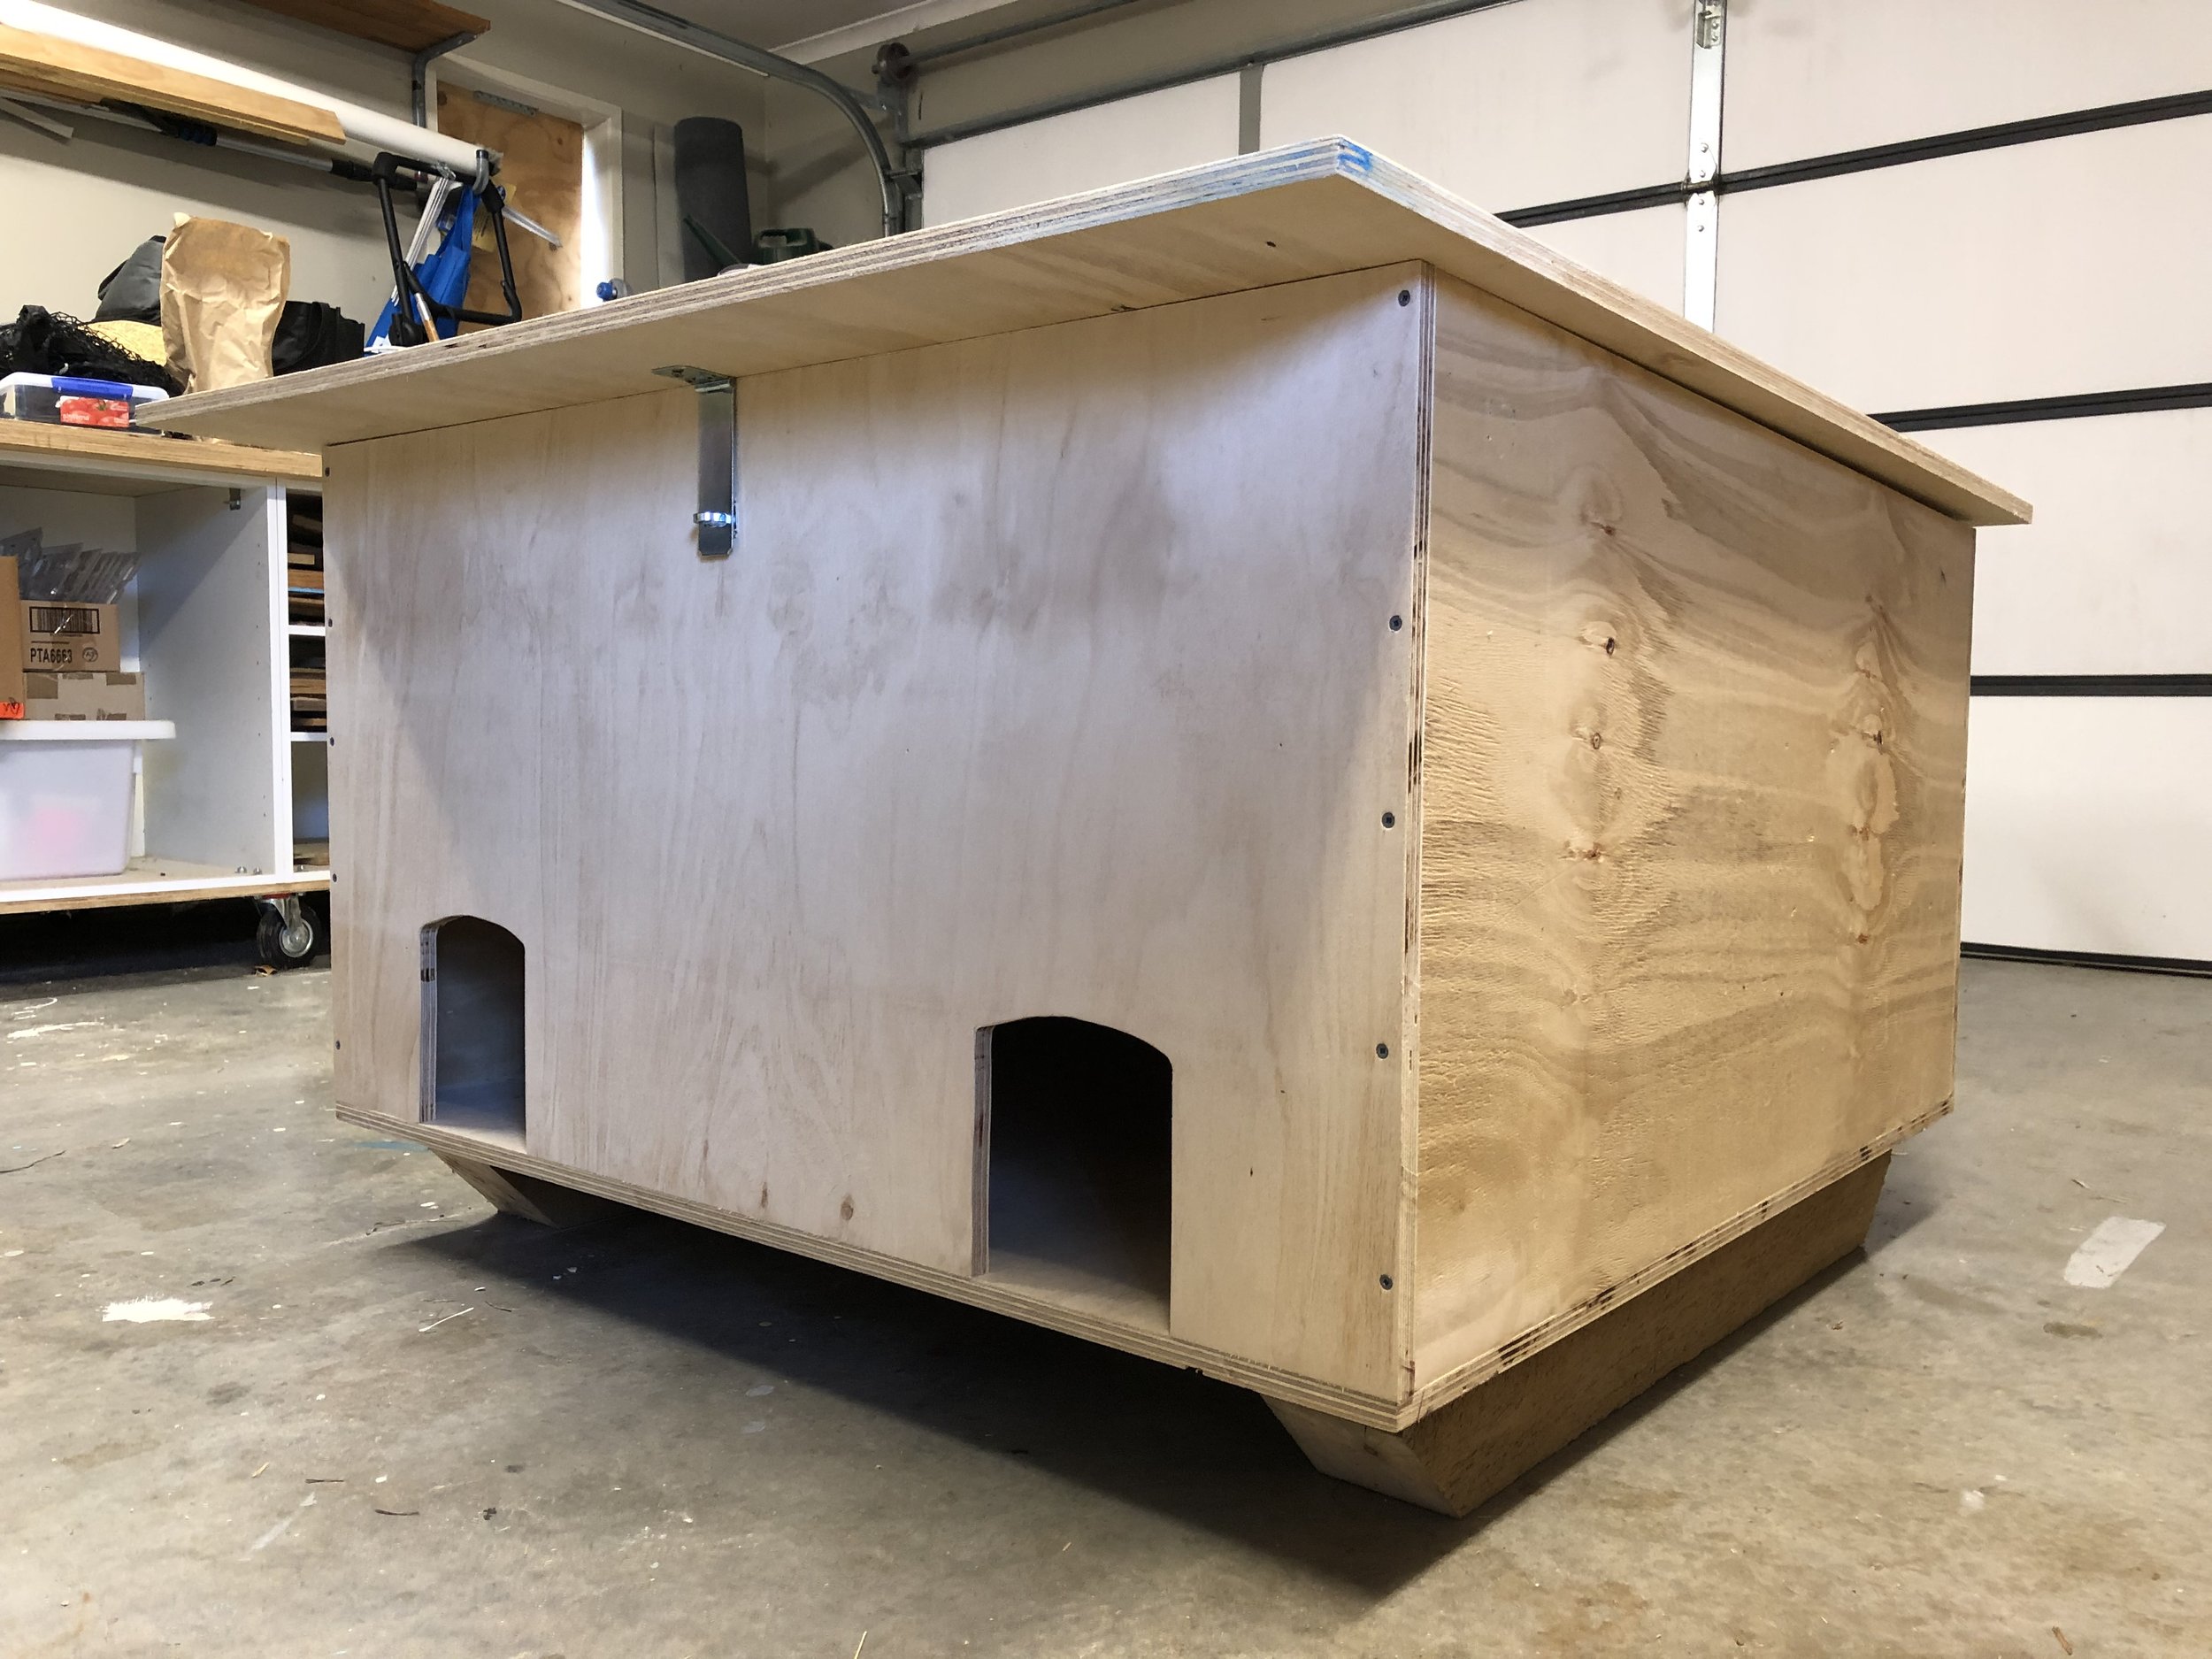
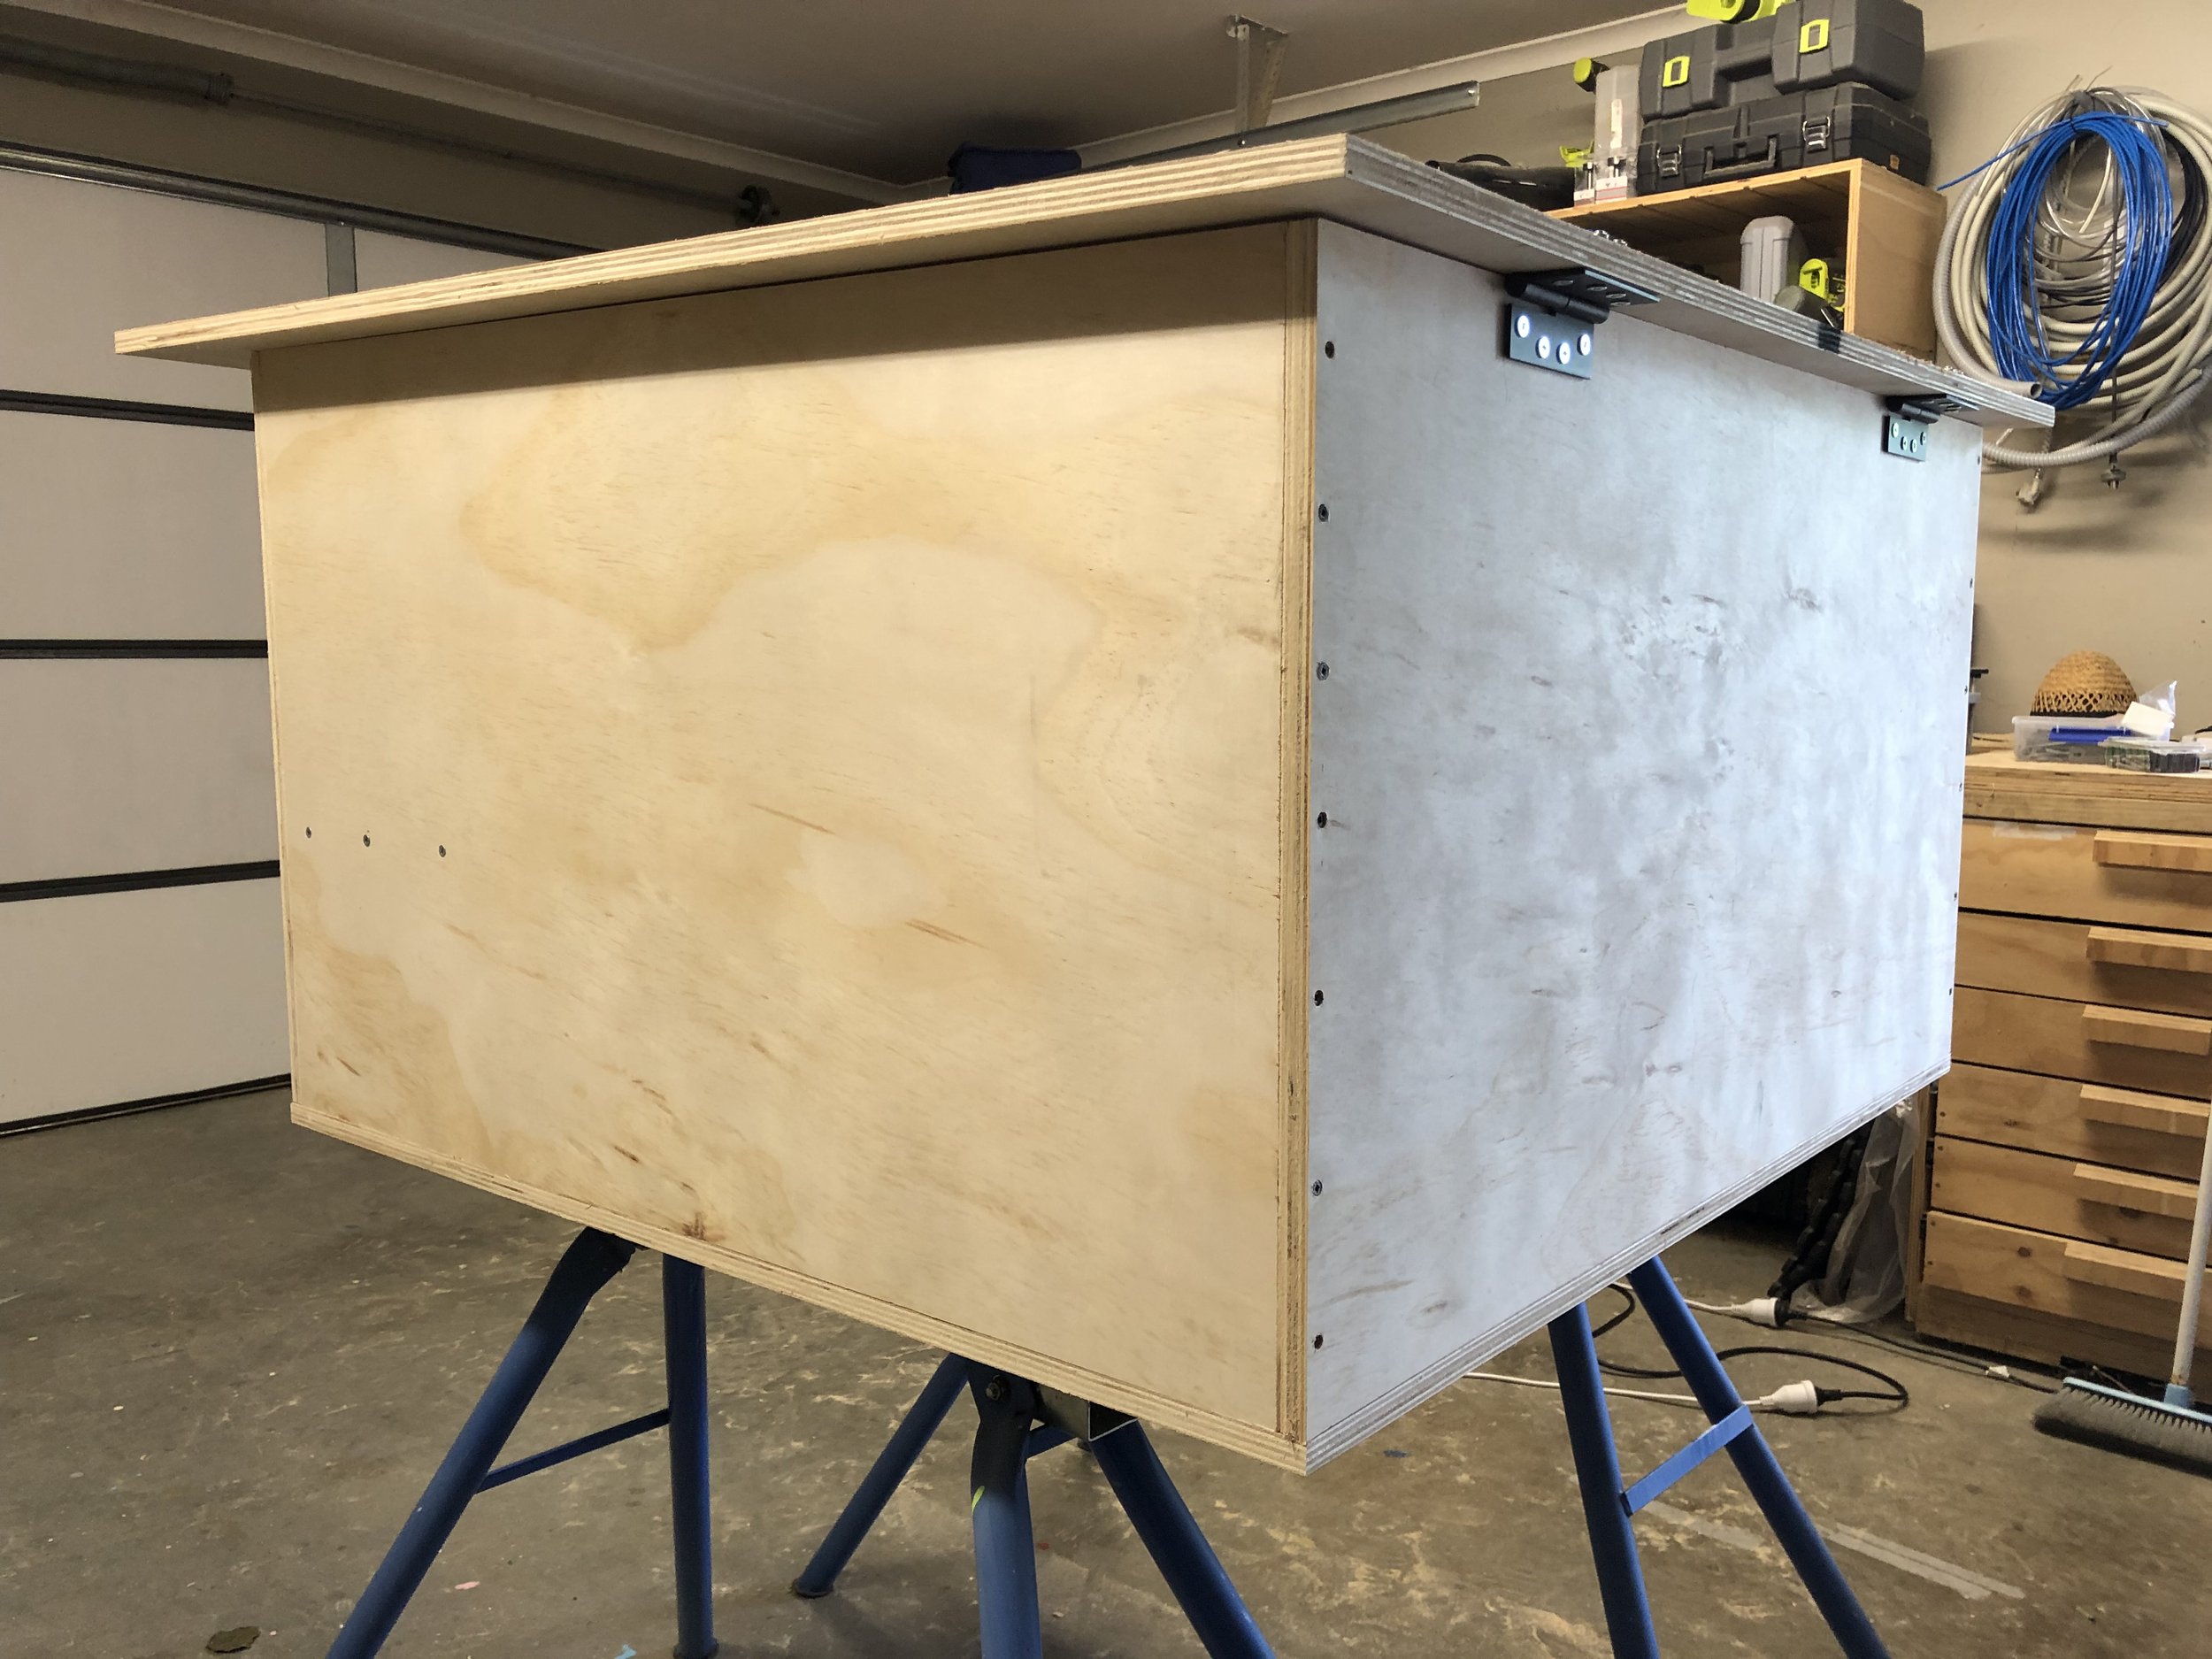
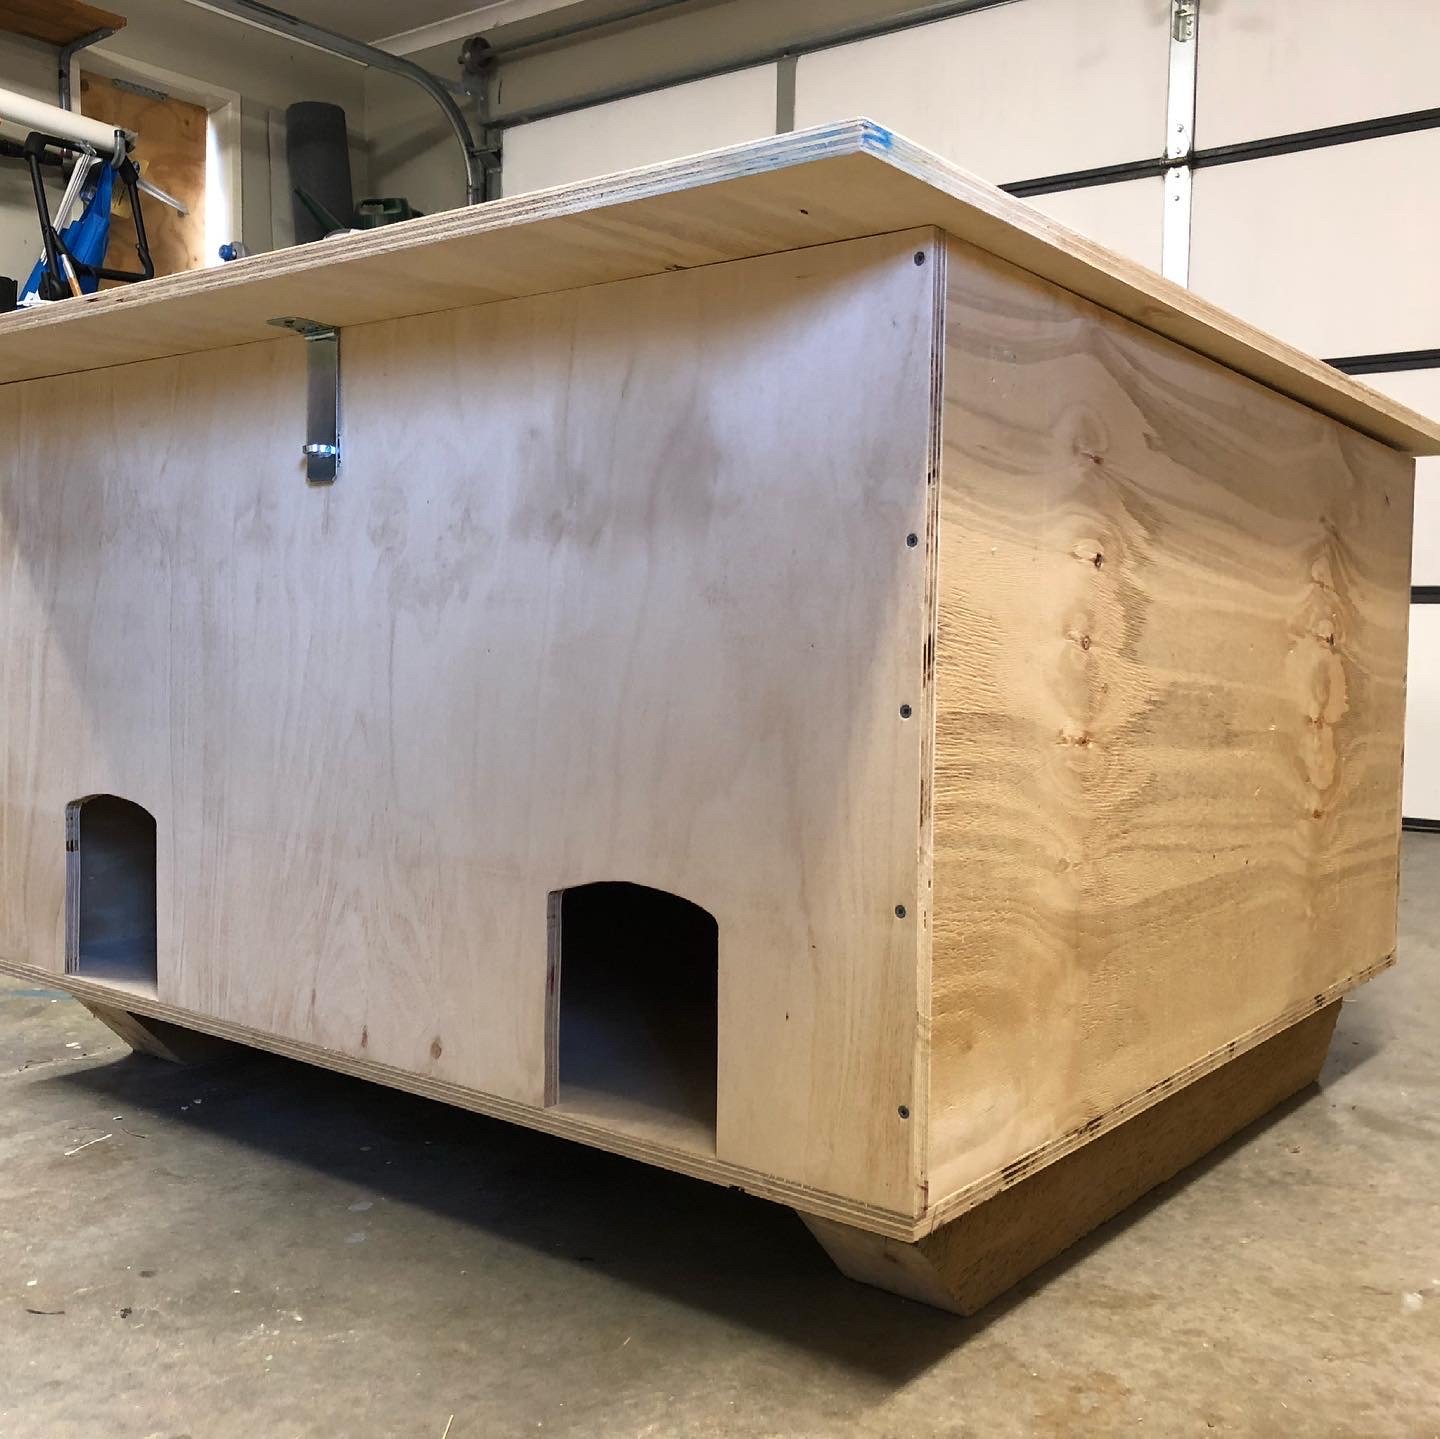
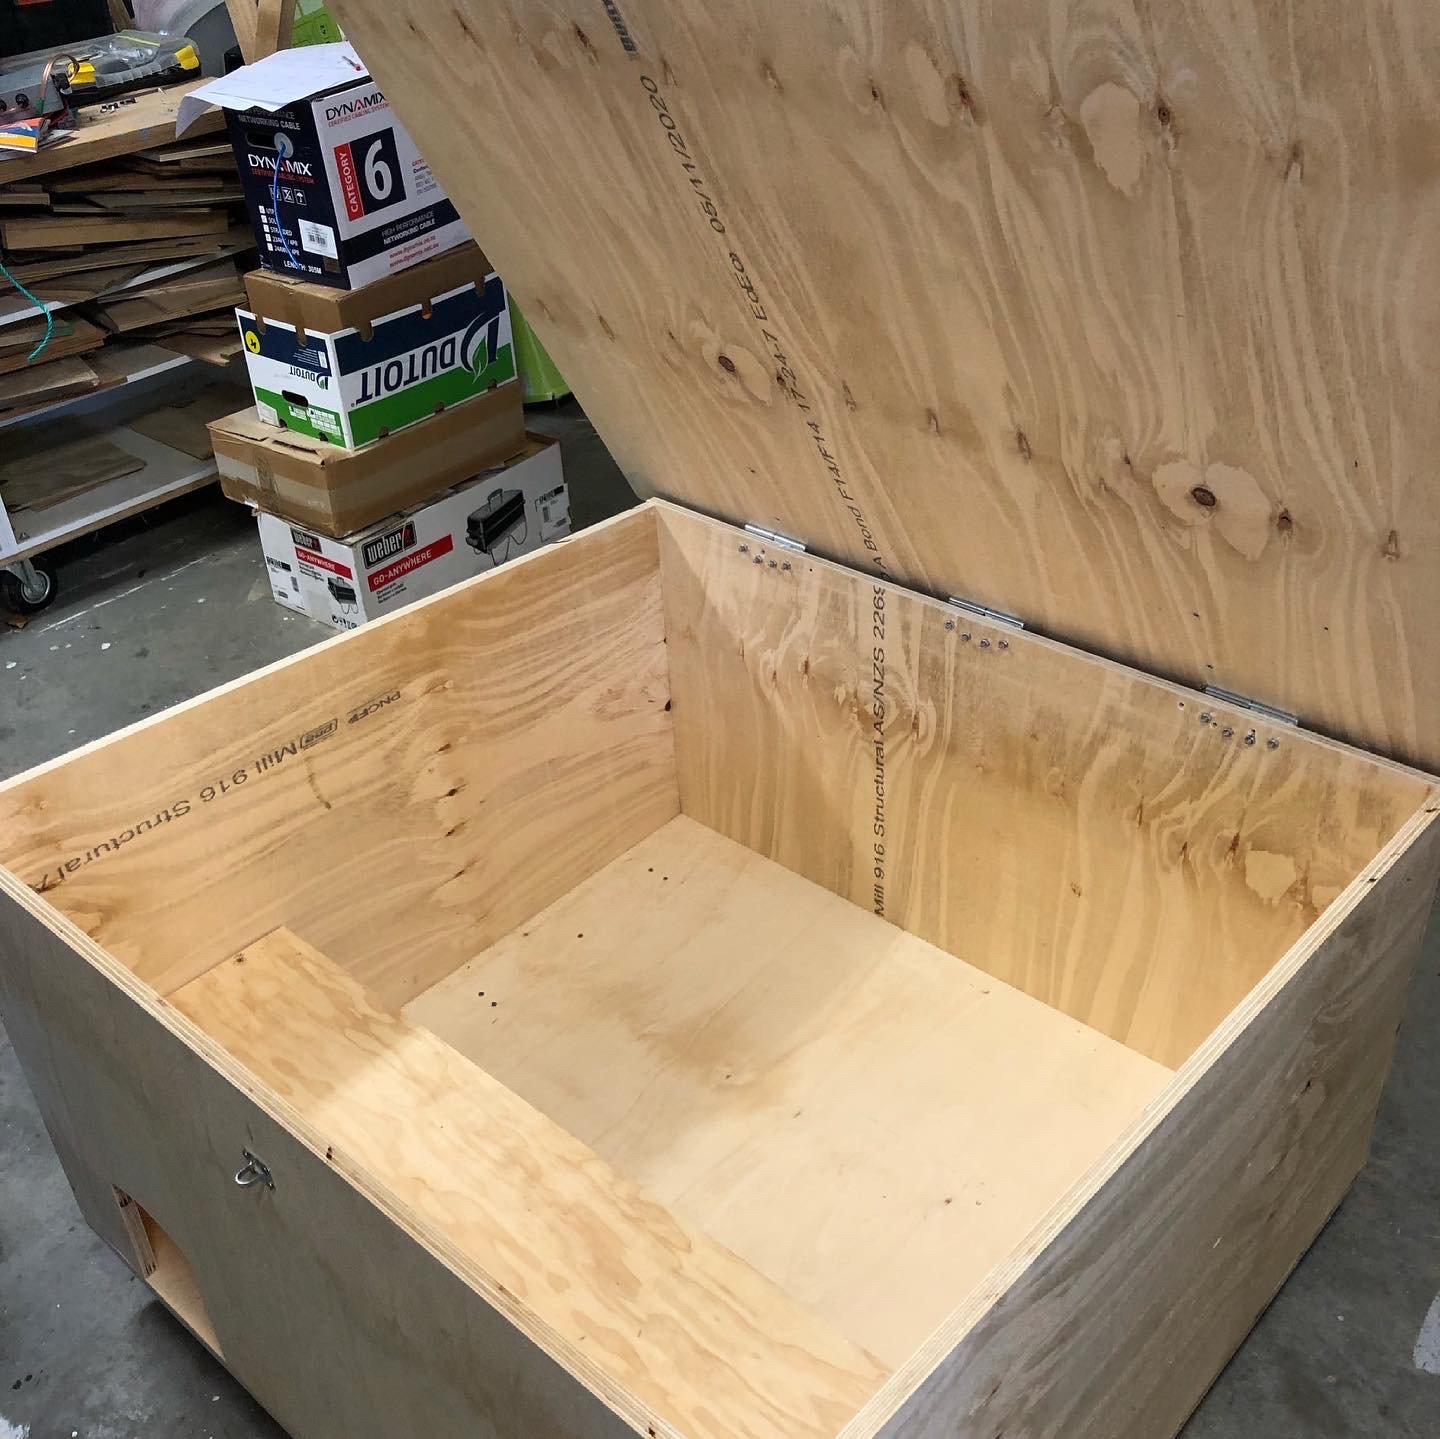
This gives an overview of The Snuggle Box and what it looks like from various angles.
Buy two sheets of 18mm thick ply - your choice re untreated, treated, marine ply etc. Untreated ply will need to be well protected from the weather; either under cover or well painted with high quality exterior grade enamel paint. Edges will need to be protected from chewing if using treated/marine ply and/or oil based paint.
We use 18mm ply to simplify assembly. Taking this approach means that you do not need any internal framing. 18mm ply also helps to insulate the interior of the Snuggle Box.
SOME THINGS TO BE AWARE OF AND TO EXPLAIN THE MEASURING AND CUTTING APPROACH WE HAVE TAKEN WITH THESE PLANS.
- Your sheet of ply may not be exactly 240cm x 120cm. This does not matter.
- Saw blade thicknesses vary. This doesn’t matter either.
- When cutting along a line that you have measured and drawn always cut on the outside of your line, unless instructed otherwise.
For instance, for Cut Two when you measure the 110cms and draw the cutting line, cut on the outside of this line you have drawn. So on the remnant side, not on the measured side.

PARTS PAGE
This page show what each main piece of the box will look like once they have been cut.

SHEET 1 - From this sheet you will make the roof, the Front and Back + Remnant 1.
PAGE 2
SHEET 1 : CUT 1
Cut the sheet in half widthways so you end up with two big square pieces that are the same size which is approx 120cm x 120cm.
One piece is the roof.
Label it ‘Roof’.
The other piece becomes the Front & Back + Remnant 1.

PAGE 3
SHEET 1 : CUT 2
On the remaining piece, mark a cutting line 110cm from the edge.
Measure from a ‘factory edge’, not the edge you just cut. This helps keep everything square.
Cut along this line on the narrow Remnant side of the line.
Your large cut piece should be 120cm x 110cm. This will become the Front and the Back.
Label this piece ‘Front & Back’.
The narrow remnant should be 120cm x almost 10cm.
Label as’ Remnant 1’.
This will be cut later to make the side self supports.

PAGE 4
SHEET 1 : CUT 3
On the large piece measure 62cm along the 120cm long edge.
Cut along the outside of this line.
Mark the resulting 110cm x 62cm piece as the ‘Front’
Mark the remaining piece which will be 110cm x just under 58cm, as the ‘Back’
TAKE A DEEP BREATH, GO AND HAVE A CUP OF TEA… ALL WILL BE WELL

SHEET 2 - From this sheet you will make the Base, Sides, Shelf and Remnant 2
PAGE 5
SHEET 2 : CUT 1
From the short (120CM) side, measure and mark 103cm across the full width of the ply.
Cut along the outside of the line on the. Your piece should measure 120cm x 103cm.
Label this piece as the ‘Base’.
Your remaining piece should measure 120cm x just under 137cm.
Label this ‘Sides’ (ready for page 8 cuts)
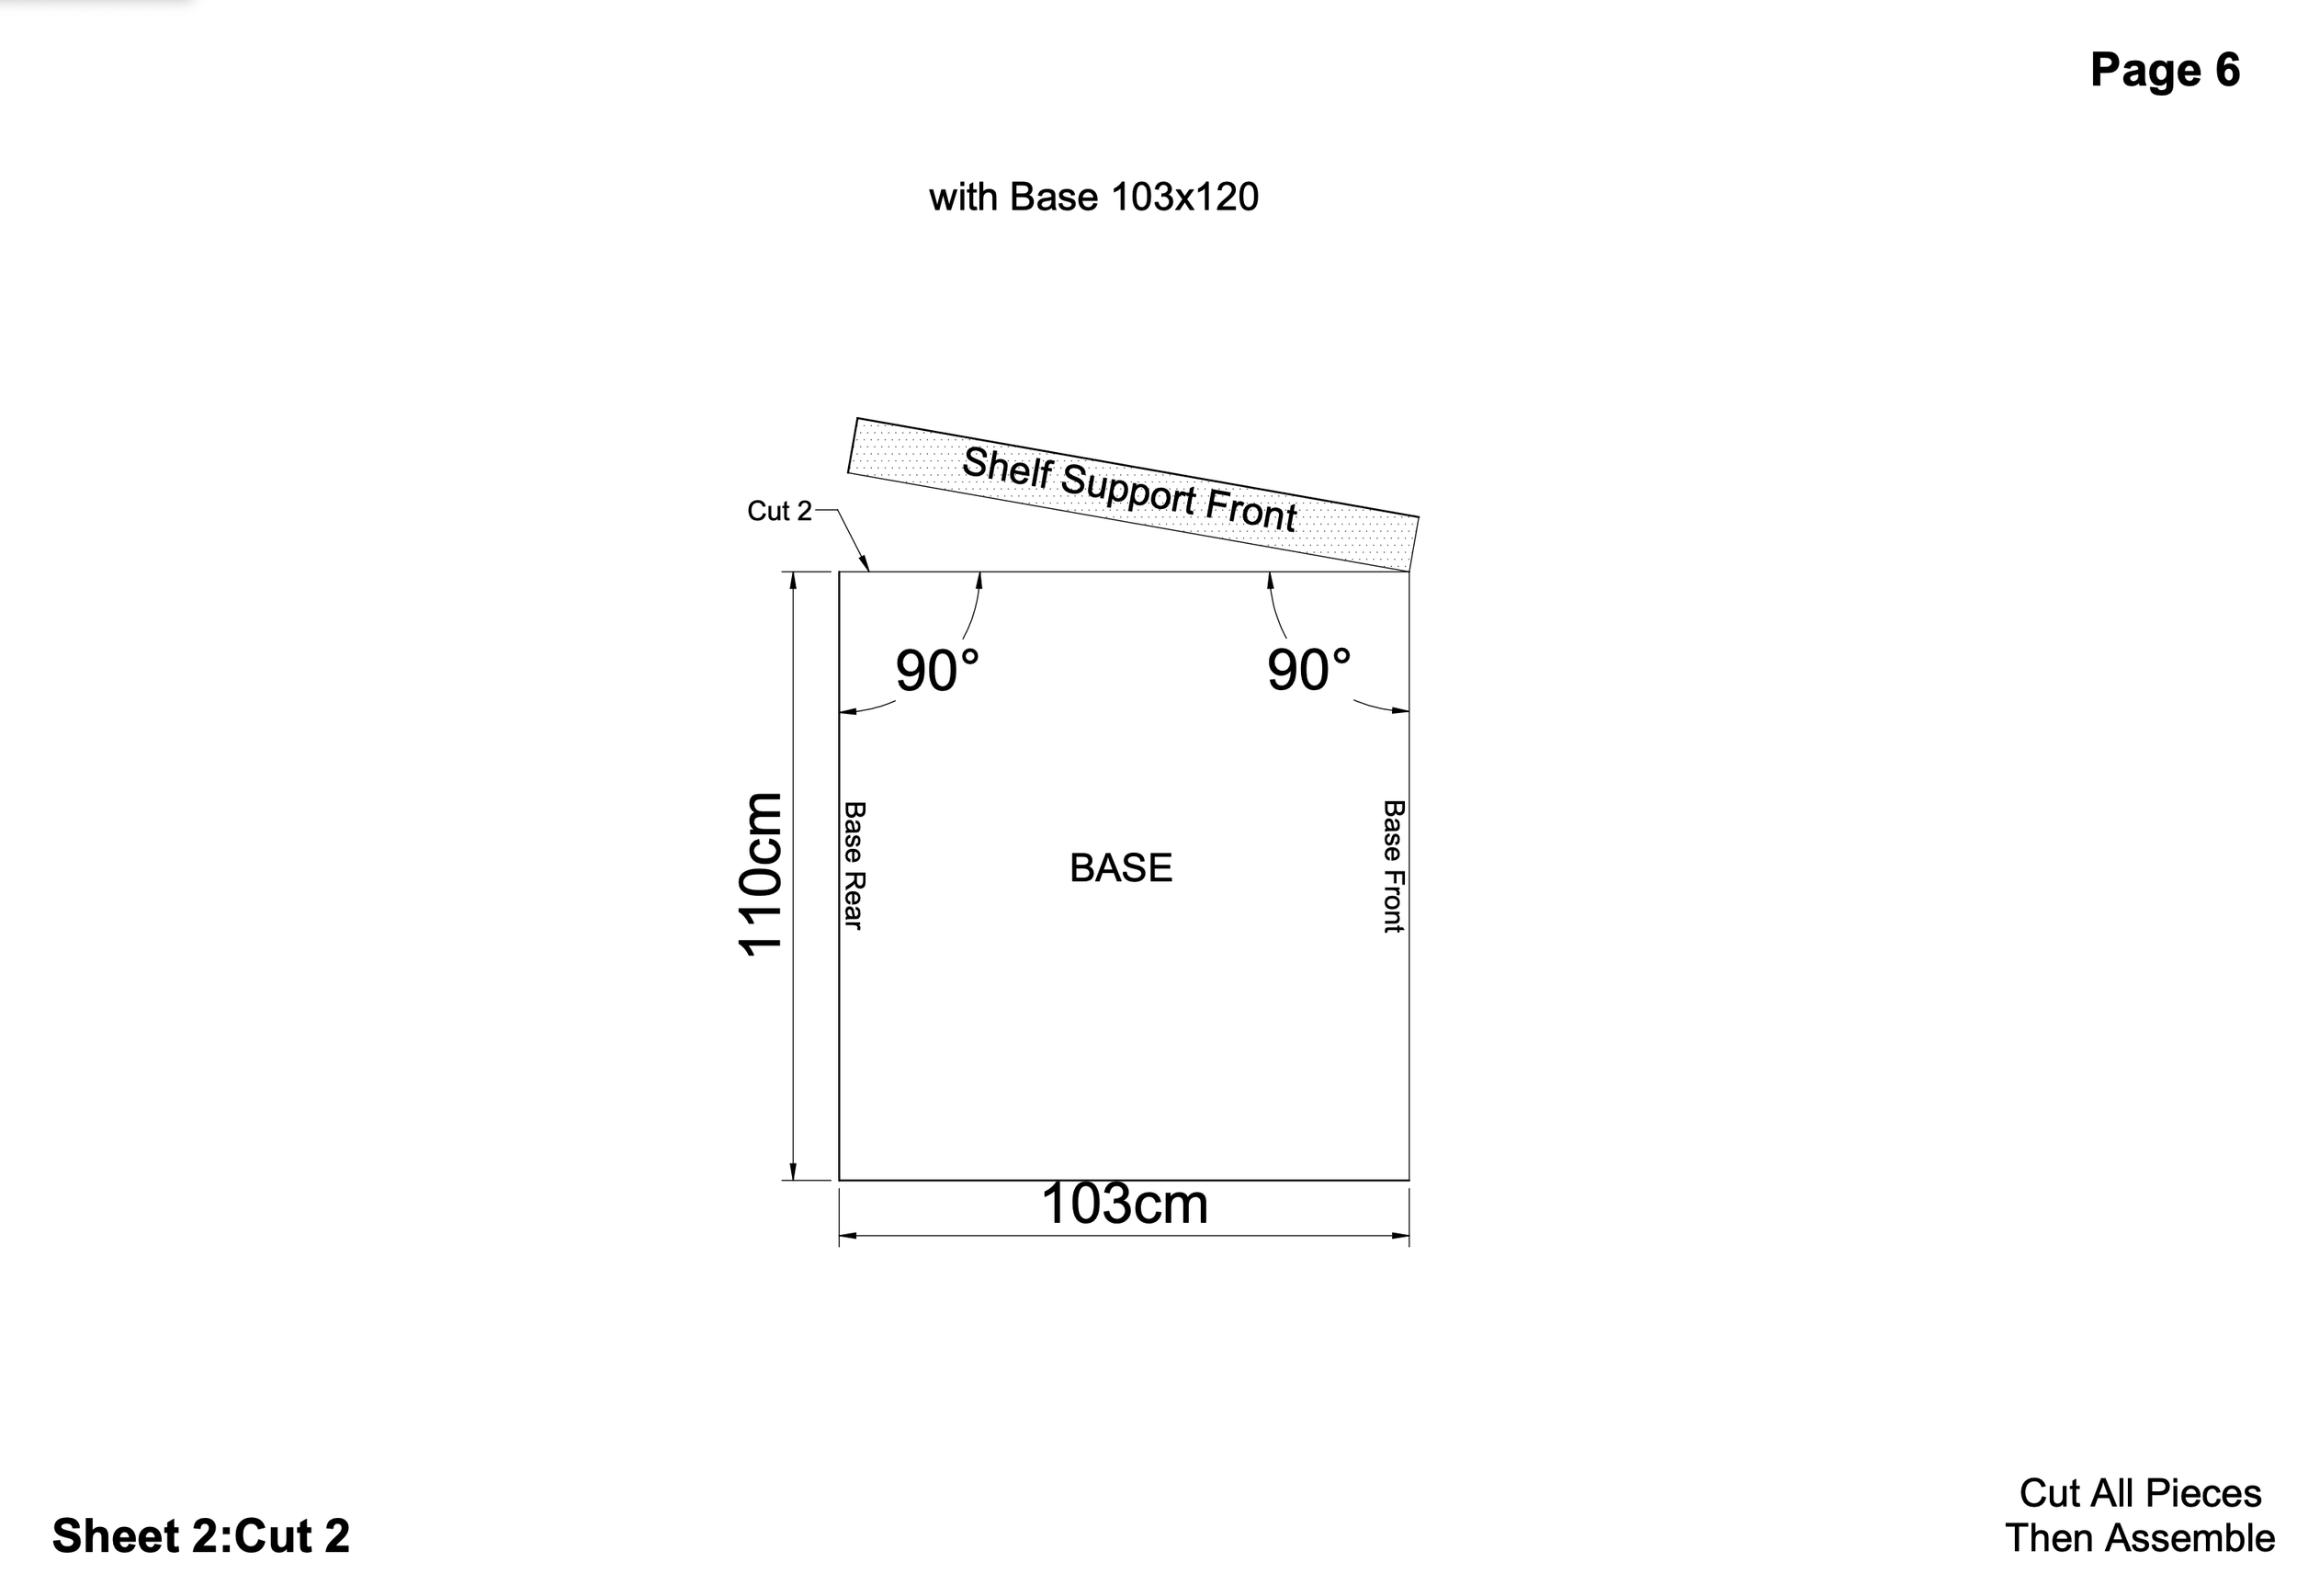
PAGE 6
SHEET 2 : CUT 2
On the 120cm long edge of the ‘Base’ piece measure draw a line at 110cm. Cut along the outside of this line. Your piece should now measure 103cm x 110cm.
On one 110cm edge of the base write ‘Base Front’.
On the other 110cm edge write ‘Base Rear’
Your remaining piece should measure 103cm x just under 10cm.
Label this piece as ‘Shelf Support Front’.
We are now going to make the sides of the box. This is where it is a little tricky. We need to establish the length that the bottom of the side pieces will be.
Here’s how we do that - stick with me …

PAGE 7
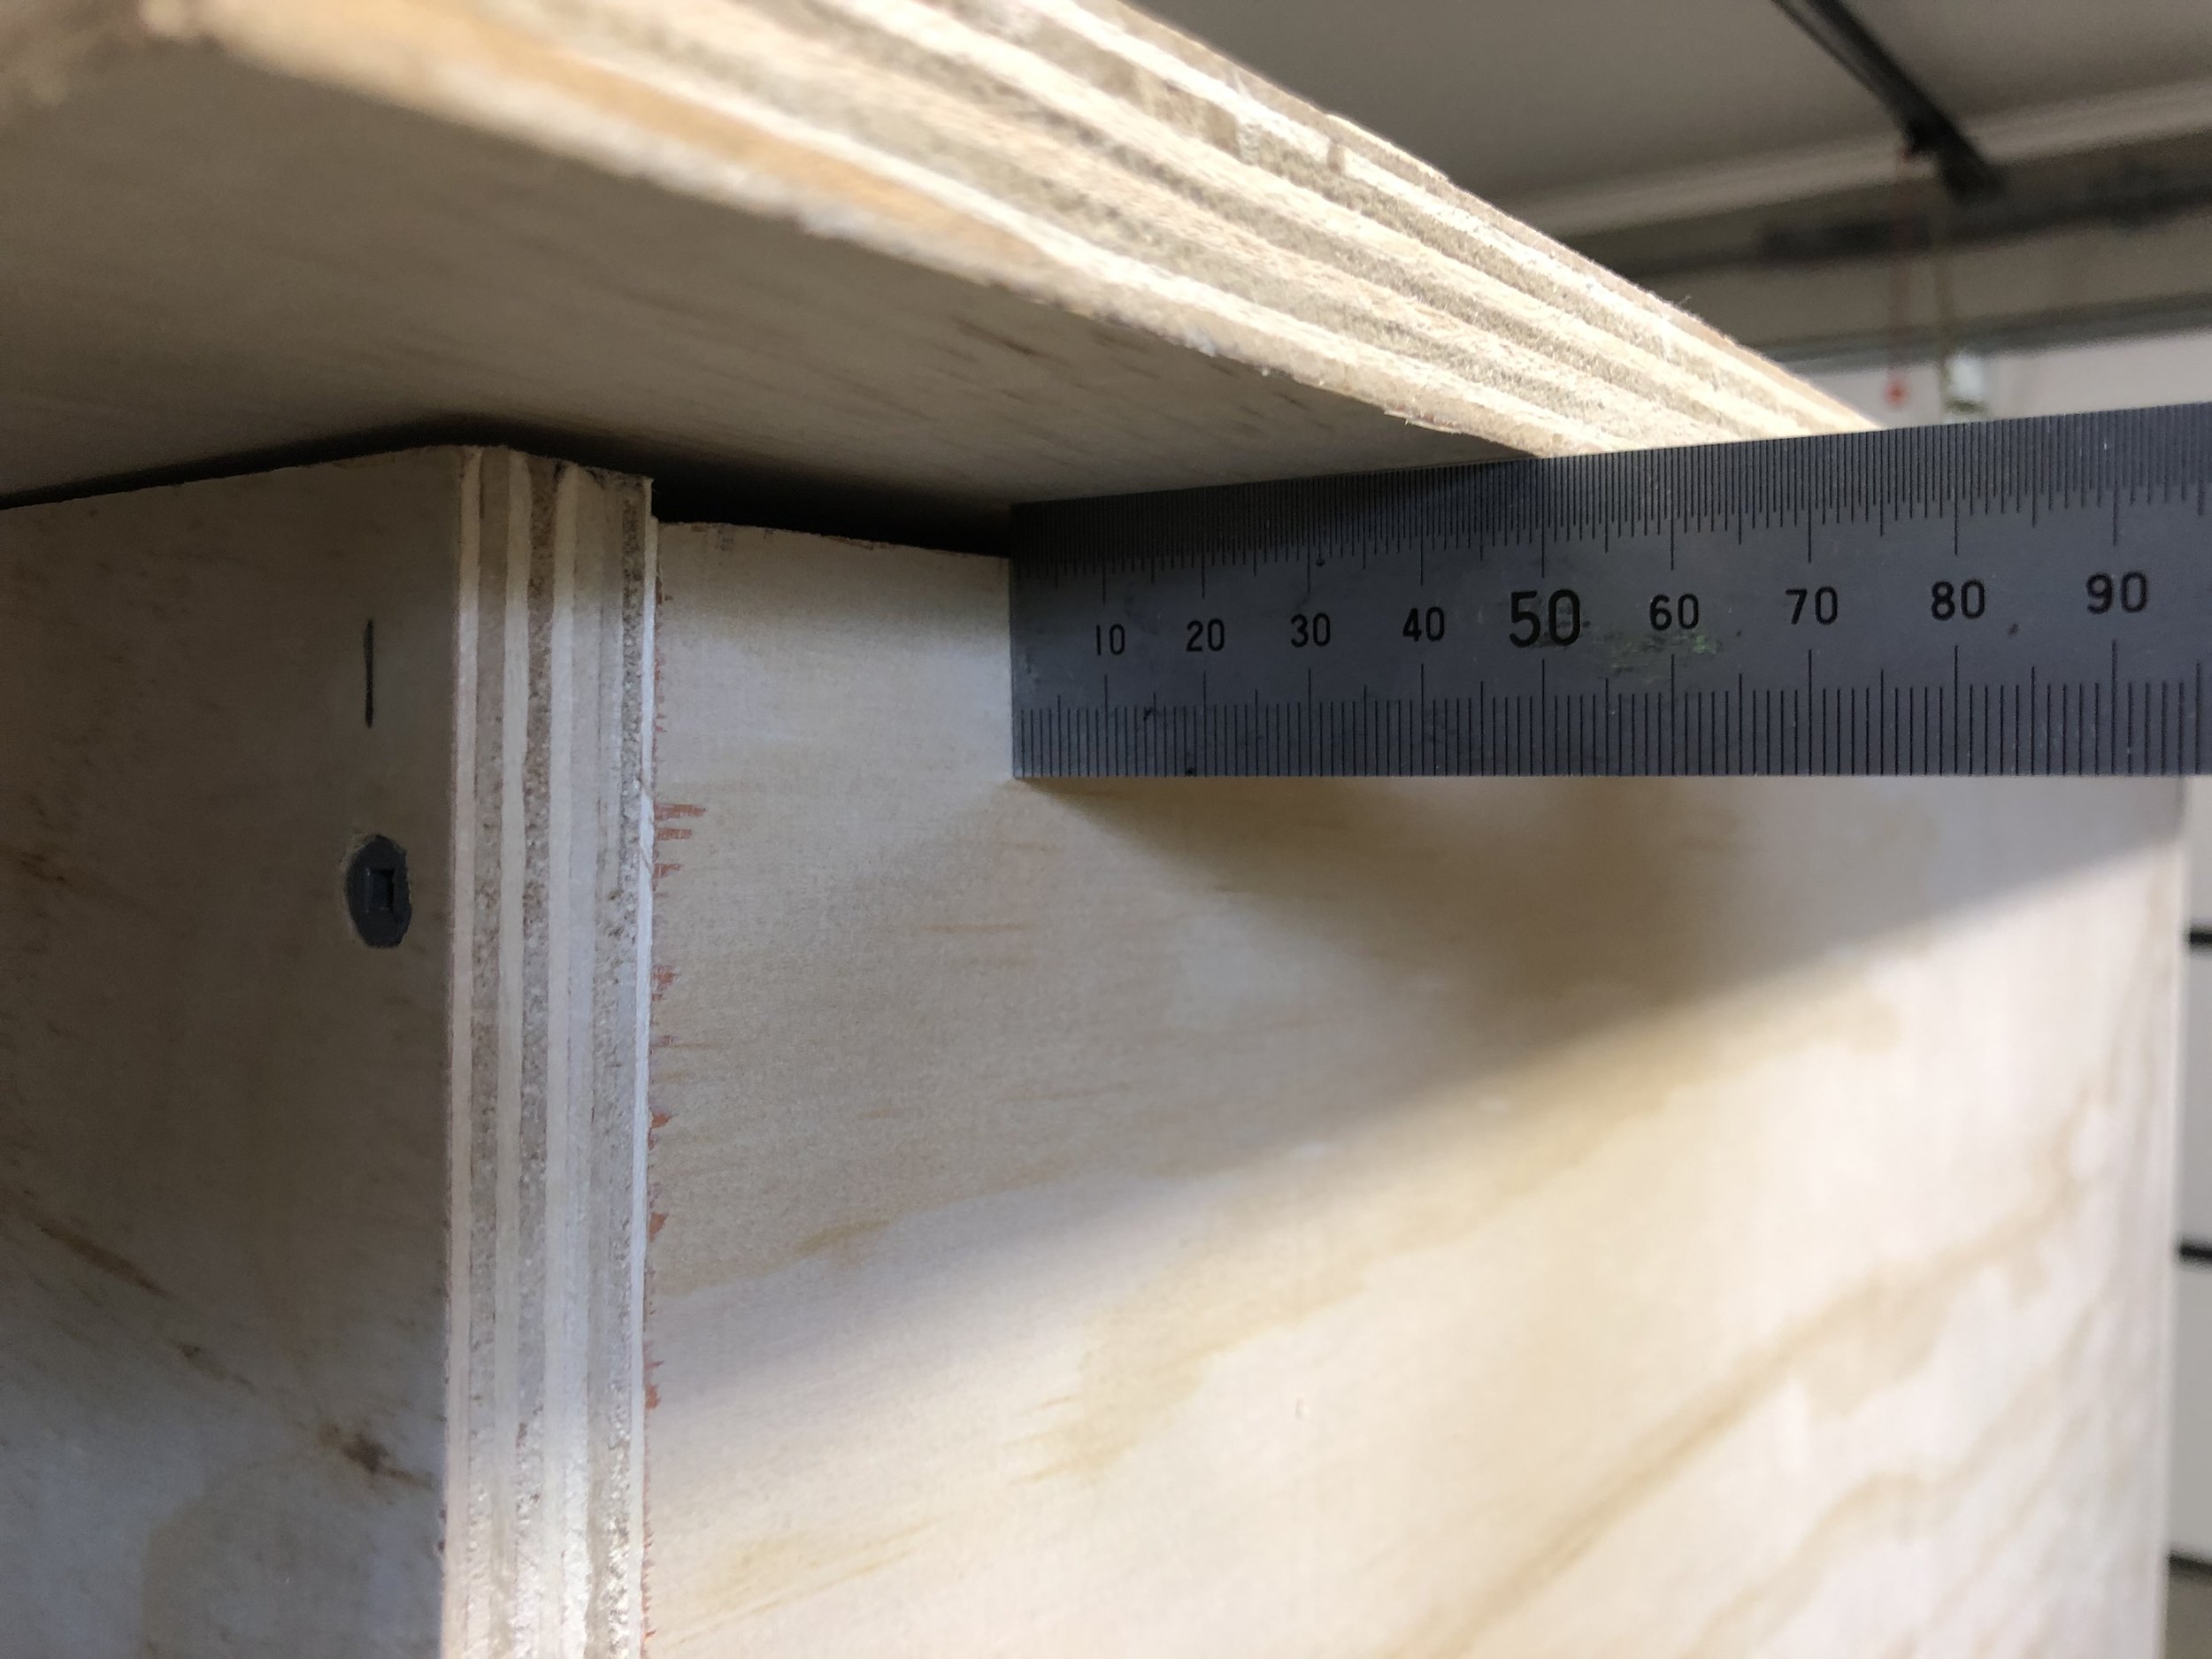
We are going to use ‘Remnant 1’ & ‘Shelf Support Front’ to help us obtain ‘Measurement A’.
Place them on their edges along the 110cm sides ‘Base Front’ & ‘Base Rear’ of the Base.
Line up them up flush with the edges.
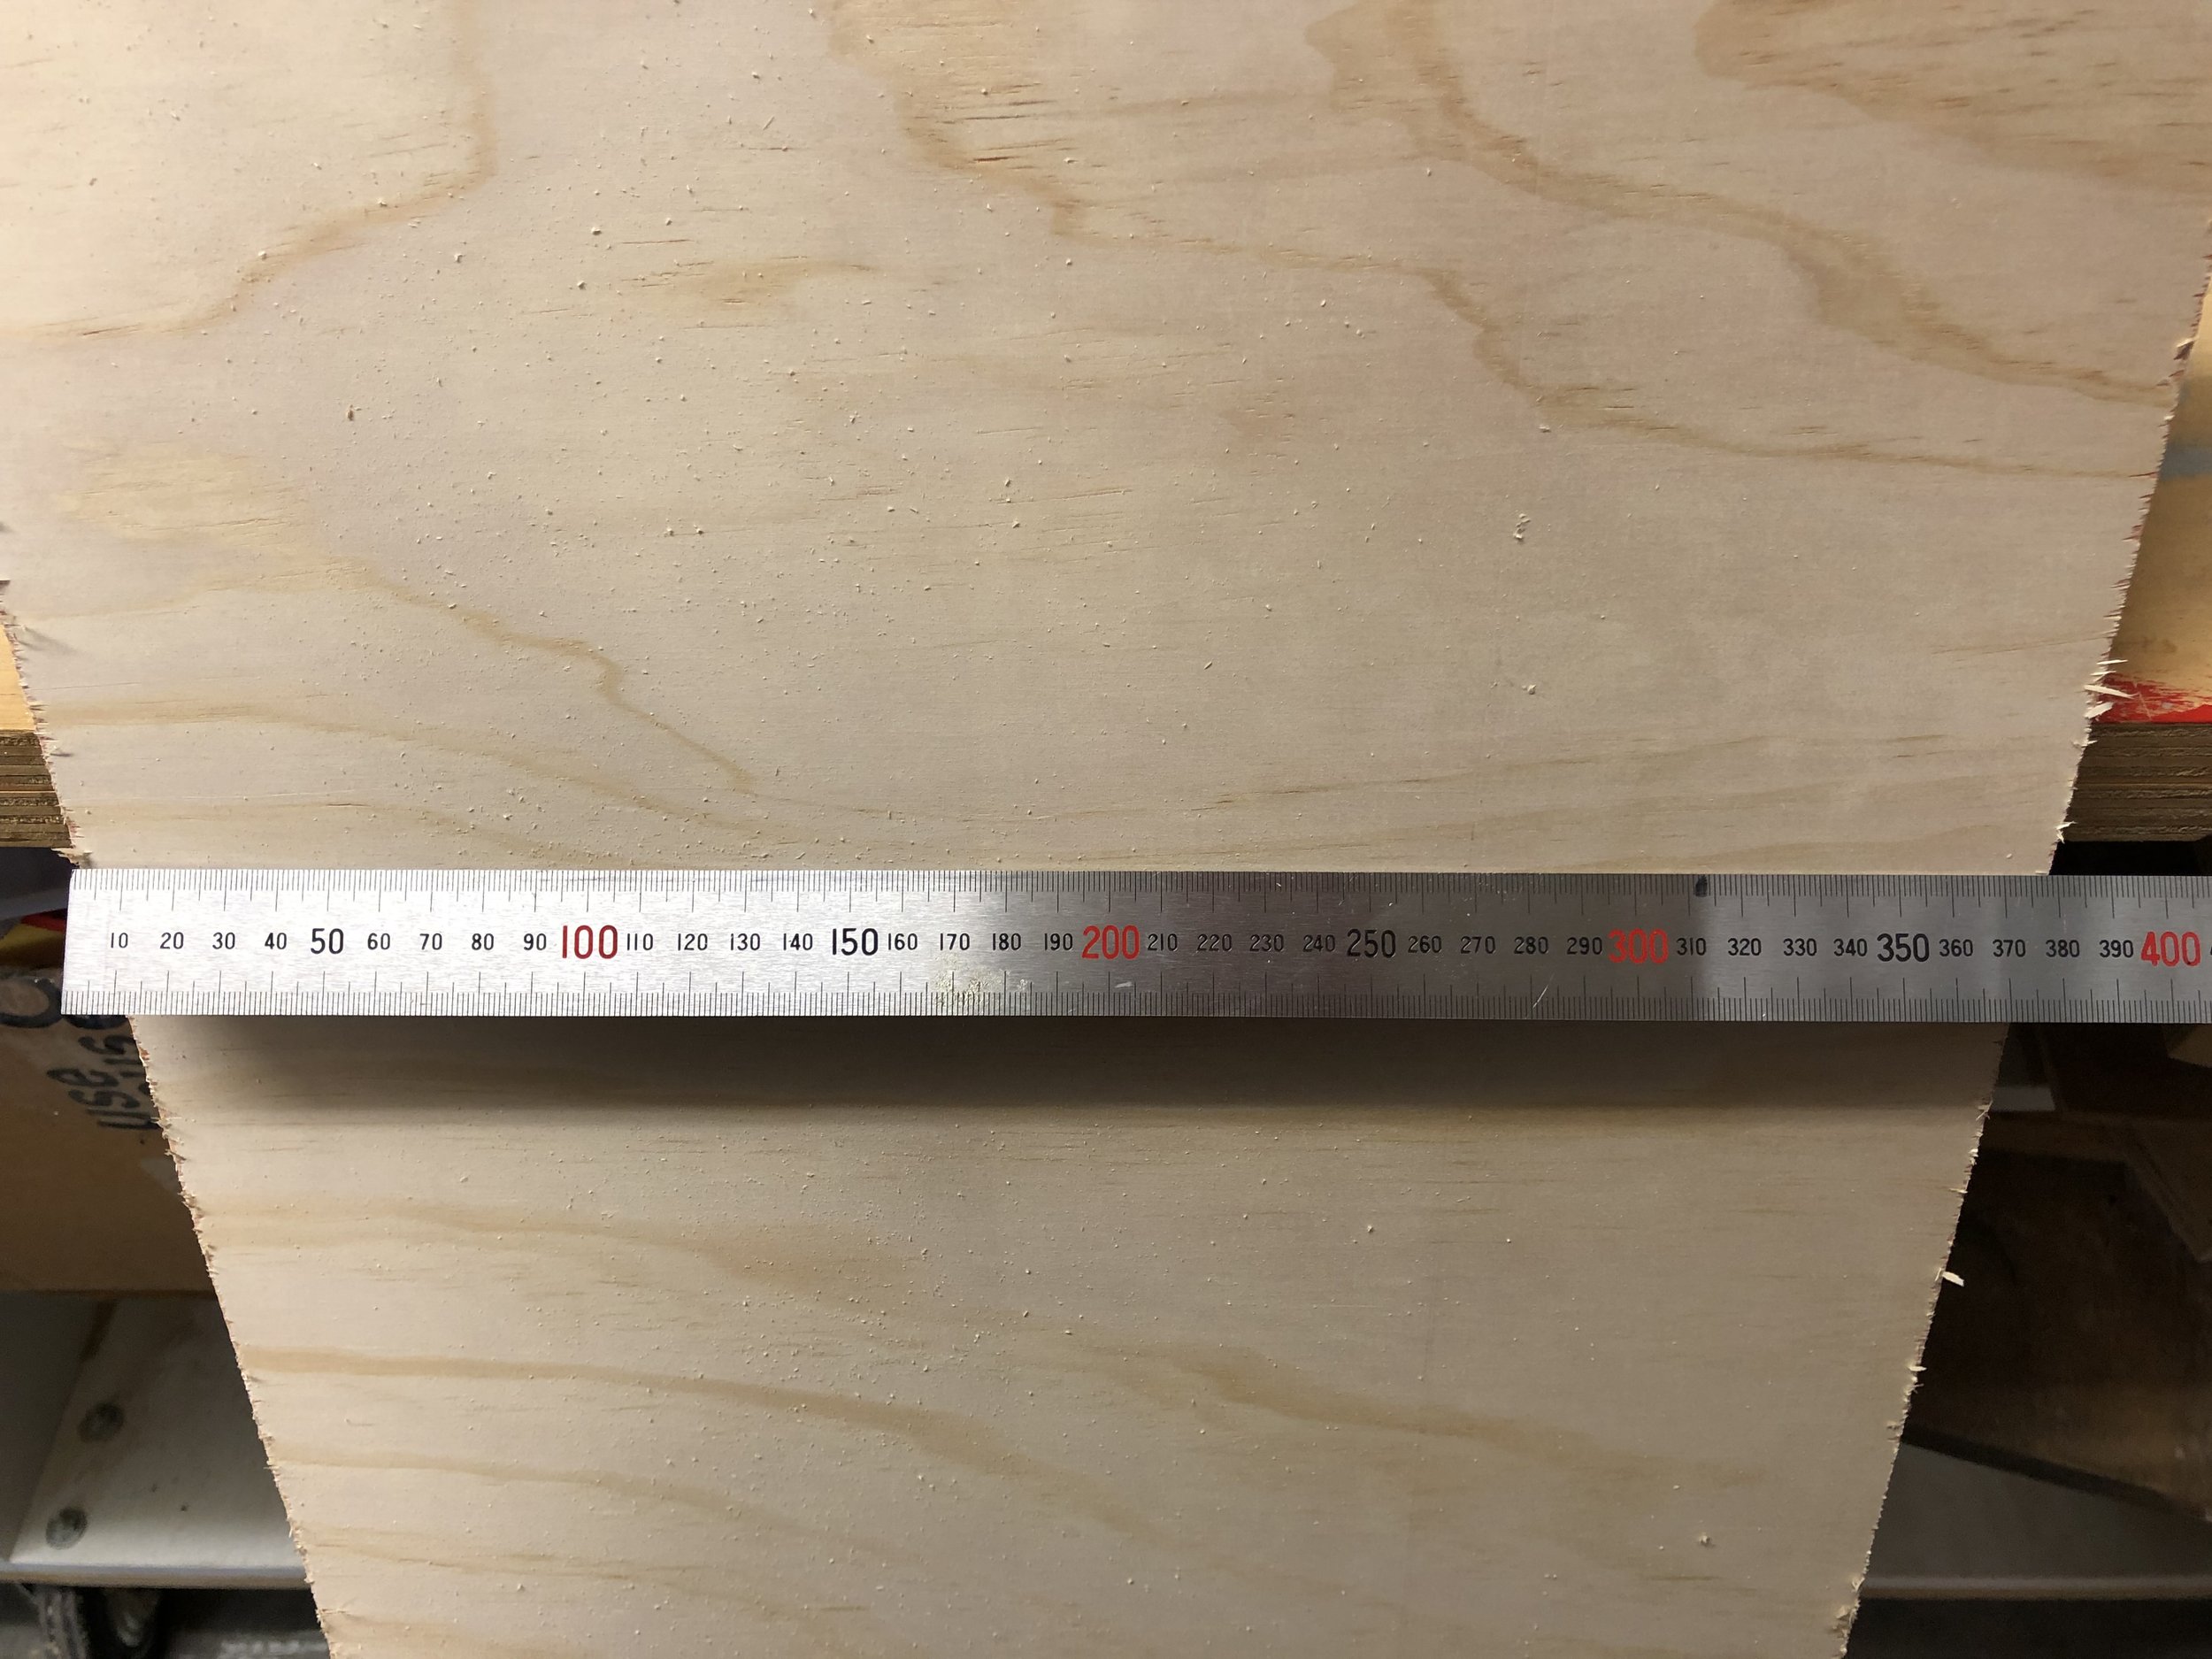
Now measure the distance between ‘Remnant 1’ and ‘Shelf Support Front’.
This measurement will ‘Measurement A’.

PAGE 8
SHEET 2 : CUT 3
On the longest edge of the ‘Sides’ piece (from Page 5 and which is 120cm x approx 135cm), measure and mark ‘Measurement A’.
For our box, this was 99cm.
Cut on the outside of the line.
Your piece should be 120cm x ‘Measurement A’.
Make sure the large piece as is still labelled ‘Sides’.
Our remaining piece was 120cm x about 35cm – but the exact measurement is not important.
Mark this last piece as ‘Shelf’.

PAGE 9
SHEET 2 : CUT 4
We are now going to cut the sides but first we need to do some more reference measurements ….
Take your piece marked ‘Front’ and measure the short edge.
This is the height of the front and should be 62cm.
On your piece marked ‘Sides’ measure 62cm along the 120cm long edge.
On the opposite 120cm long side measure 62cm but from the diagonally opposite corner.
Draw a line between the two marked measurements.
This should give you a sloped line.
STOP! Before cutting this line it’s important to mark up these pieces to avoid any confusion.
Use the diagram on Page 9 as a reference.
- Write ‘Side’ on each piece.
- On each side of the drawn sloped line write ‘ Side Top’
- On each opposite edge write ‘Bottom’
- On each side that measures 62cm write ‘Side Front’
- Mark the corners between ‘Bottom’ & ‘Side Front’ as right angles
These steps are important to avoid mistakenly installing the sides with the sloped edge on the bottom instead of on the top.
Cut along the middle of your marked line so that you end up with two identical sides.
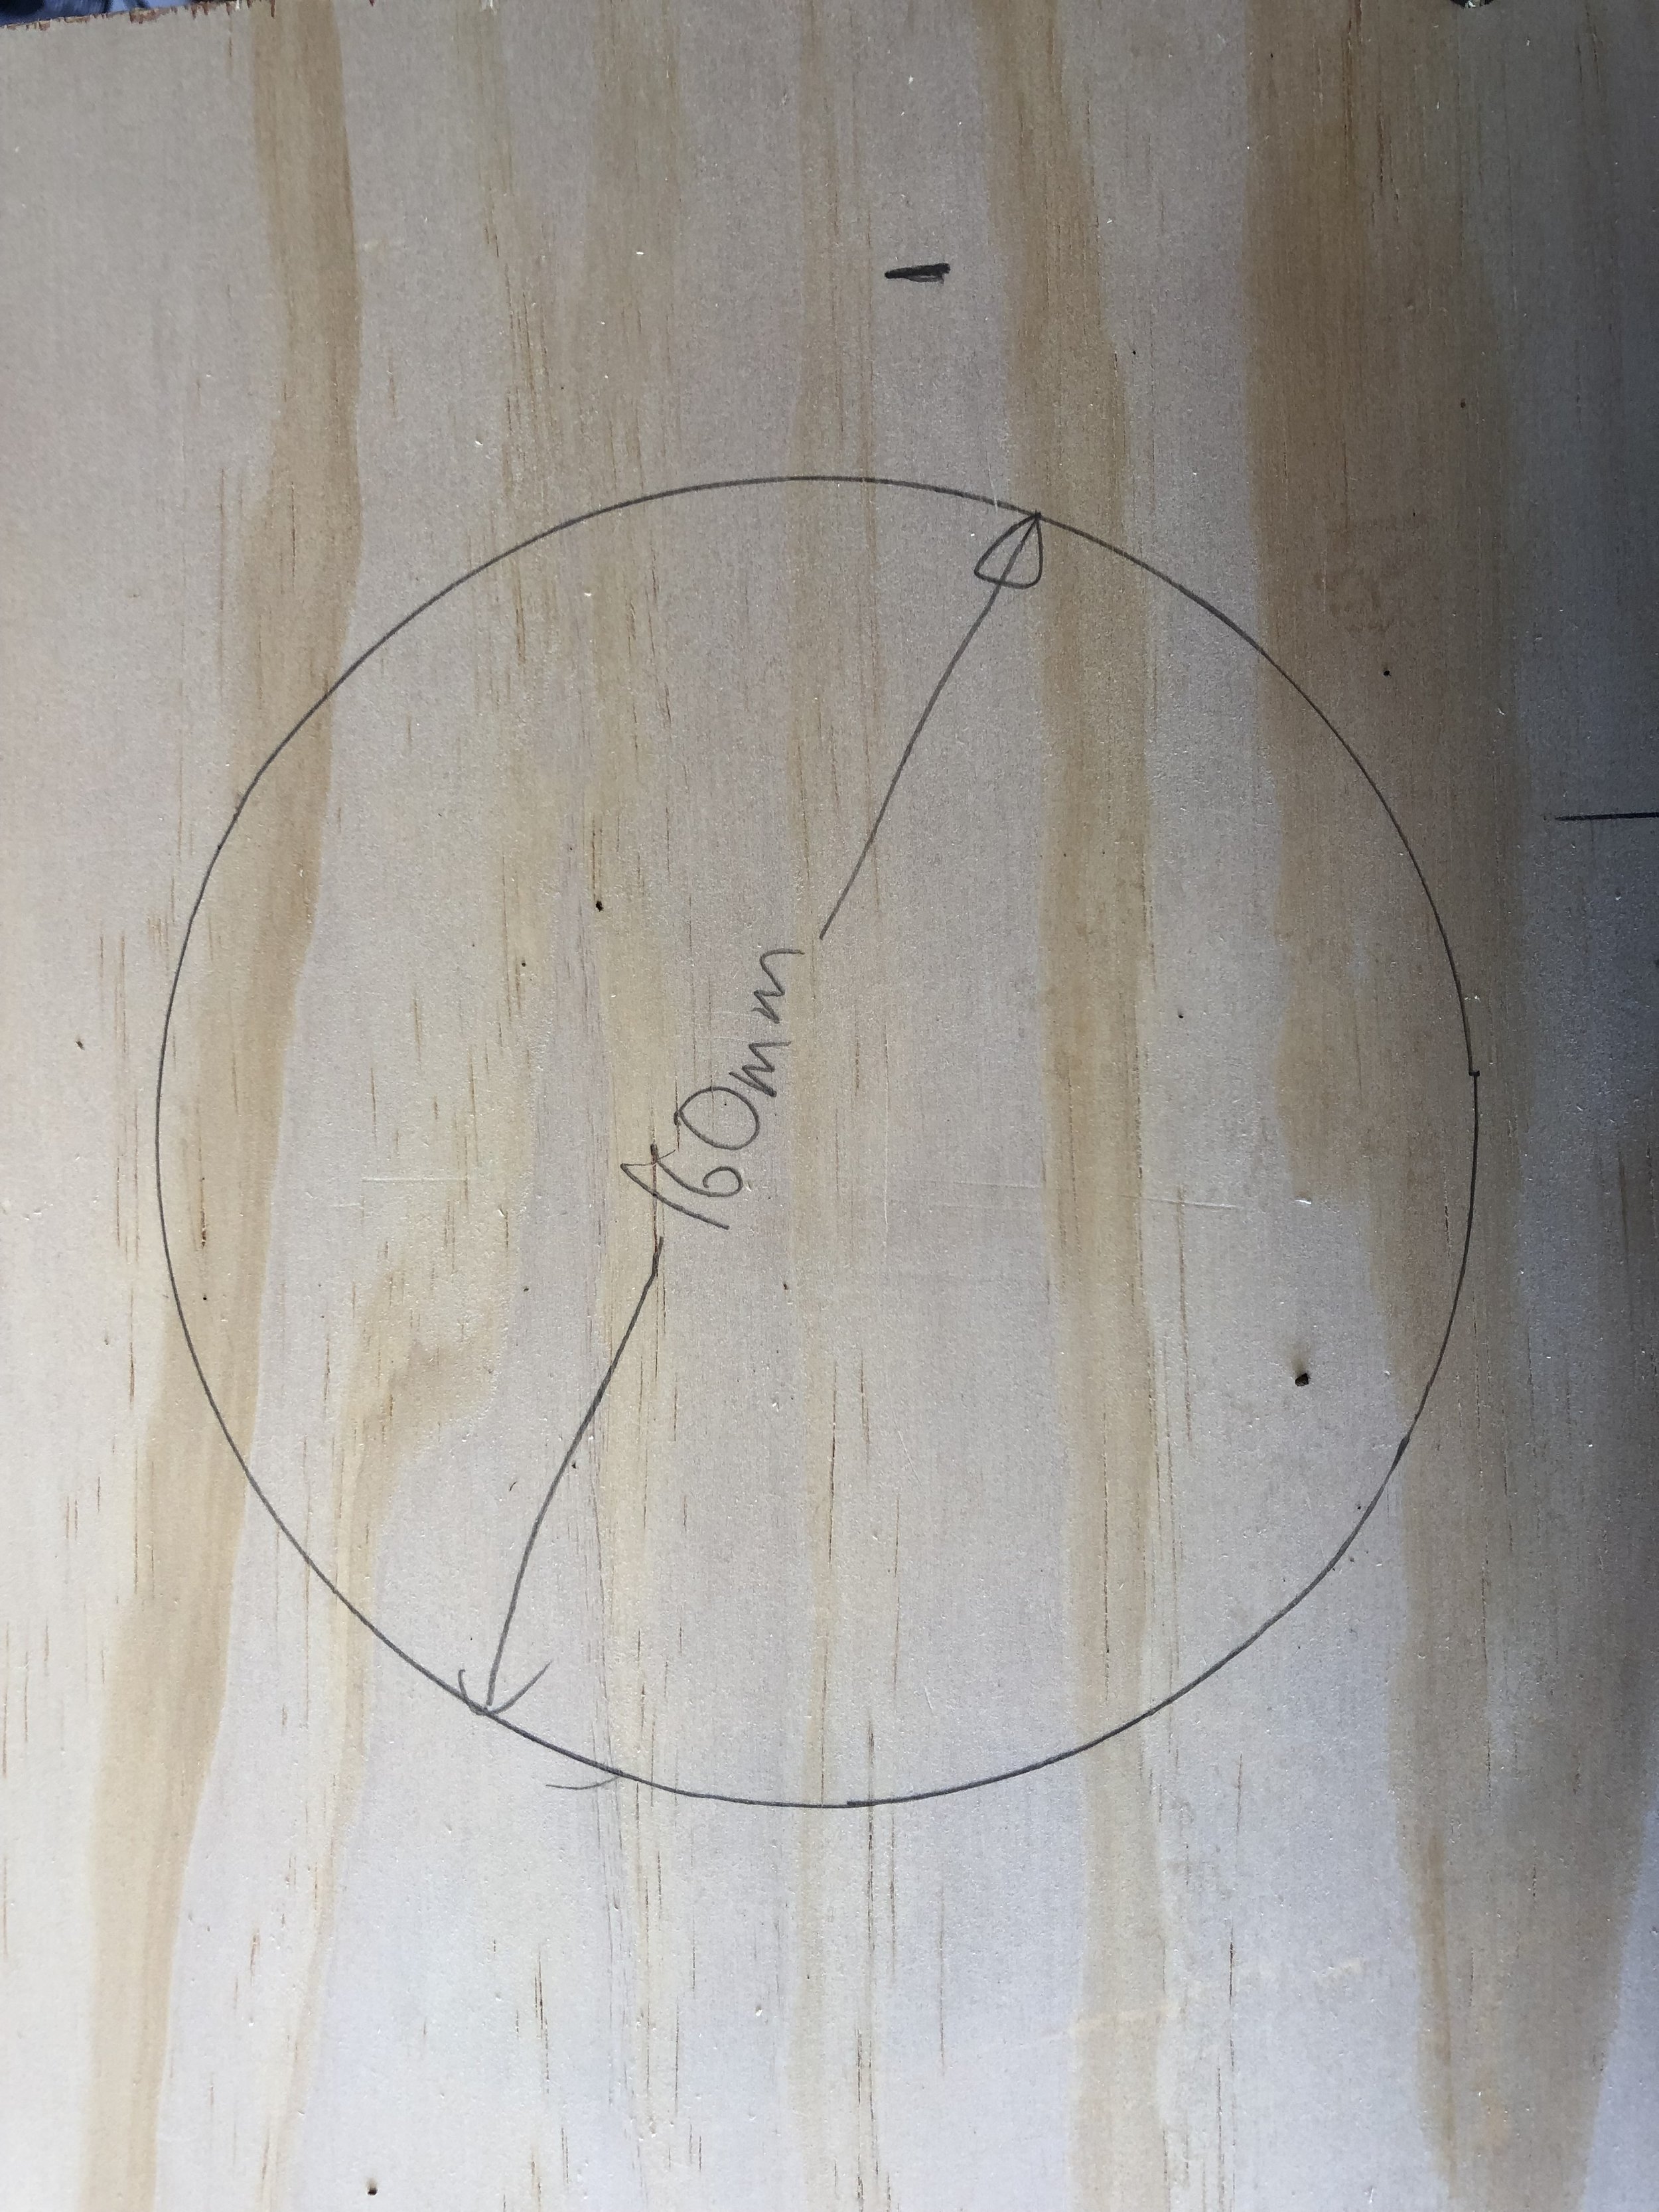
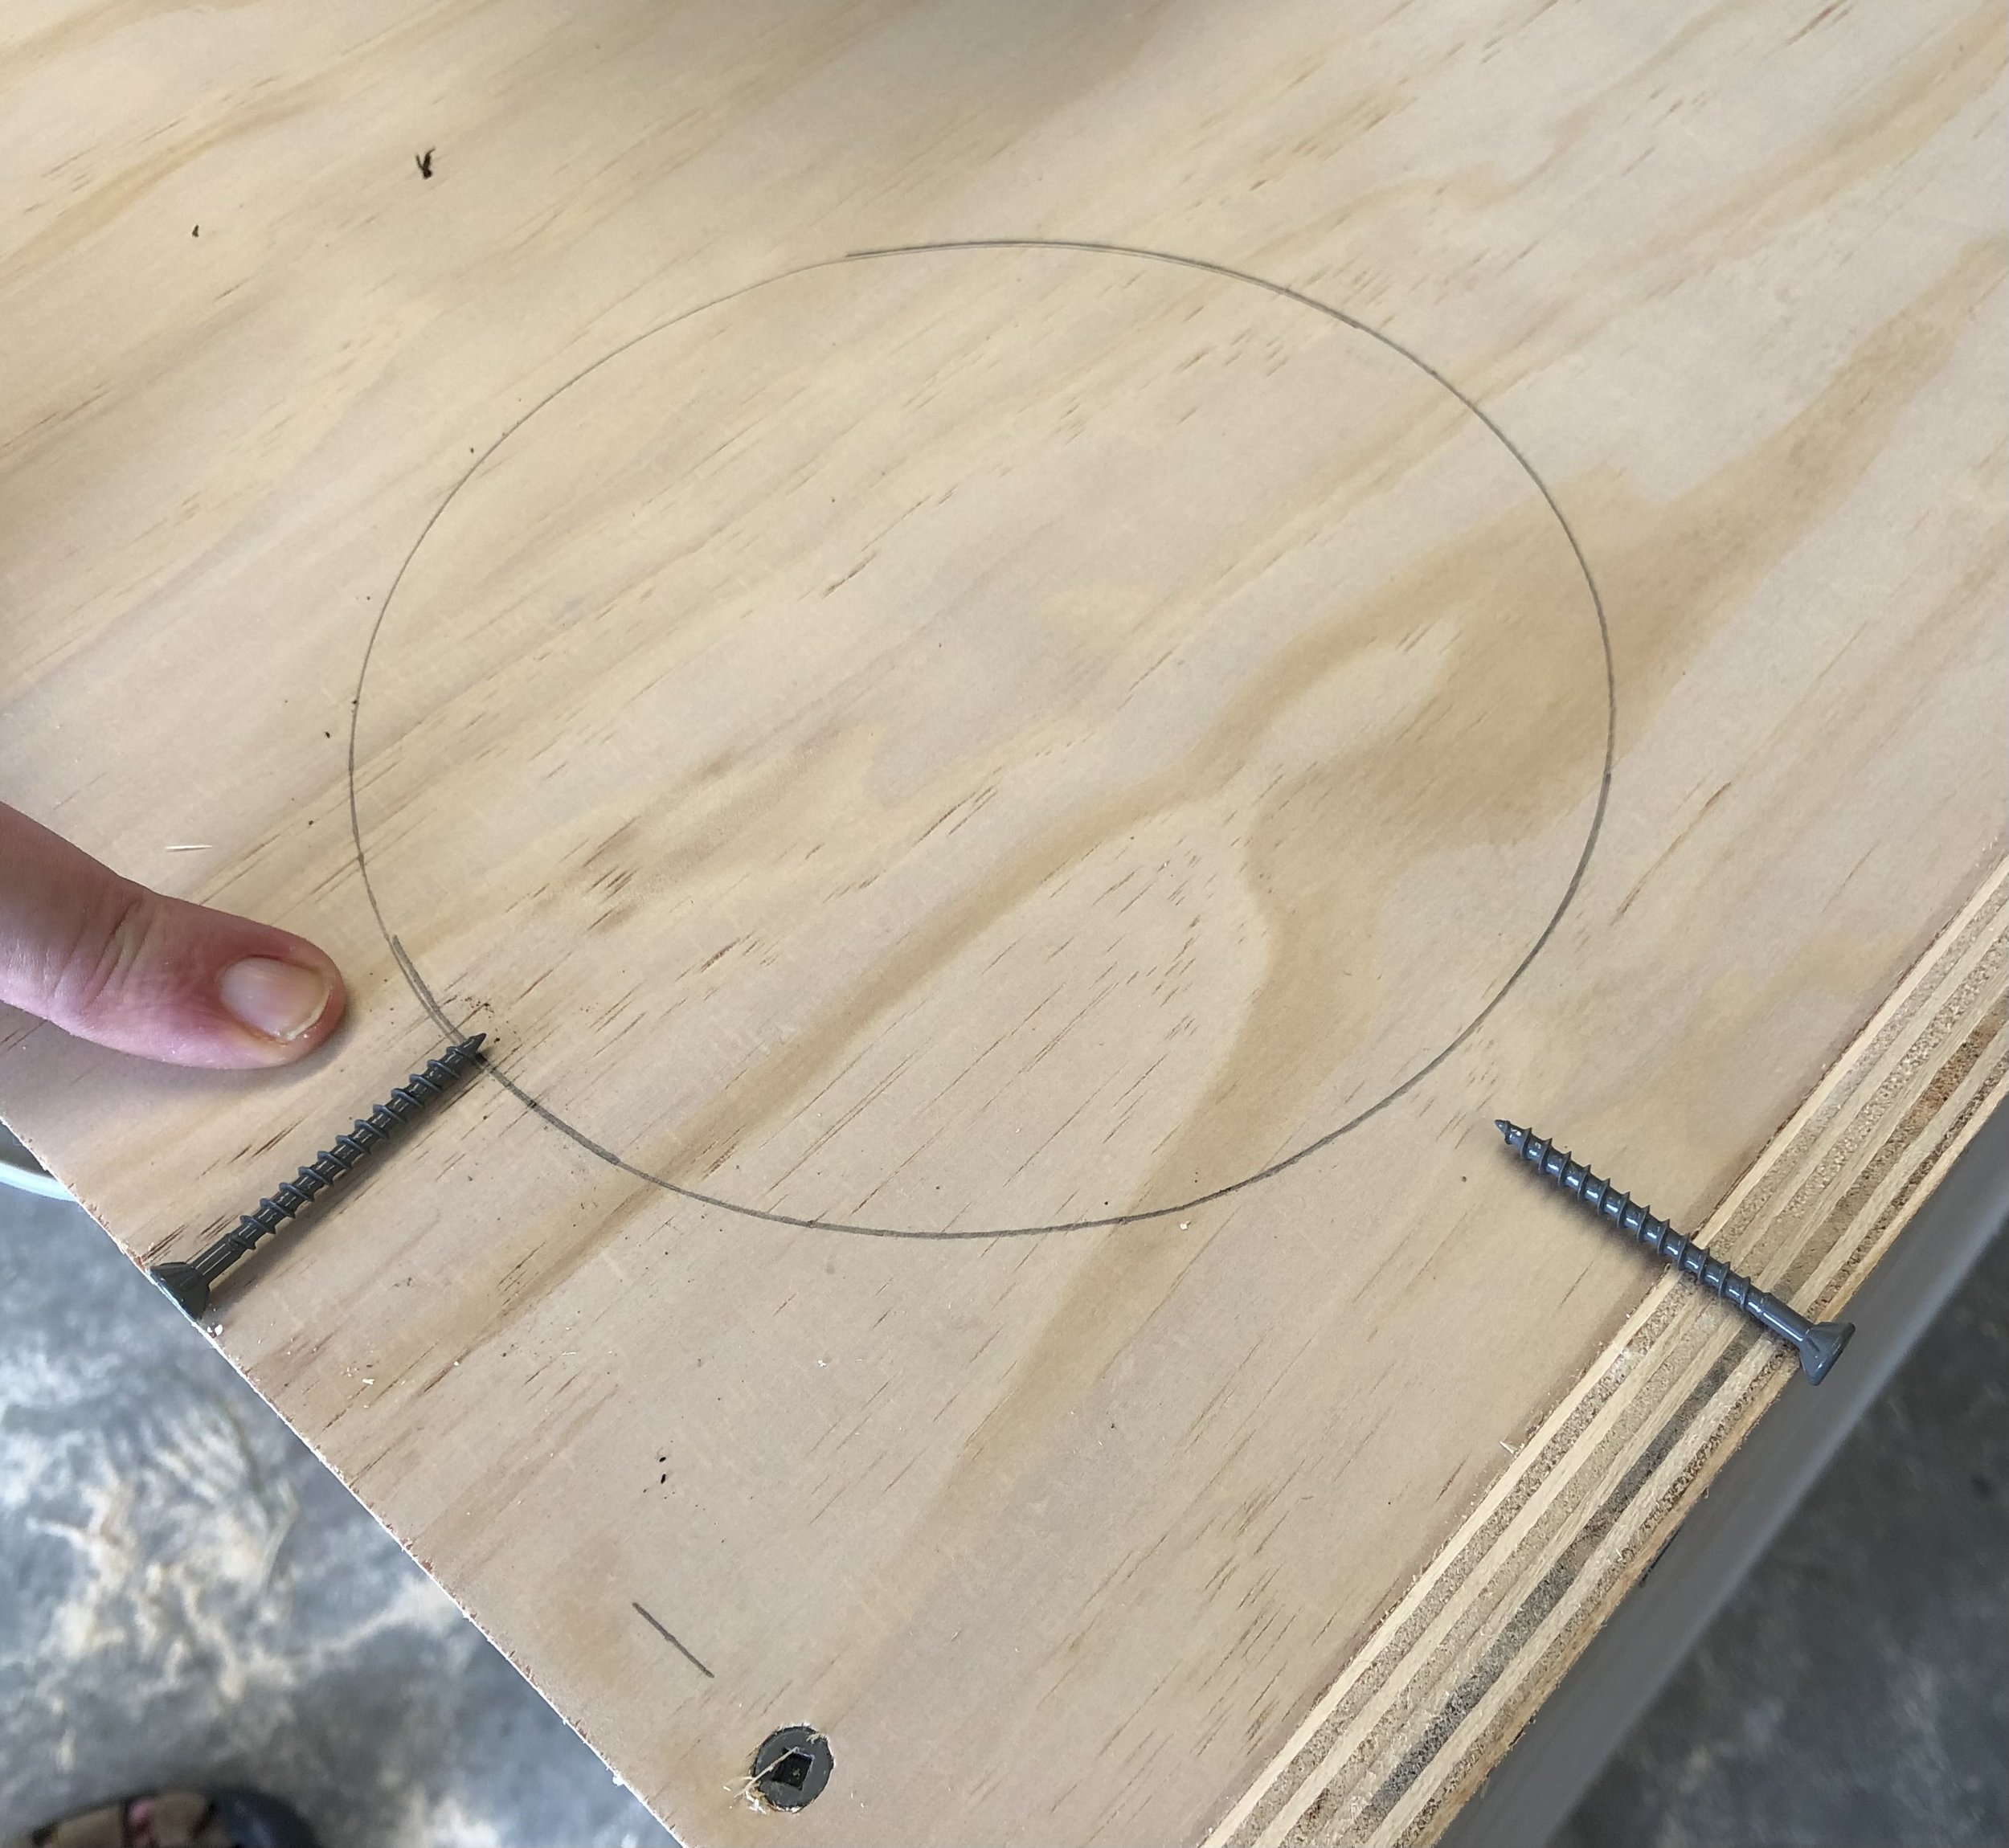
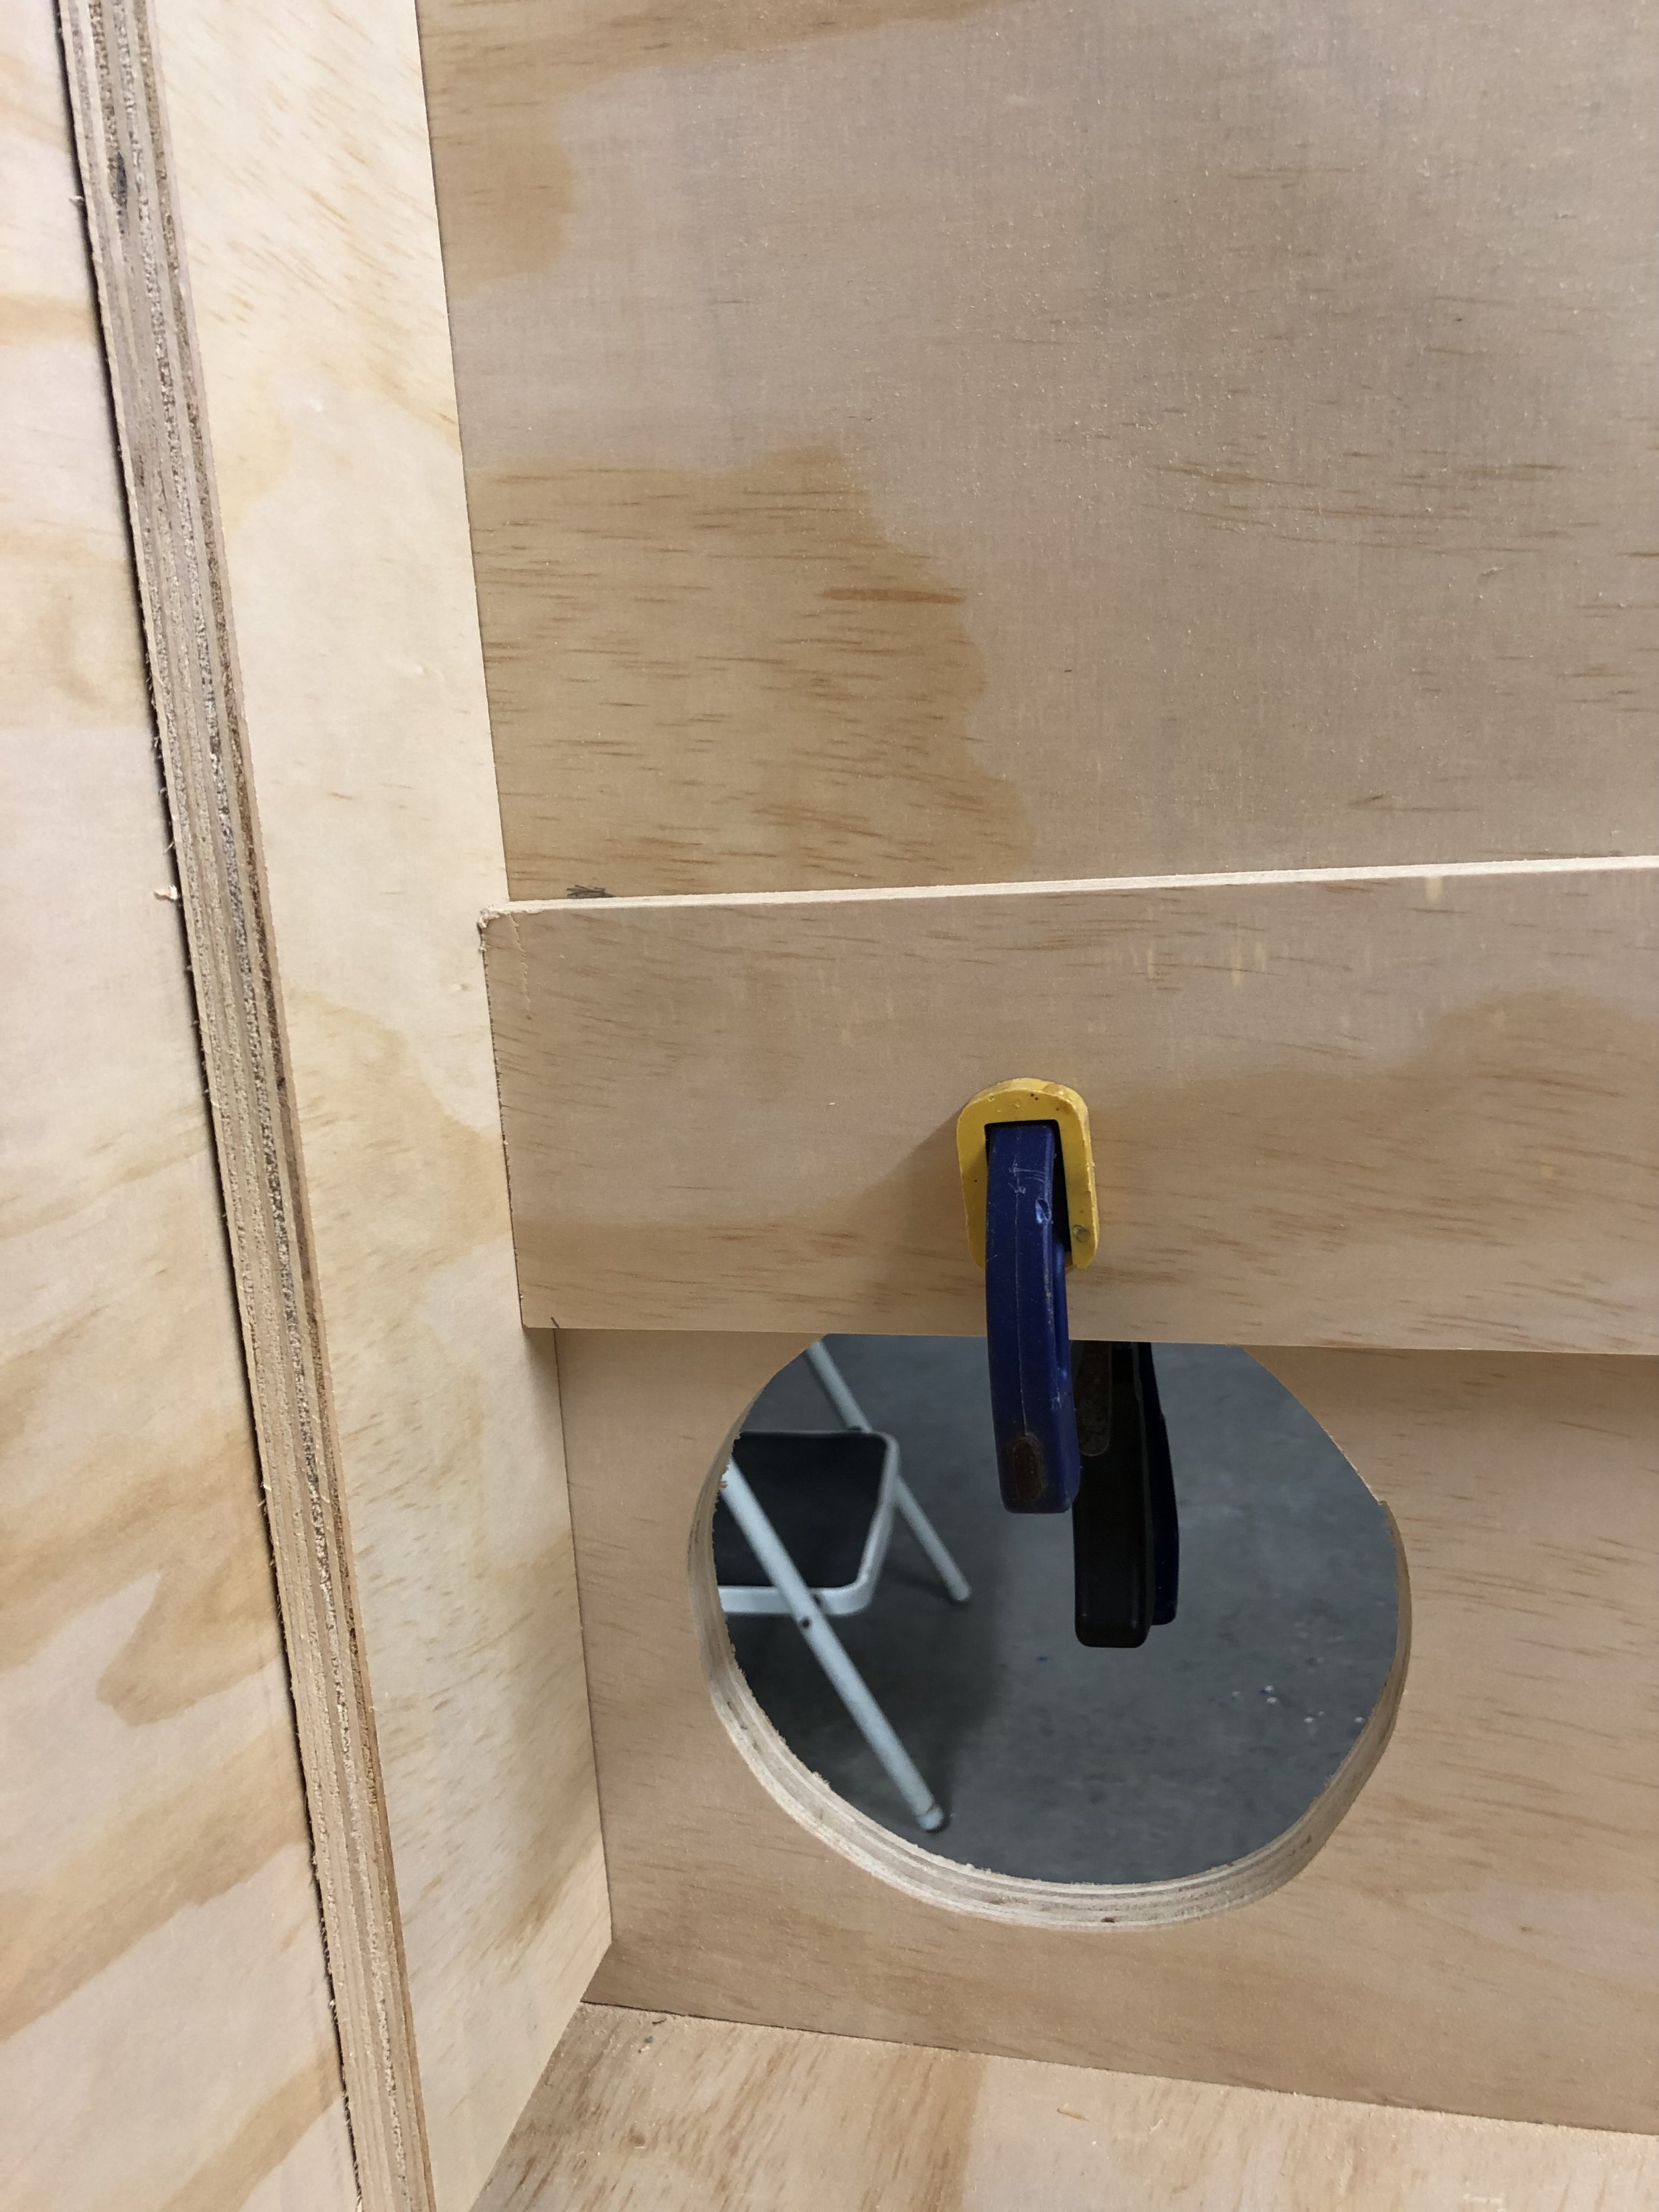
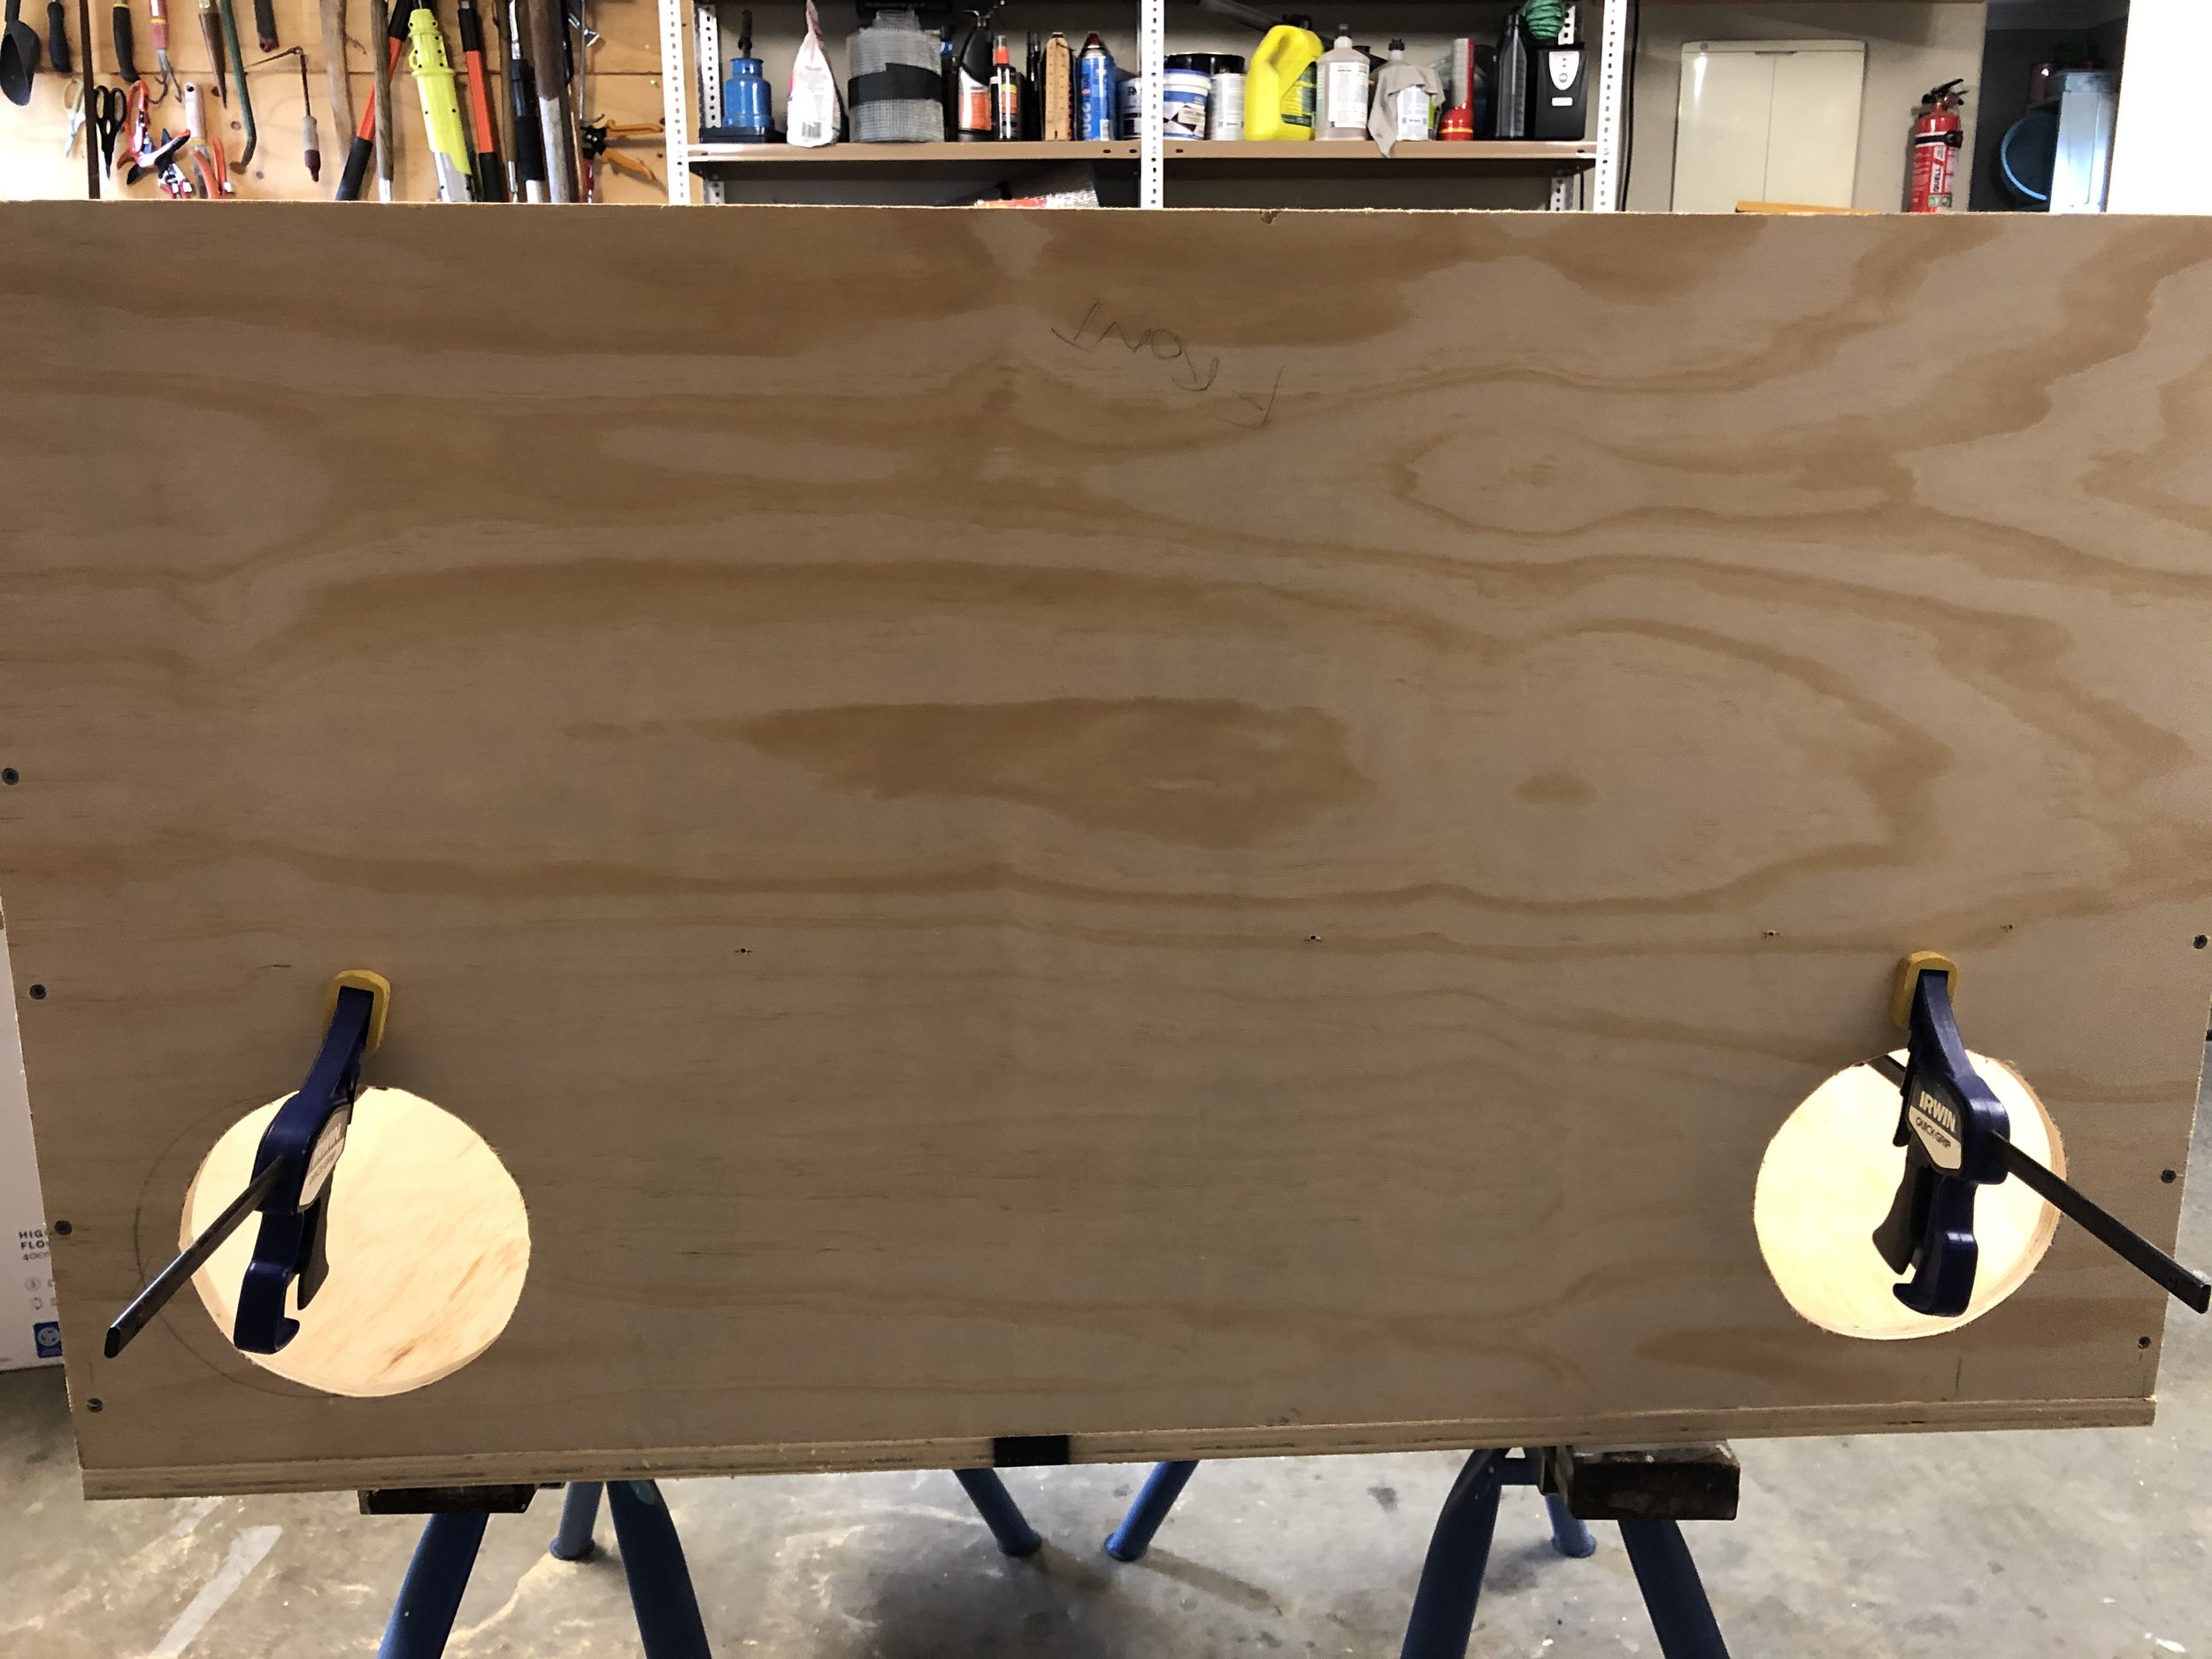
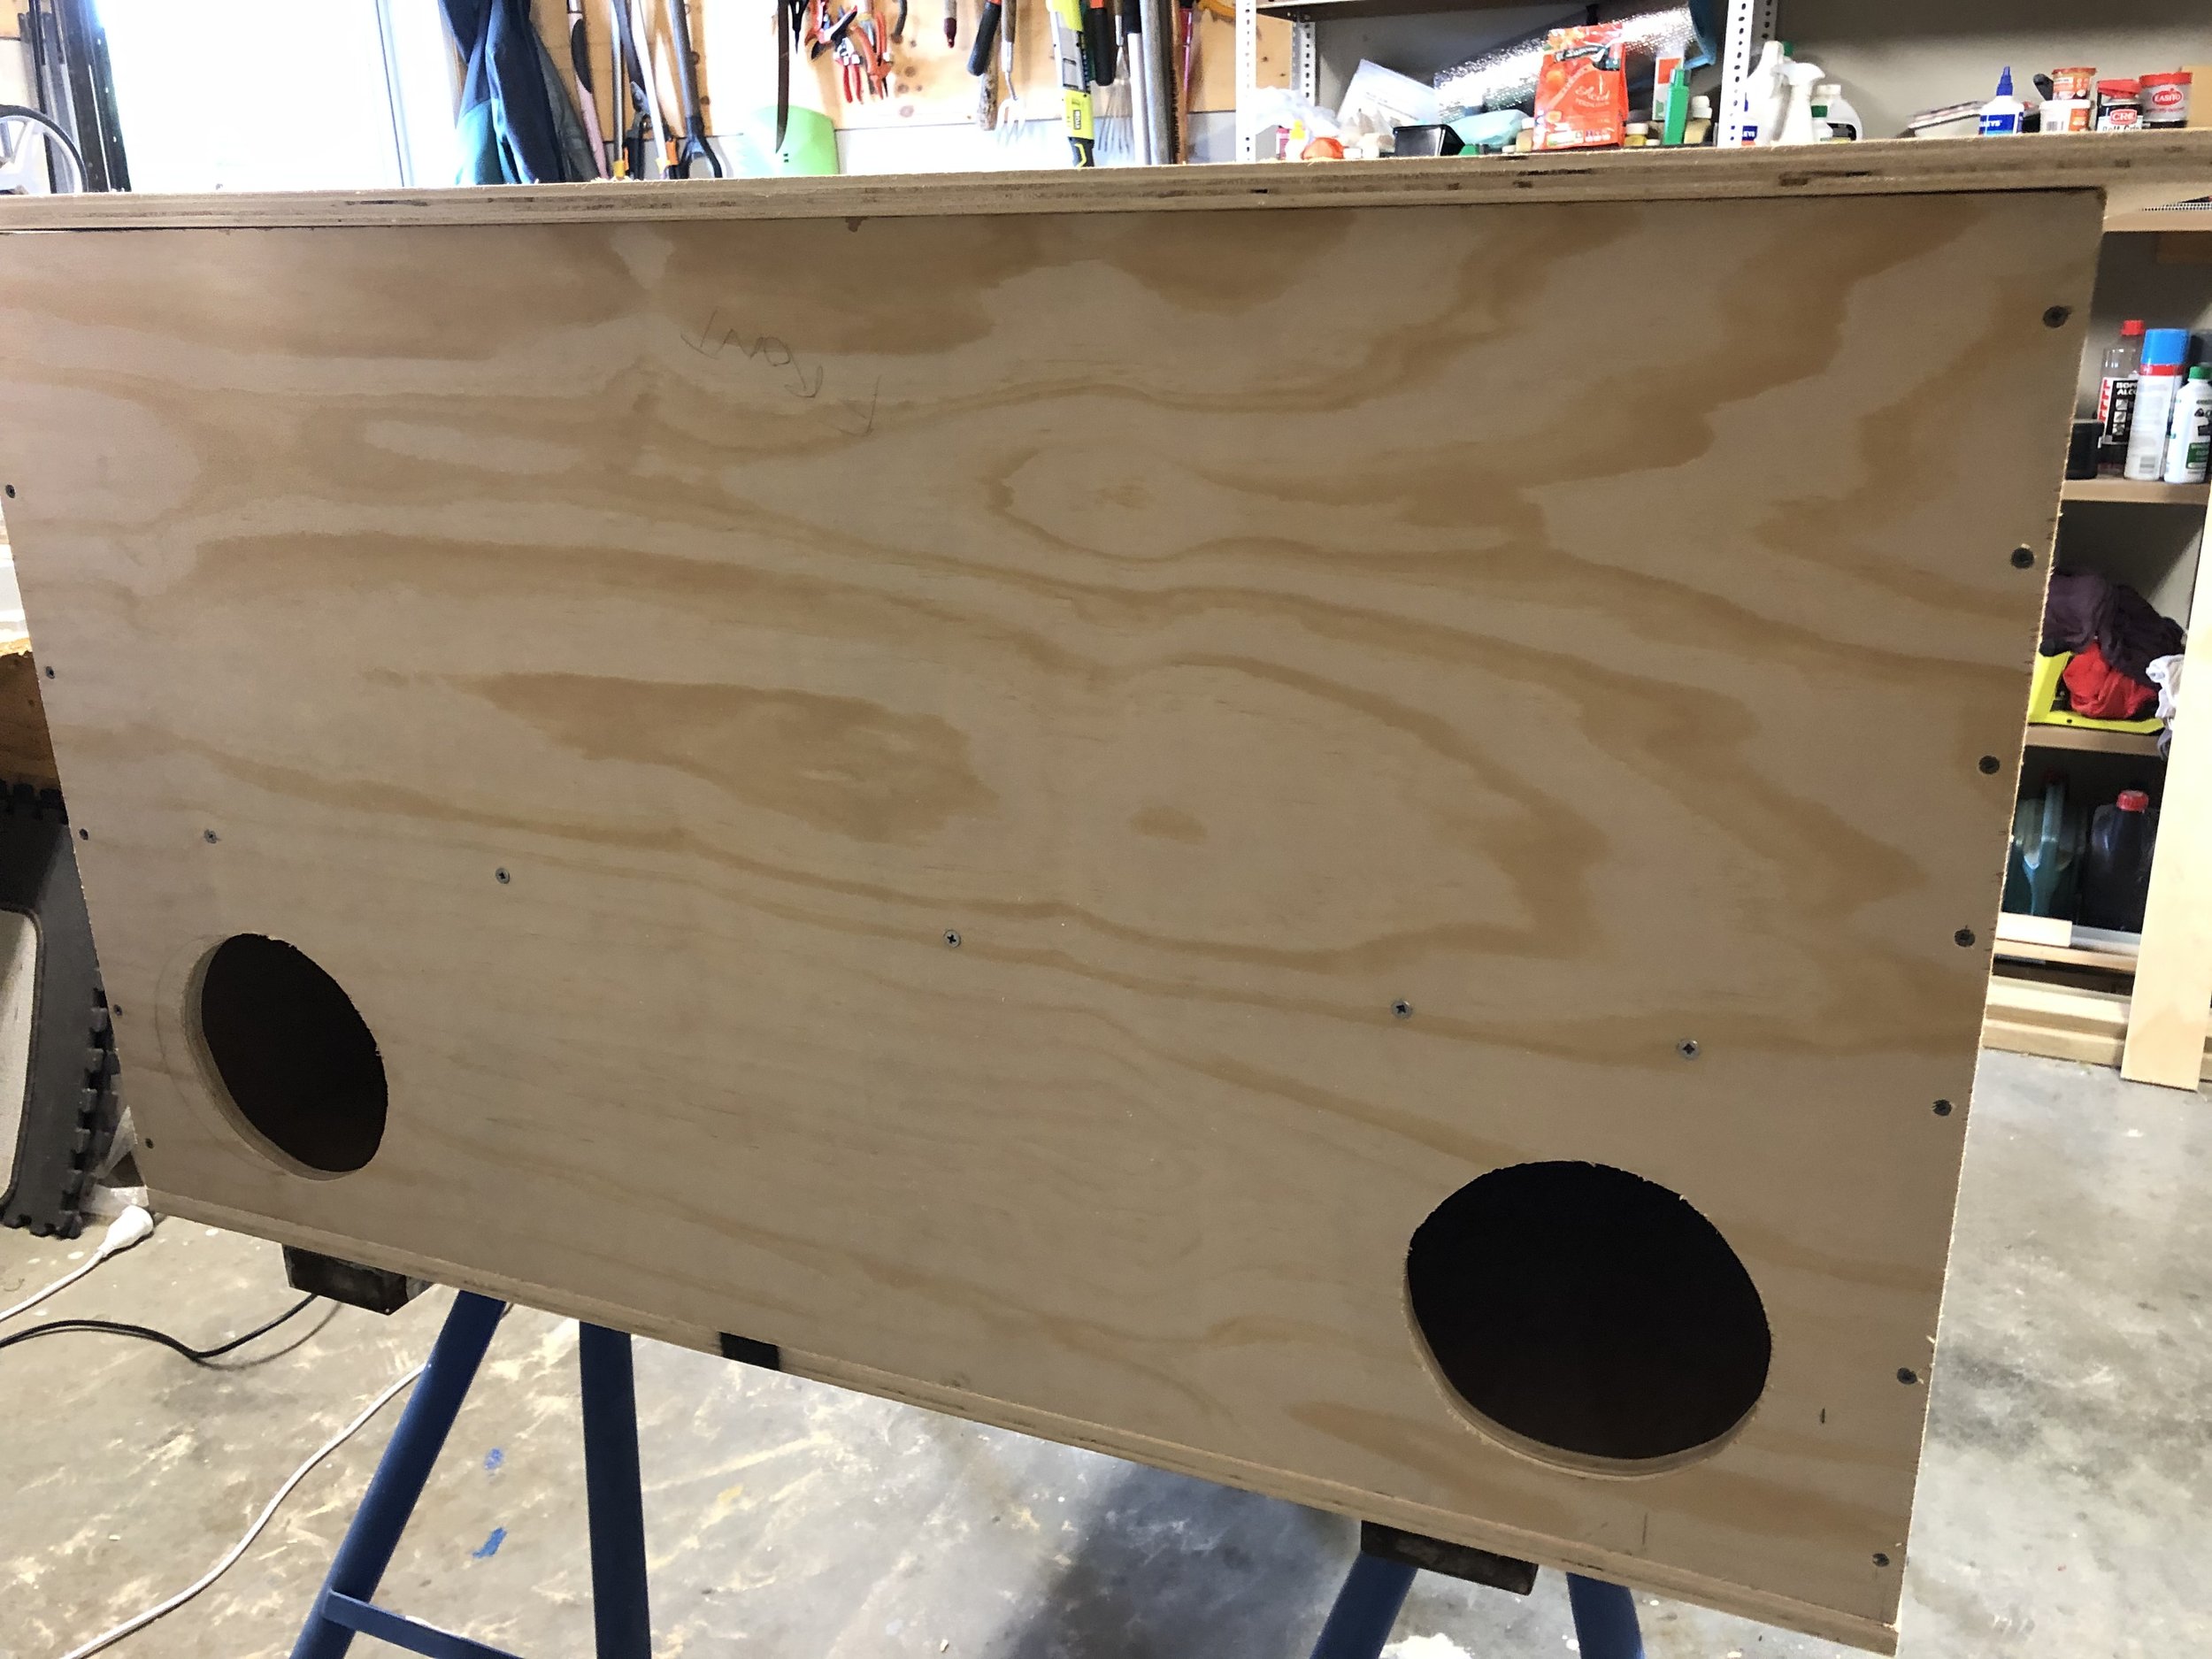
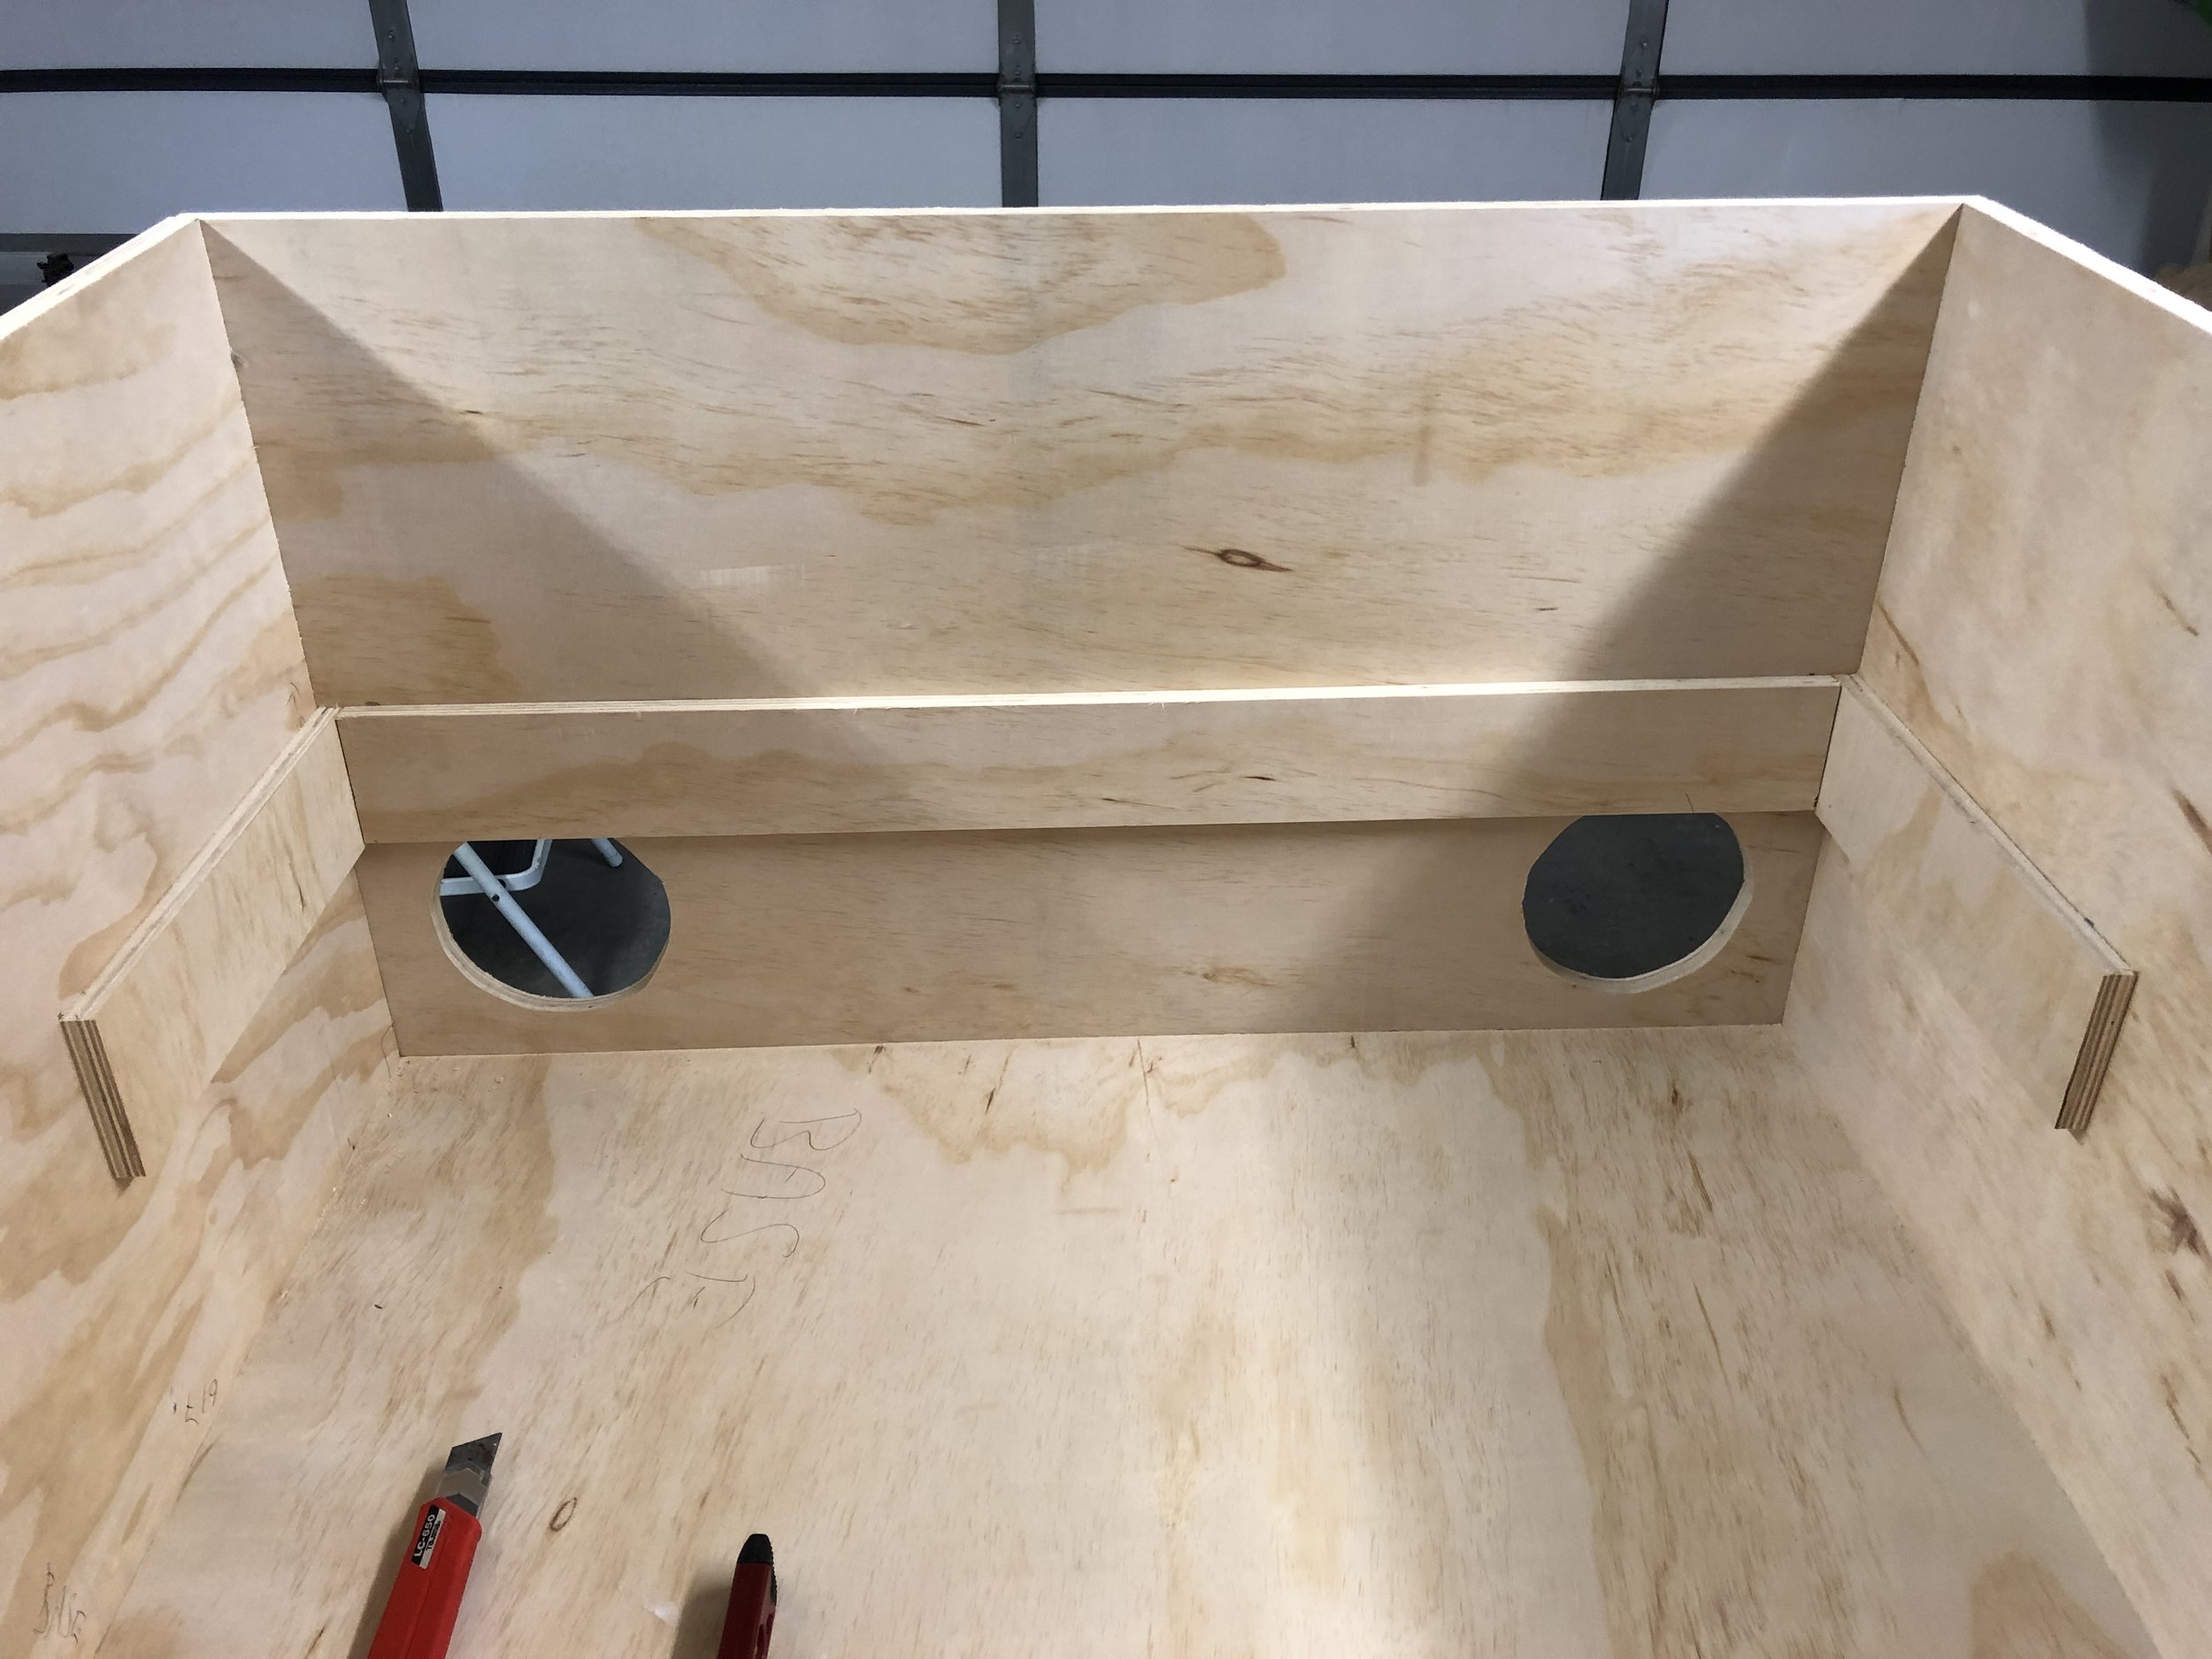
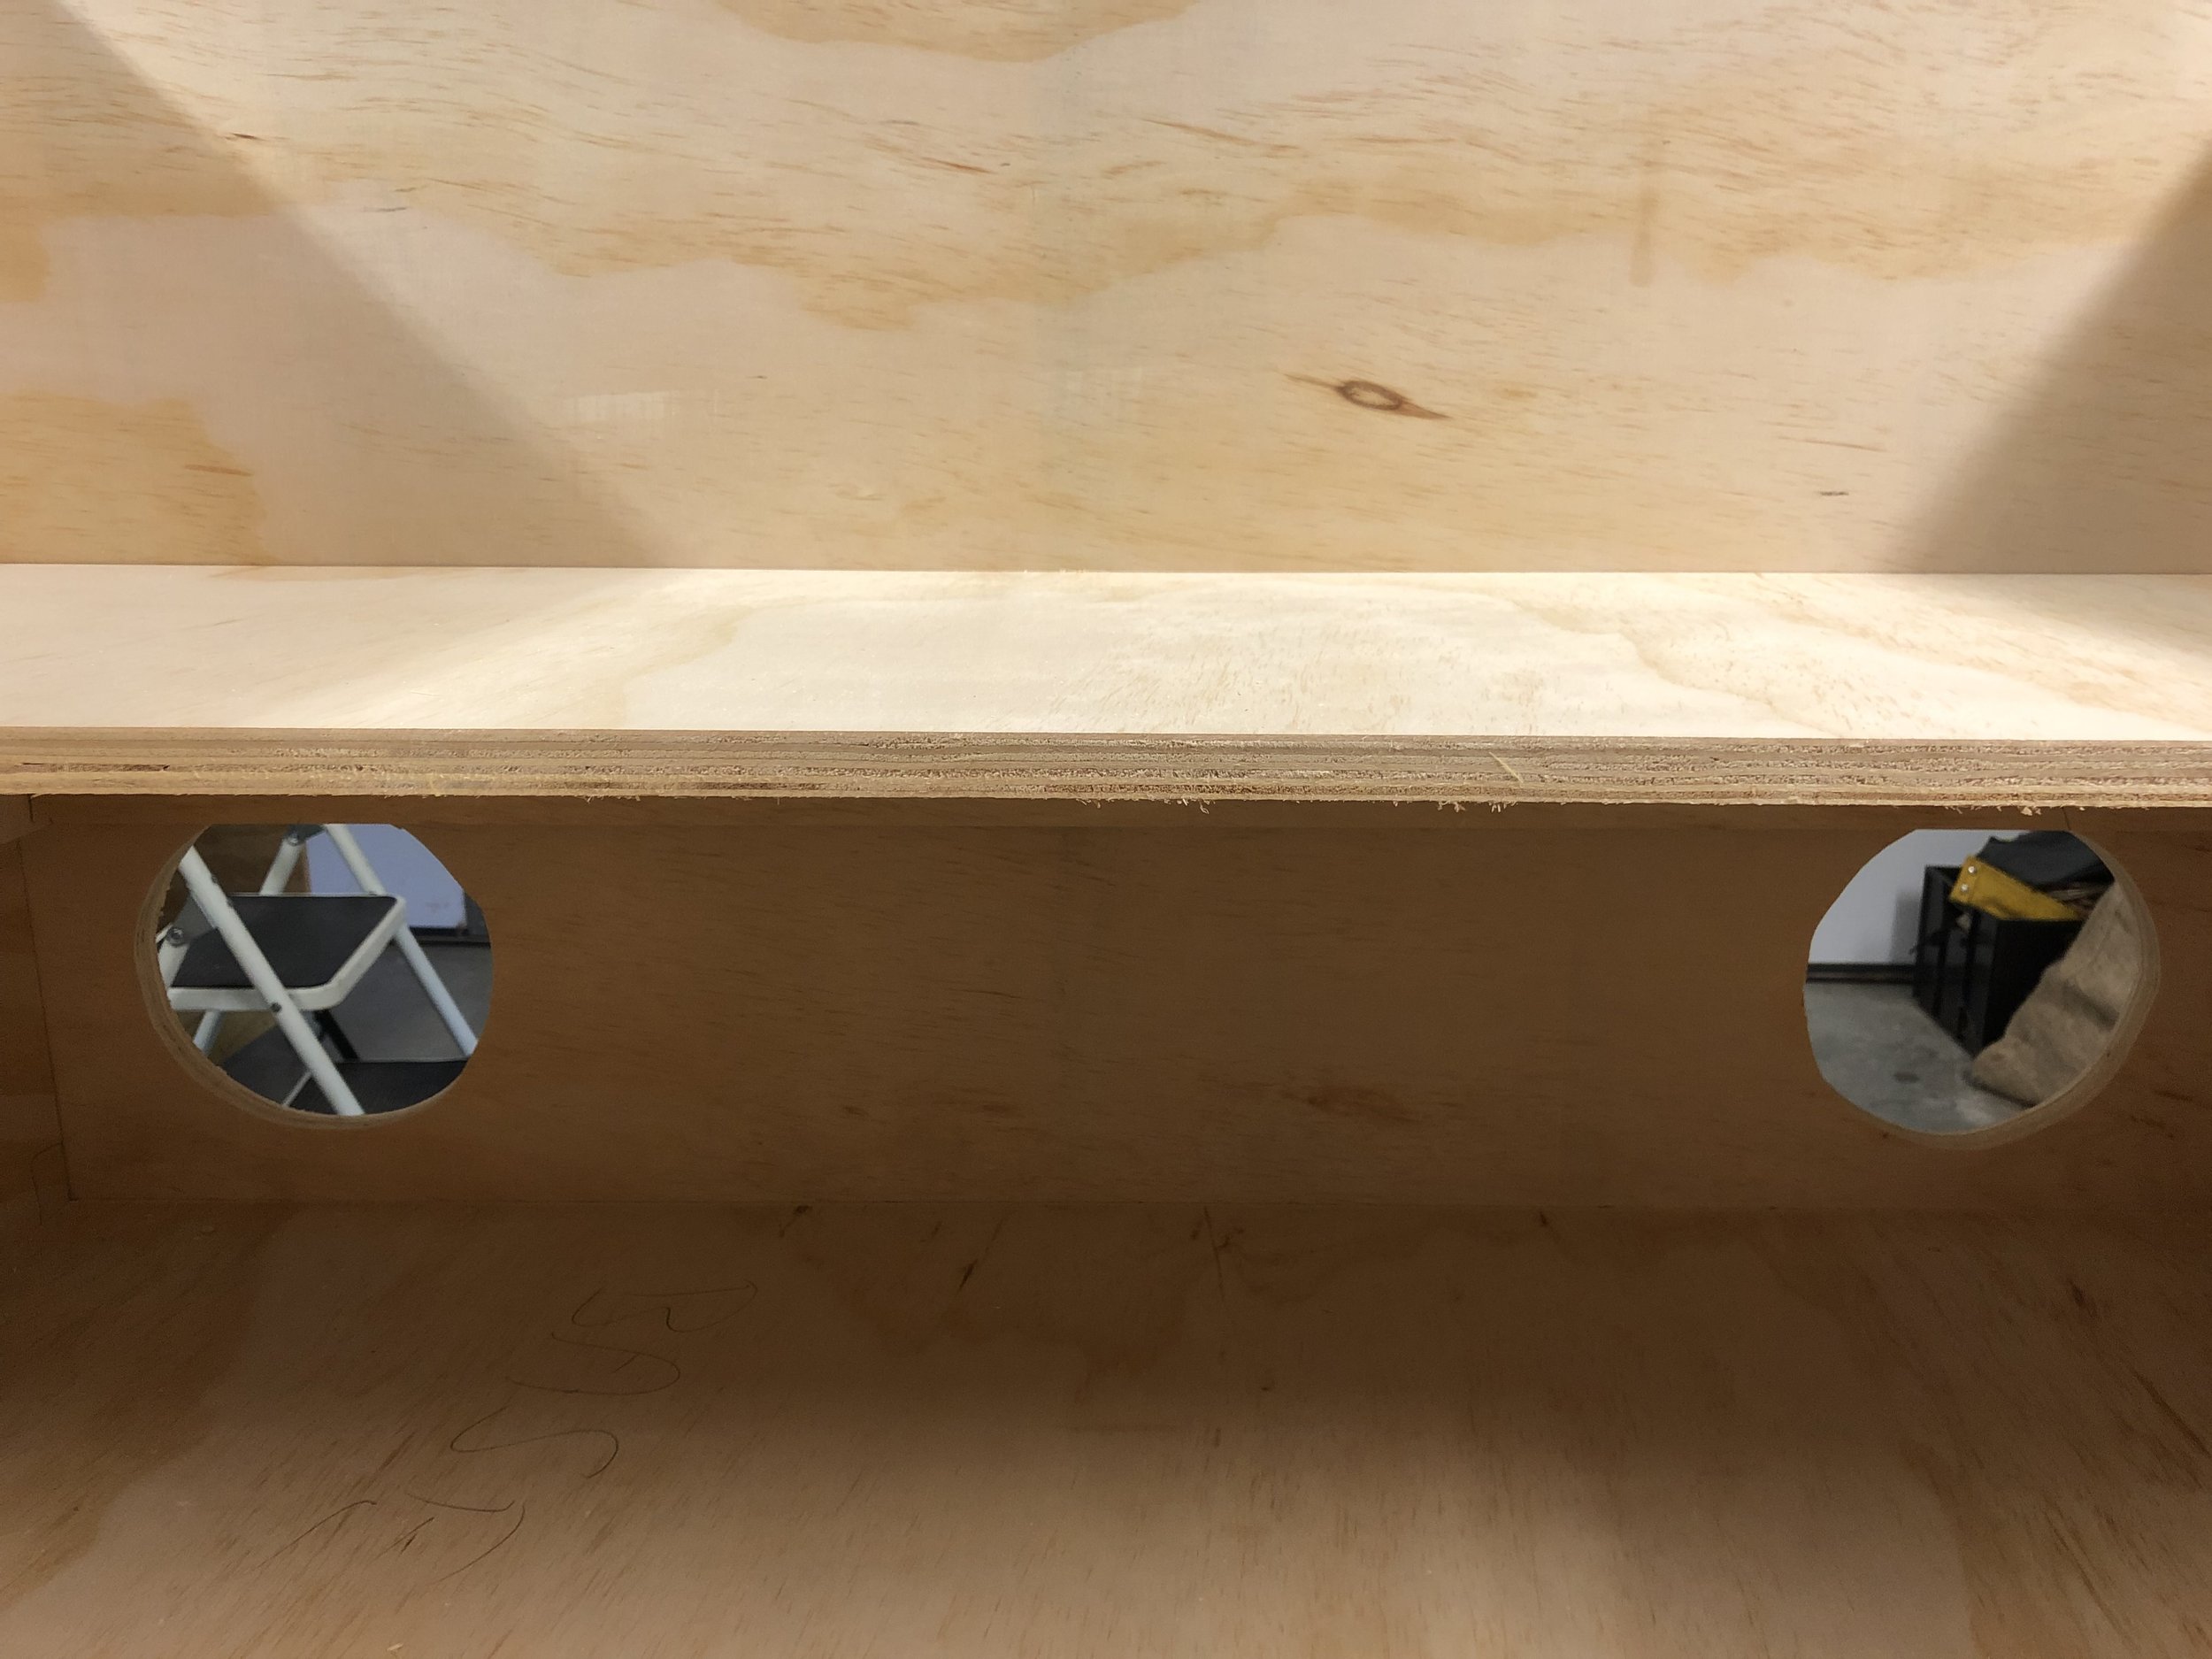
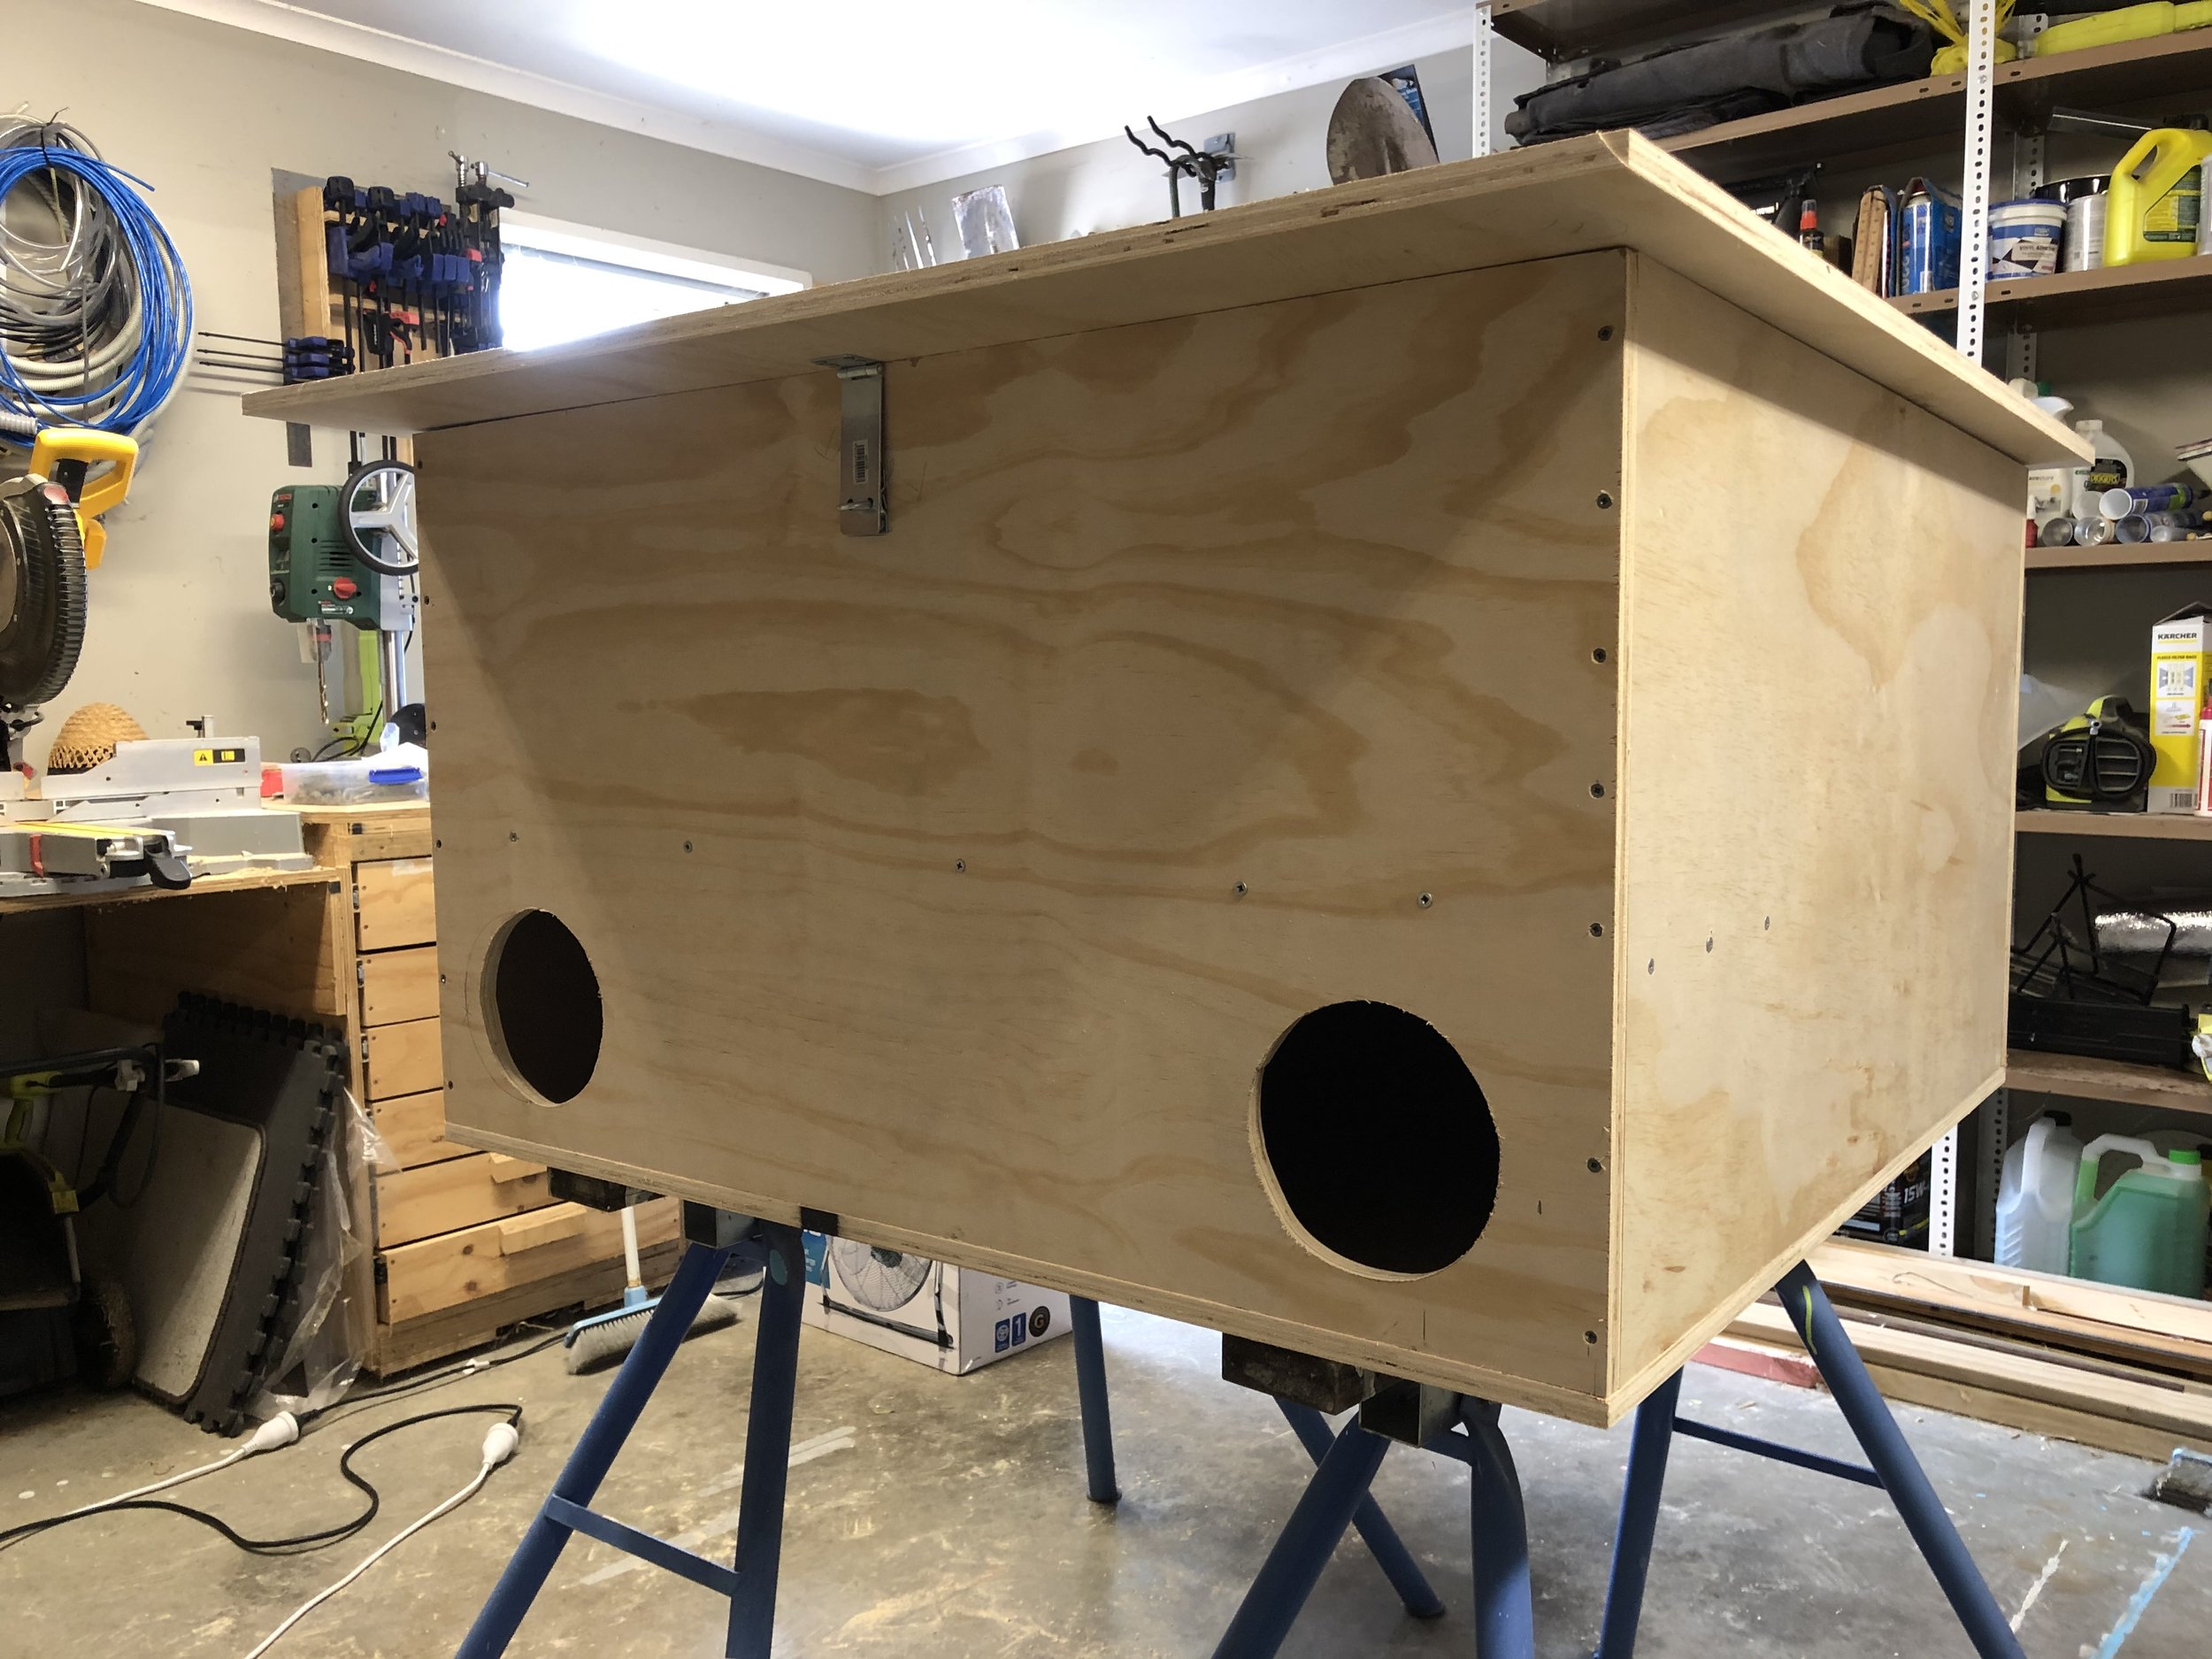
DOOR HOLES
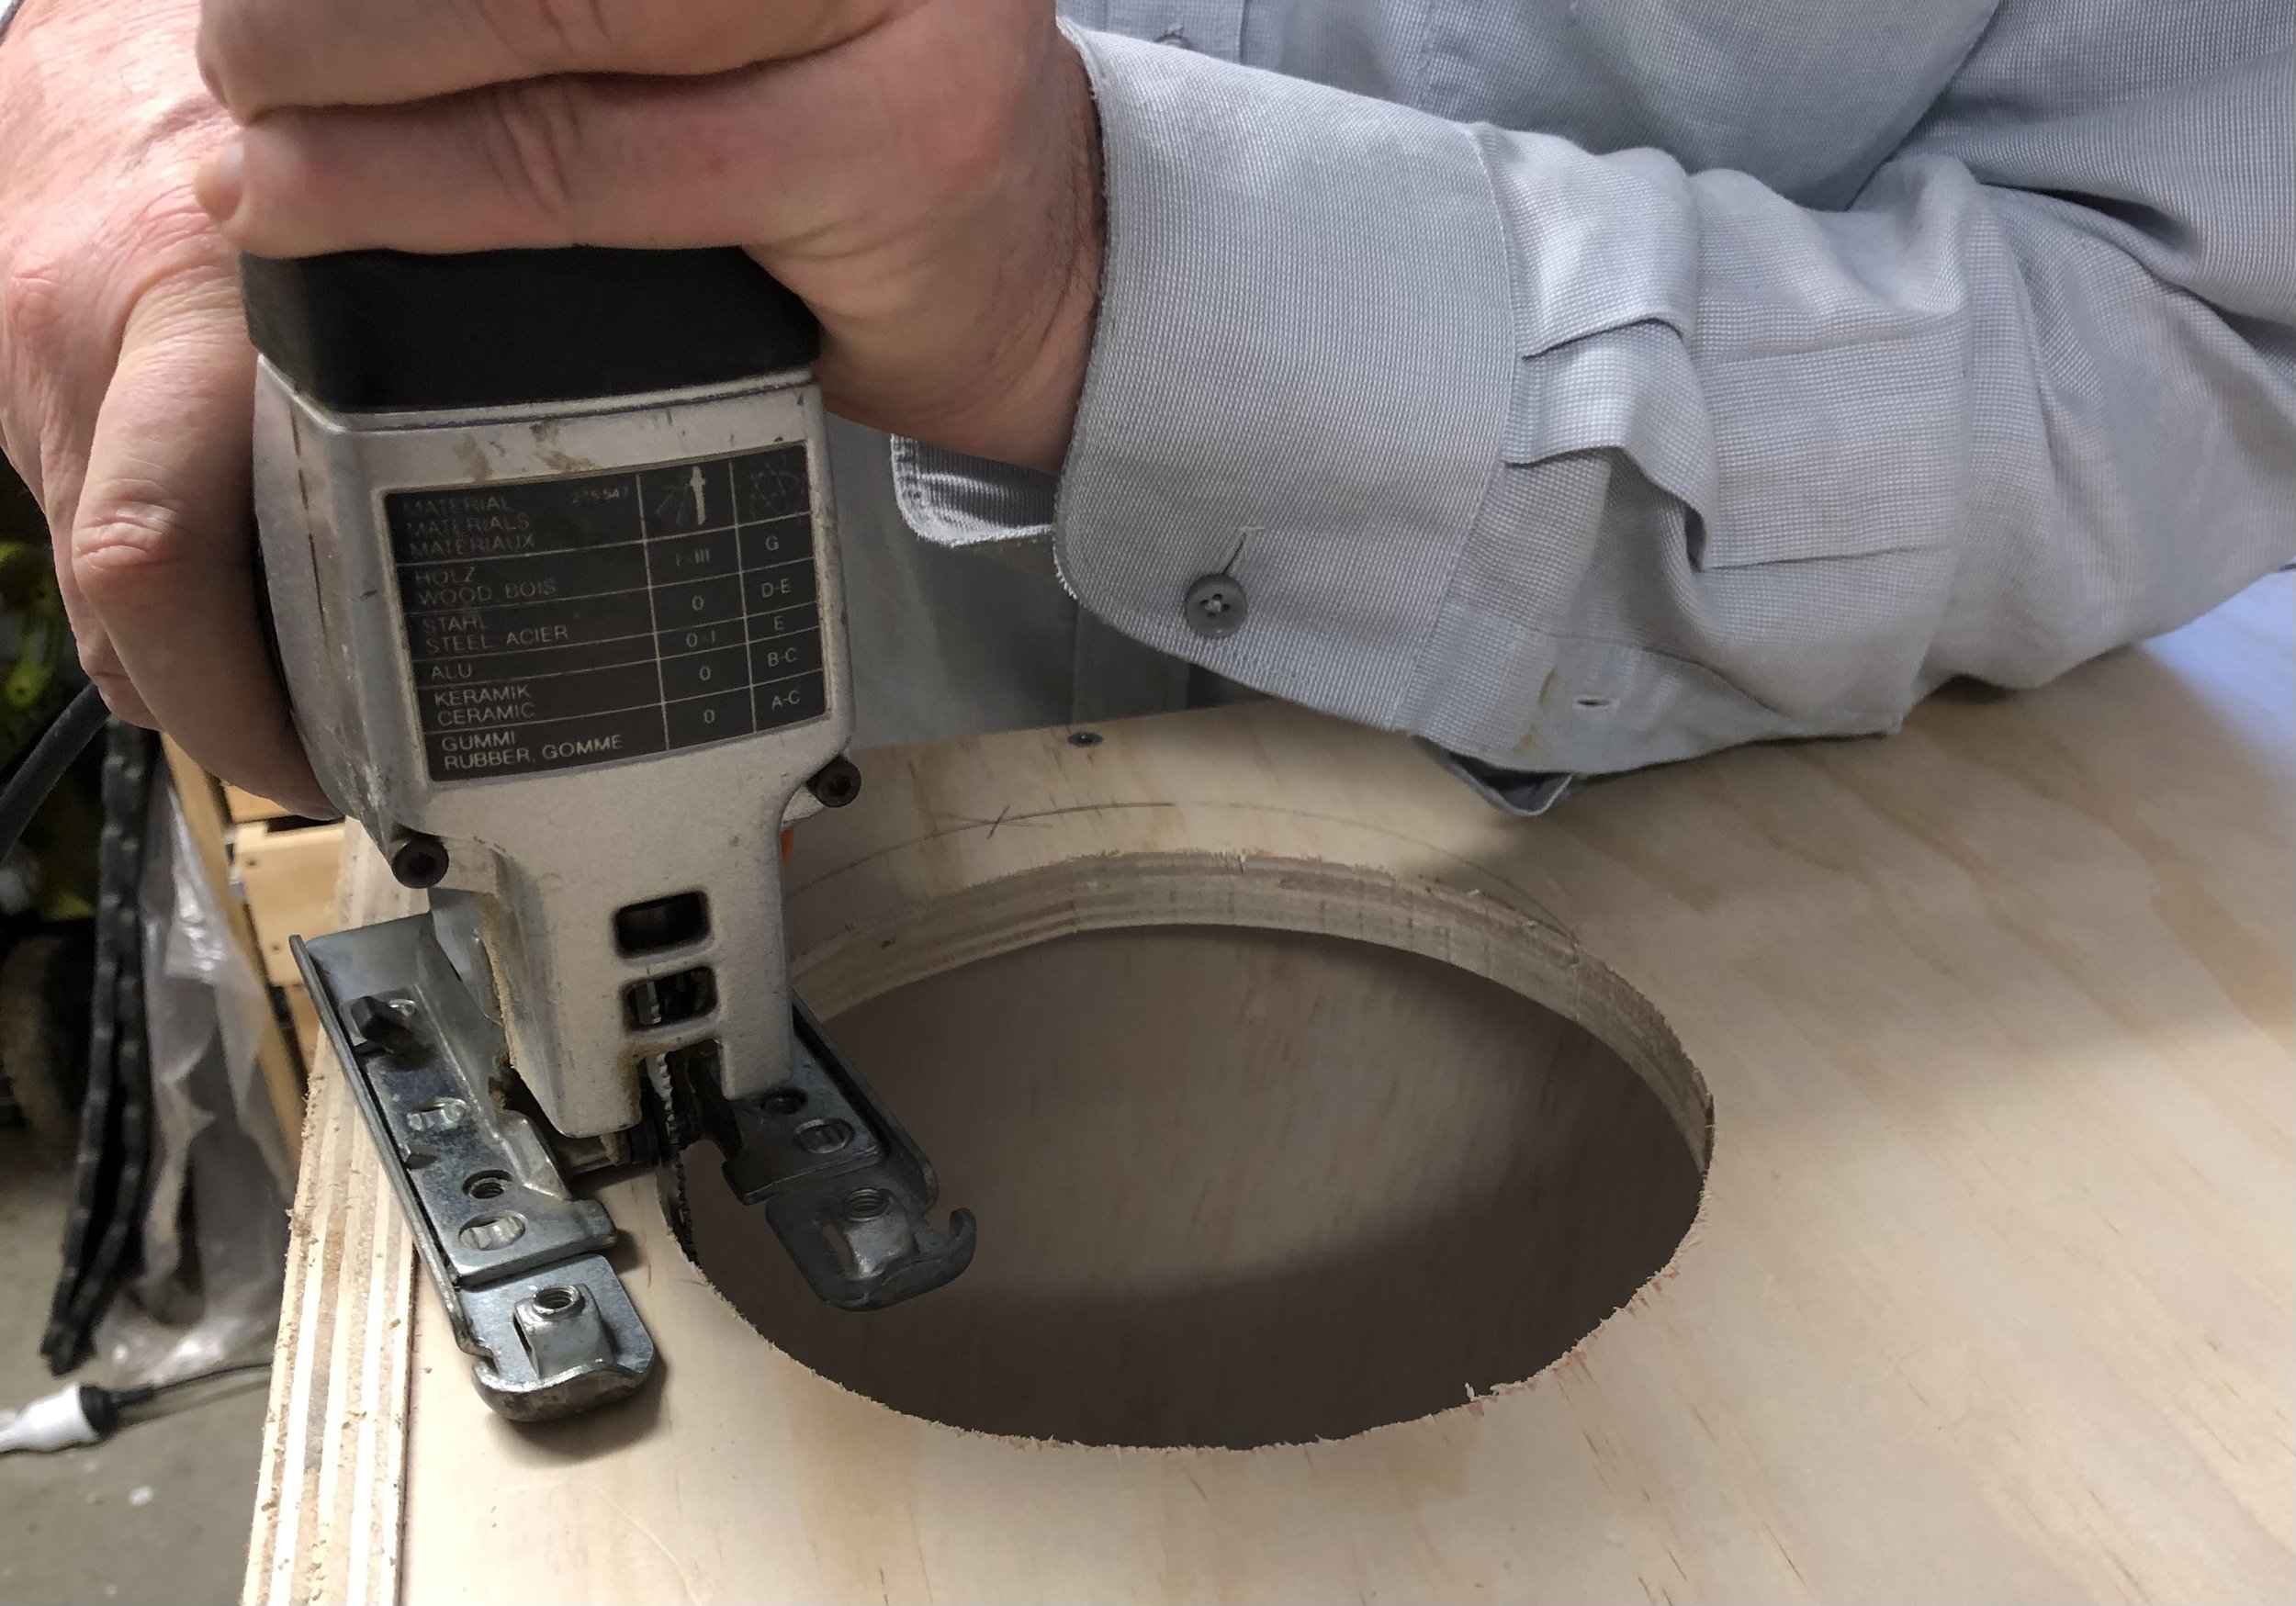
You can either cut the door holes before assembling the box, or after, if you have a jigsaw.
I use an old plant pot as a guide and draw 2 x 16cm circles.
Drill a large pilot hole for the Jigsaw Blade and cut out the holes.
Alternatively measure and mark your doors - 15cm wide and 20cm high is a good size, and cut out with your saw.
I like to have the doors close to the side walls to maximise the area inside the box that is sheltered. Just remember to stay clear of any screws coming up from the base.


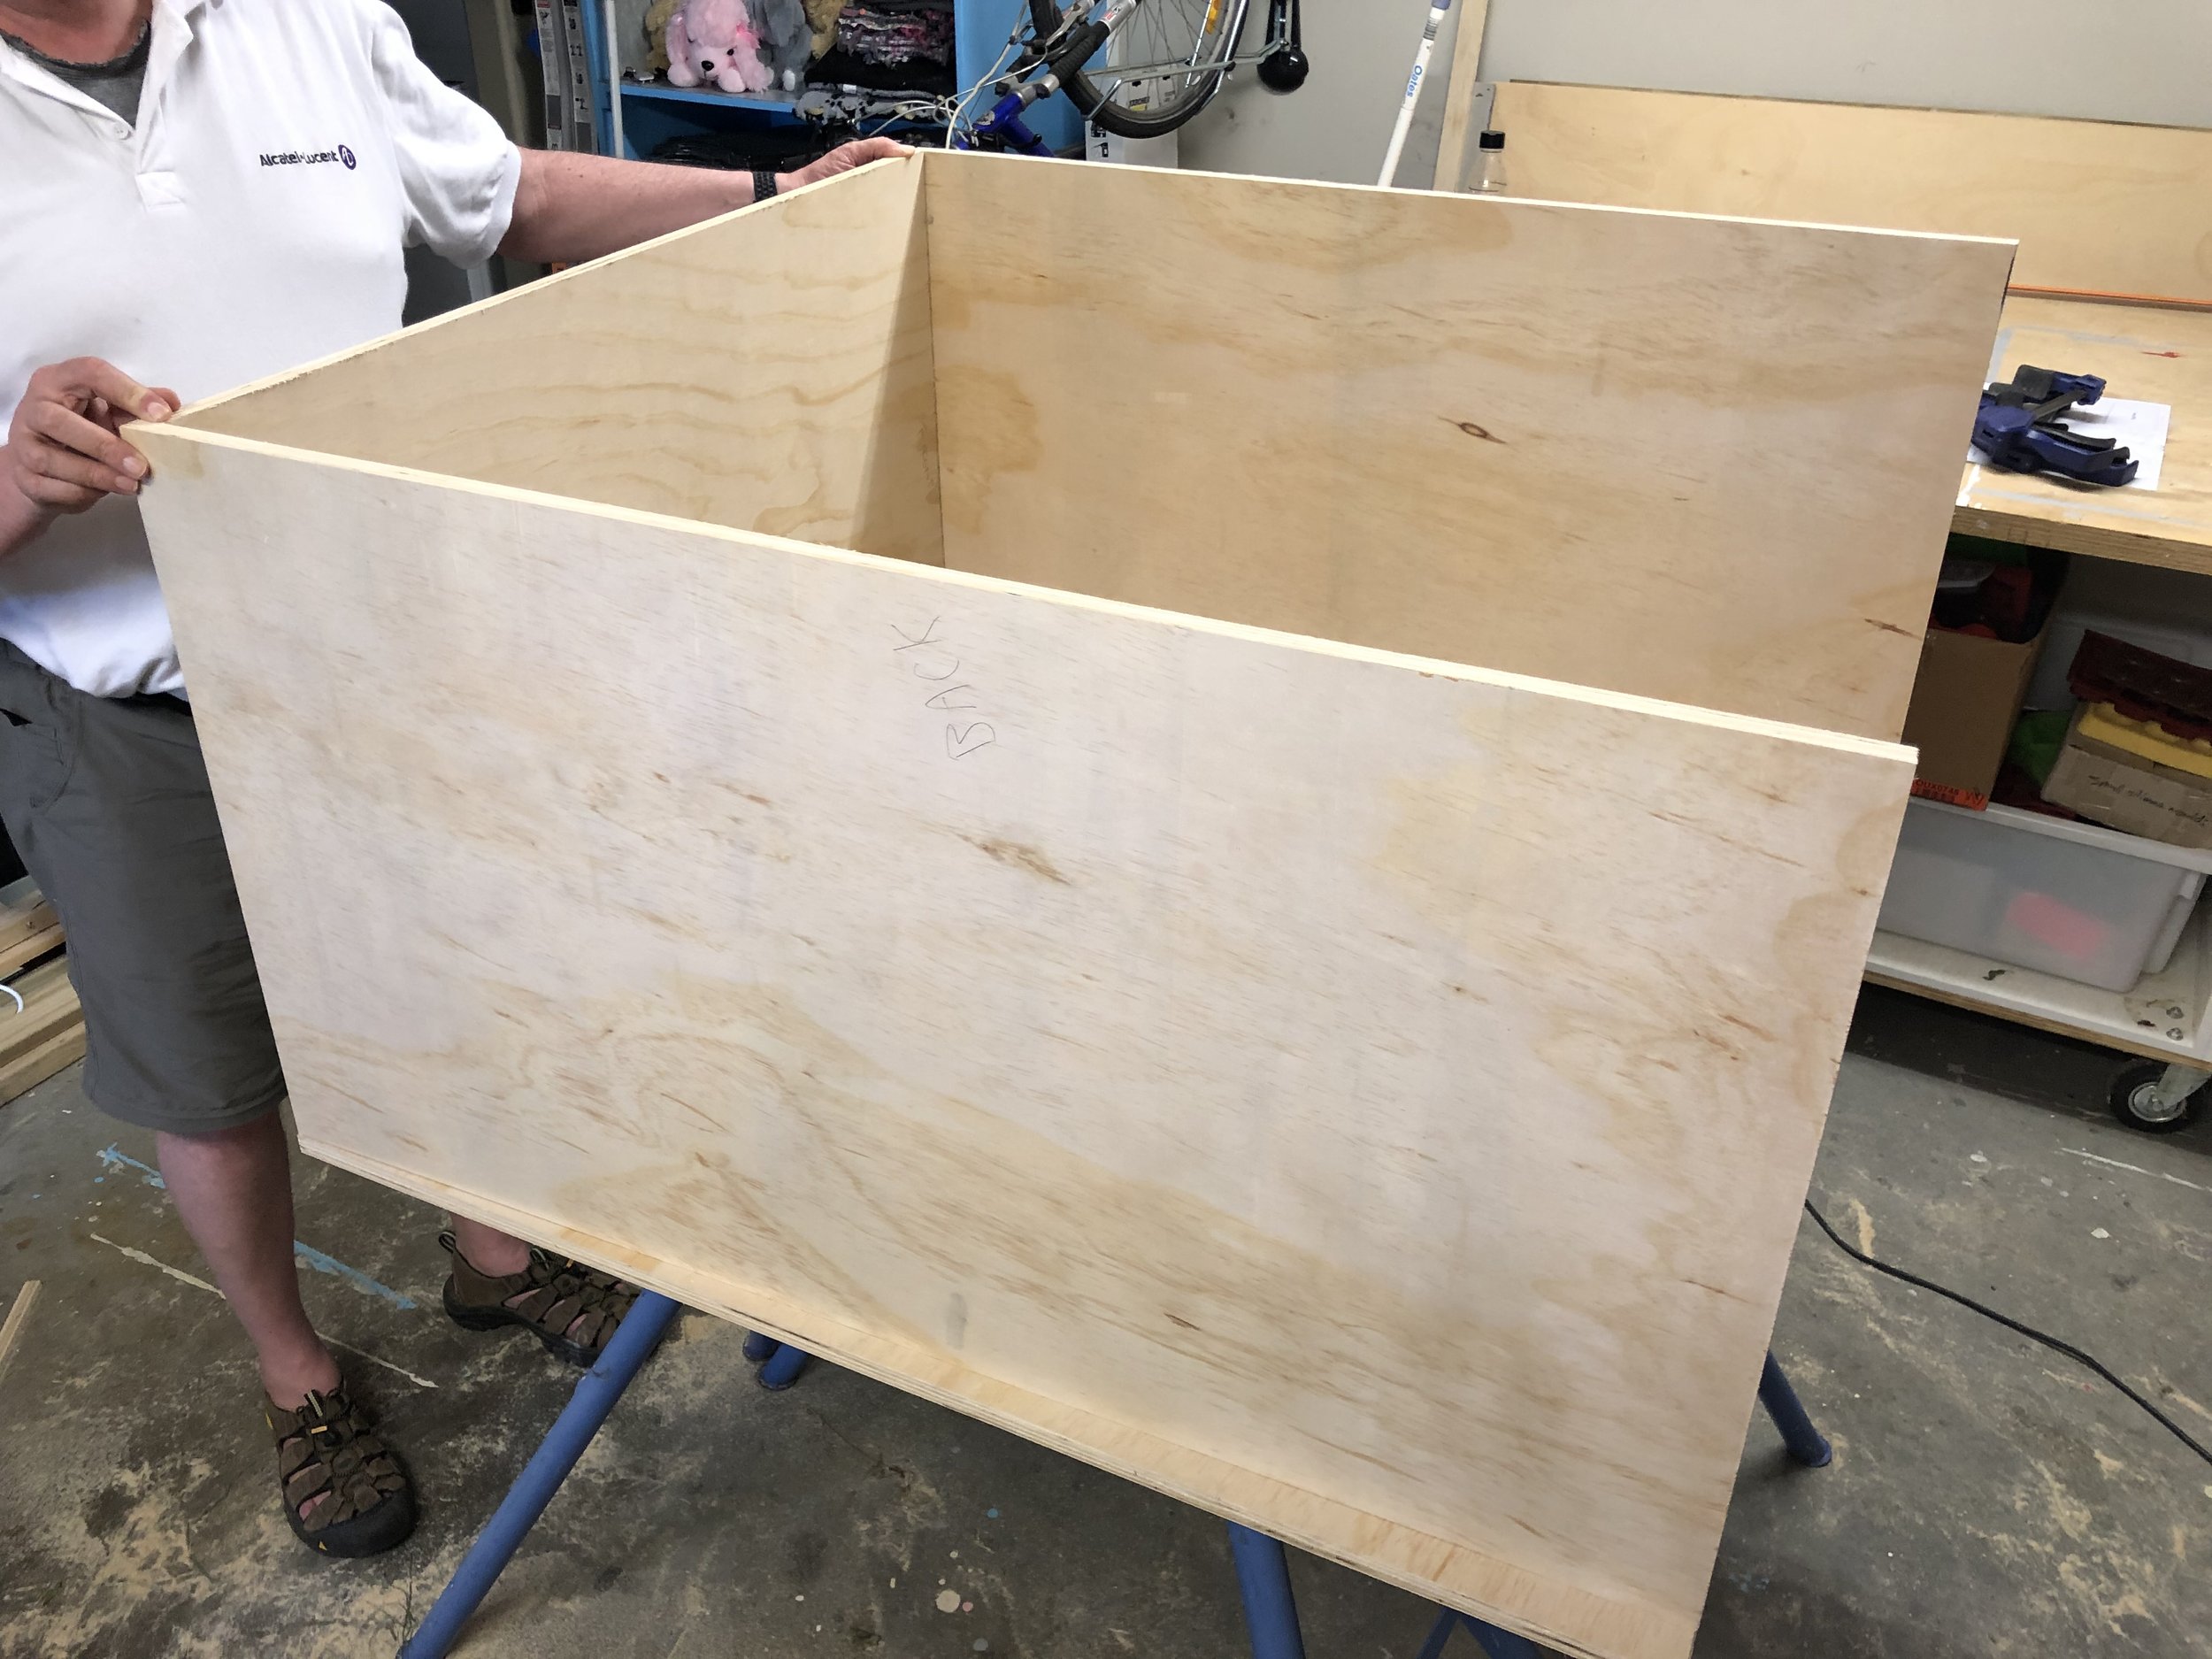
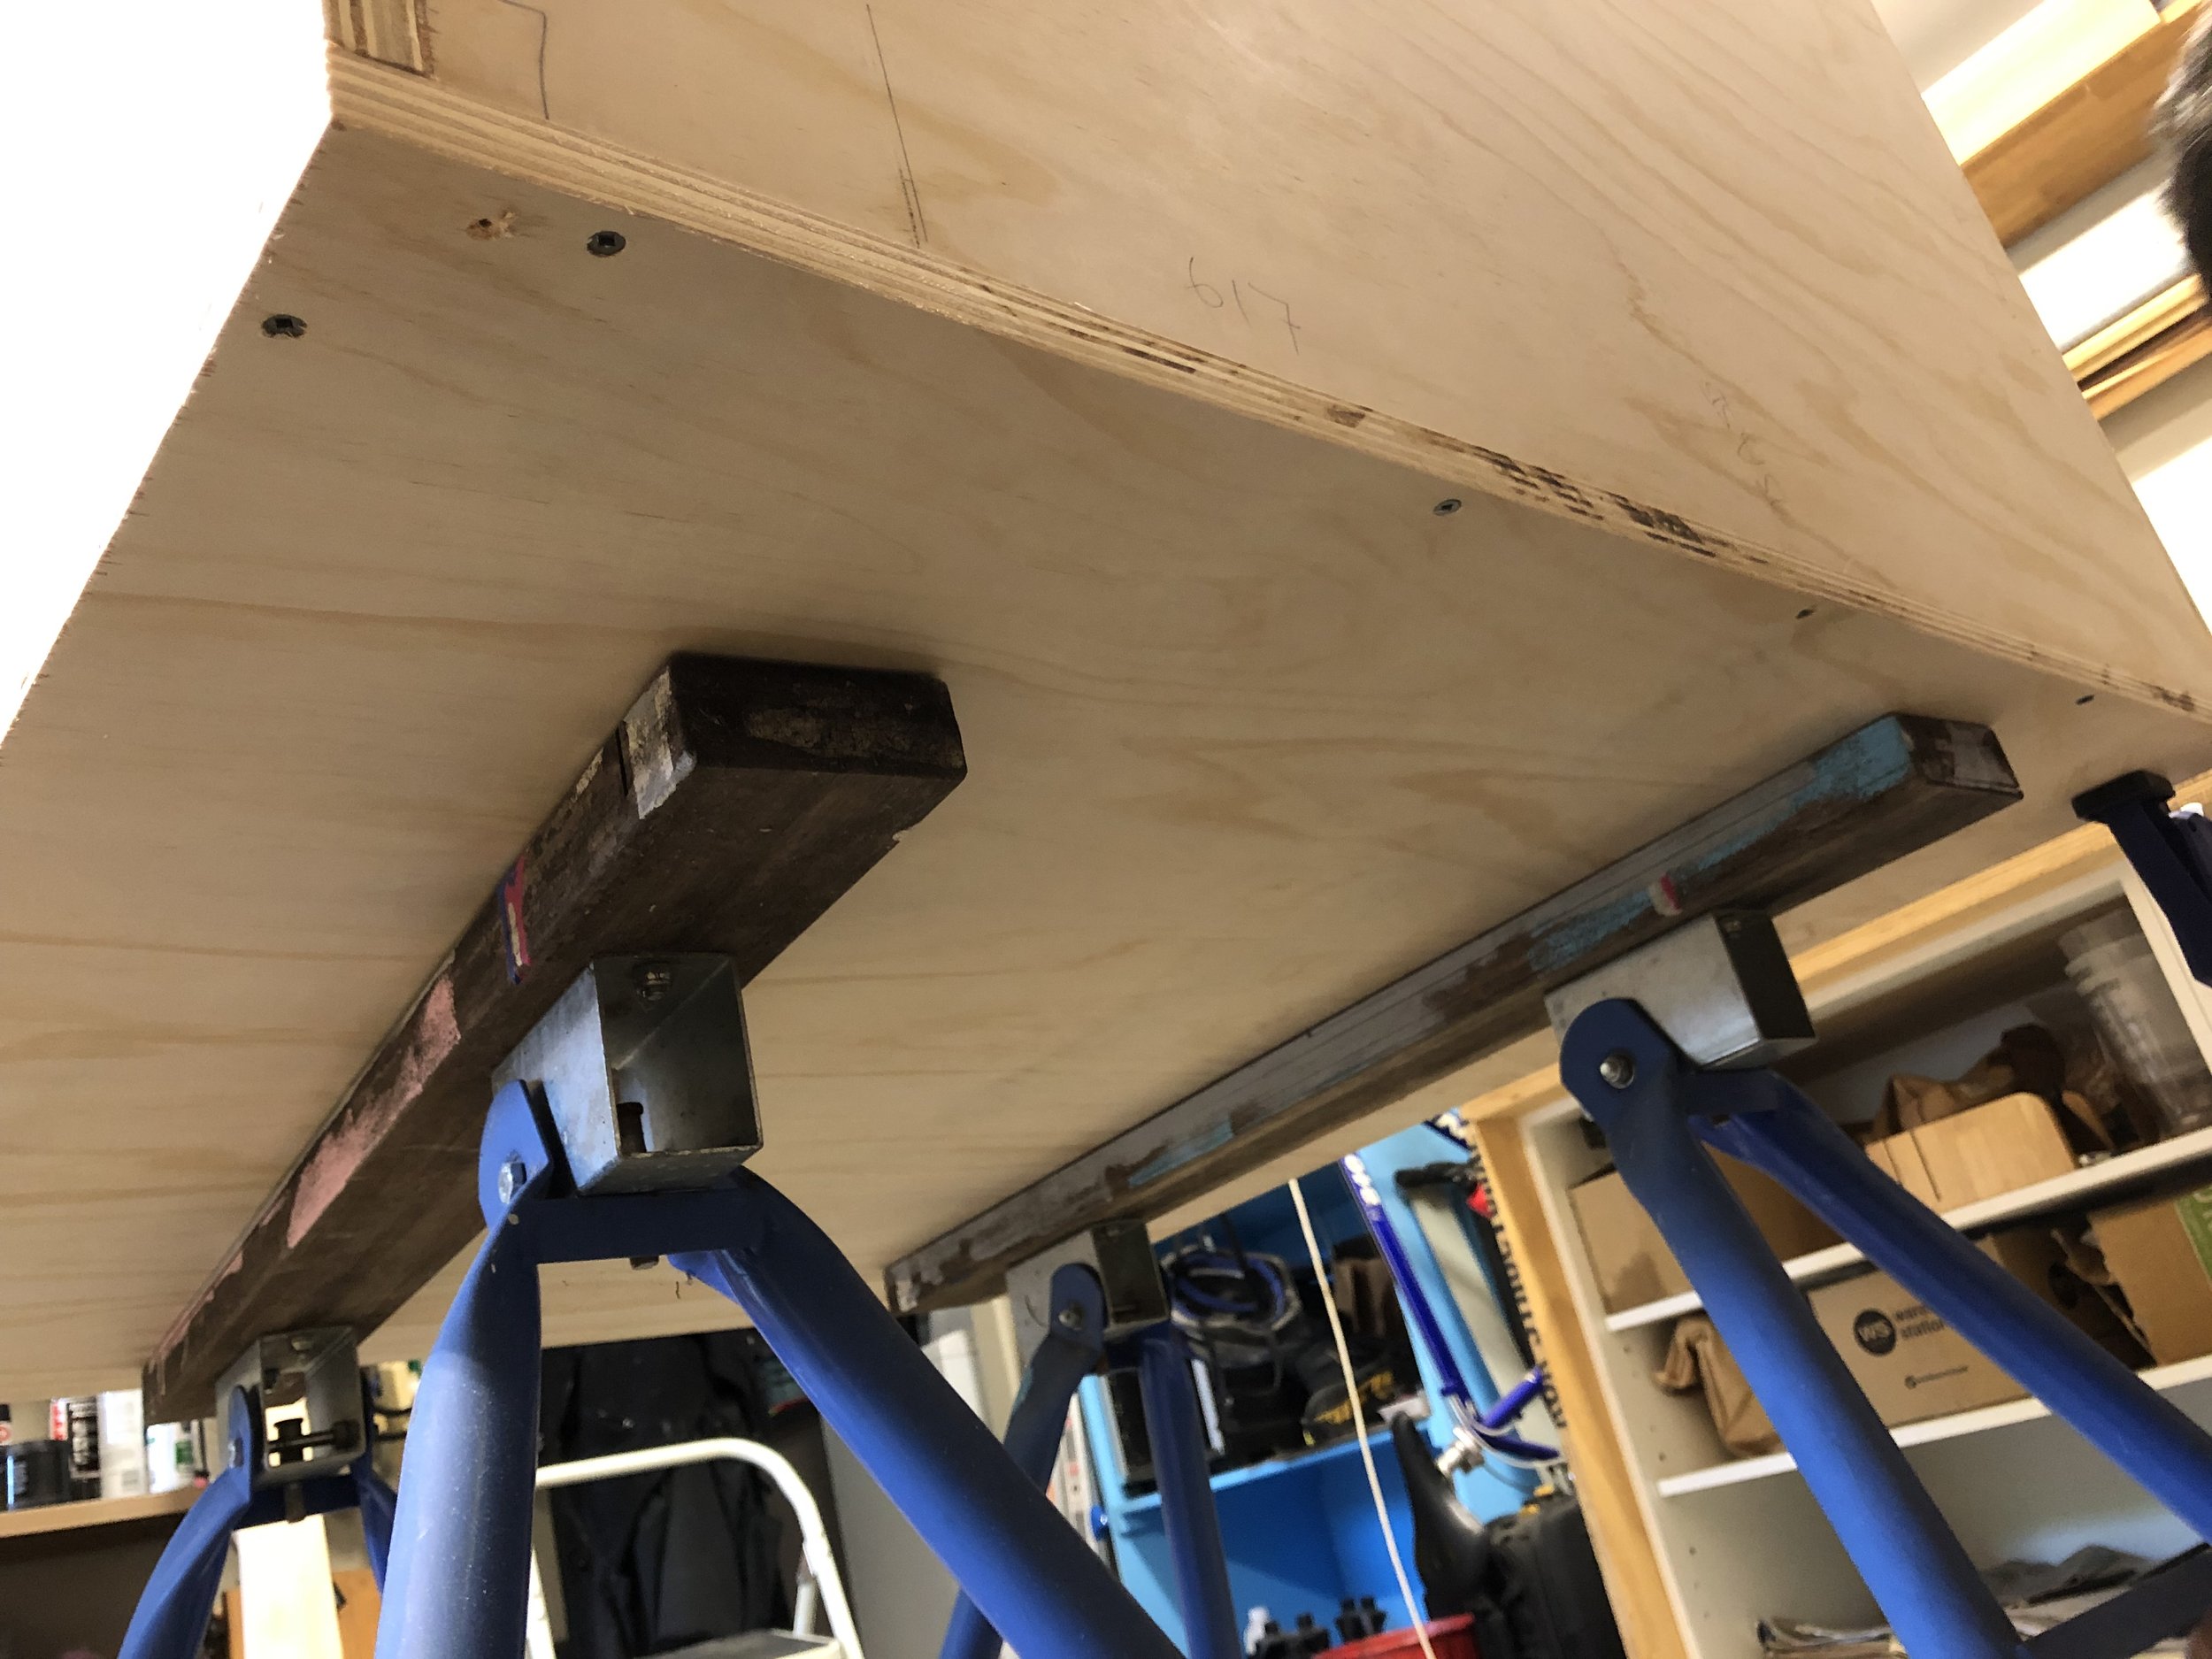
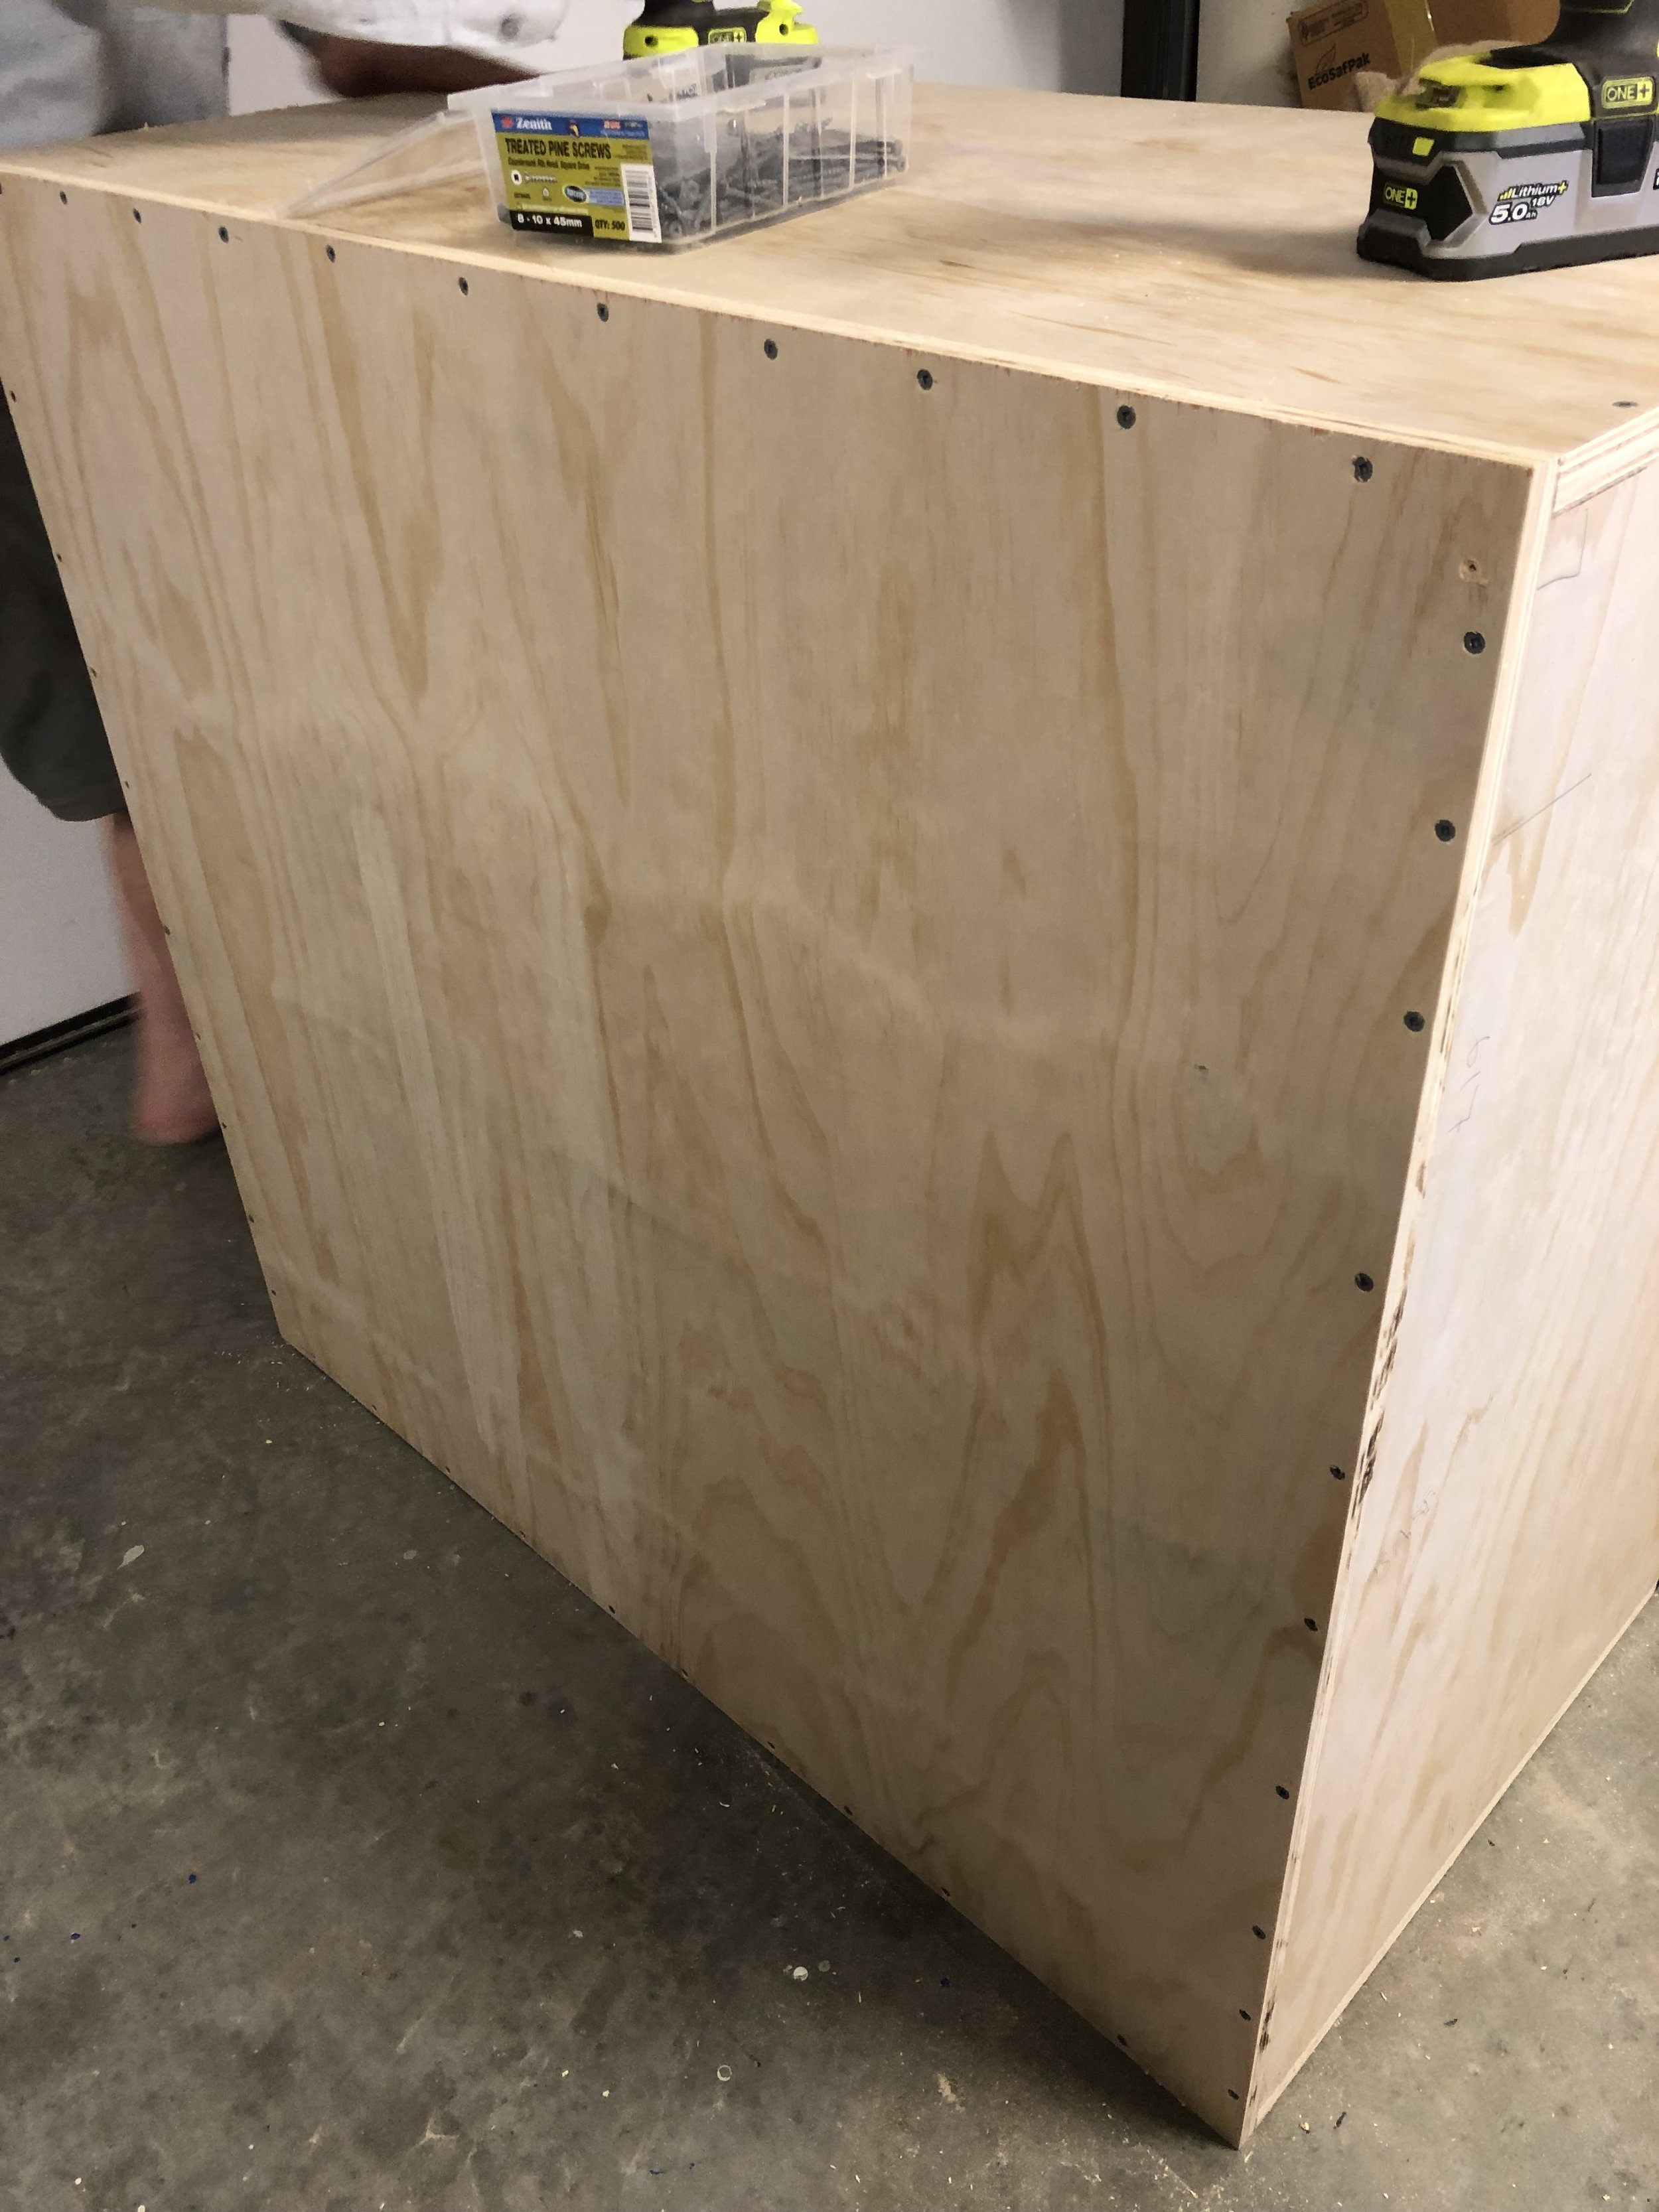
Now we start to put the box together … It is important to assemble the box on a completely flat surface. We assembled our box up on Saw horses. There are a few ways you can build the box. We suggest you have a 2nd pair of hands to help at this stage.
SNUGGLE BOX ASSEMBLY
Here’s one approach…
Place the Base on your saw horses or on a flat platform.
Place the Front on the Base along the edge that it fits exactly on.
Place one Side on the Base - make sure to put the edge marked ‘Bottom Edge’ and with the marked square corners on the Base.
If needed, to make sure you have the pieces in the right place do a ‘test fit’ with the Front and both Sides. Once you are happy that you have things in the right position, remove one Side.
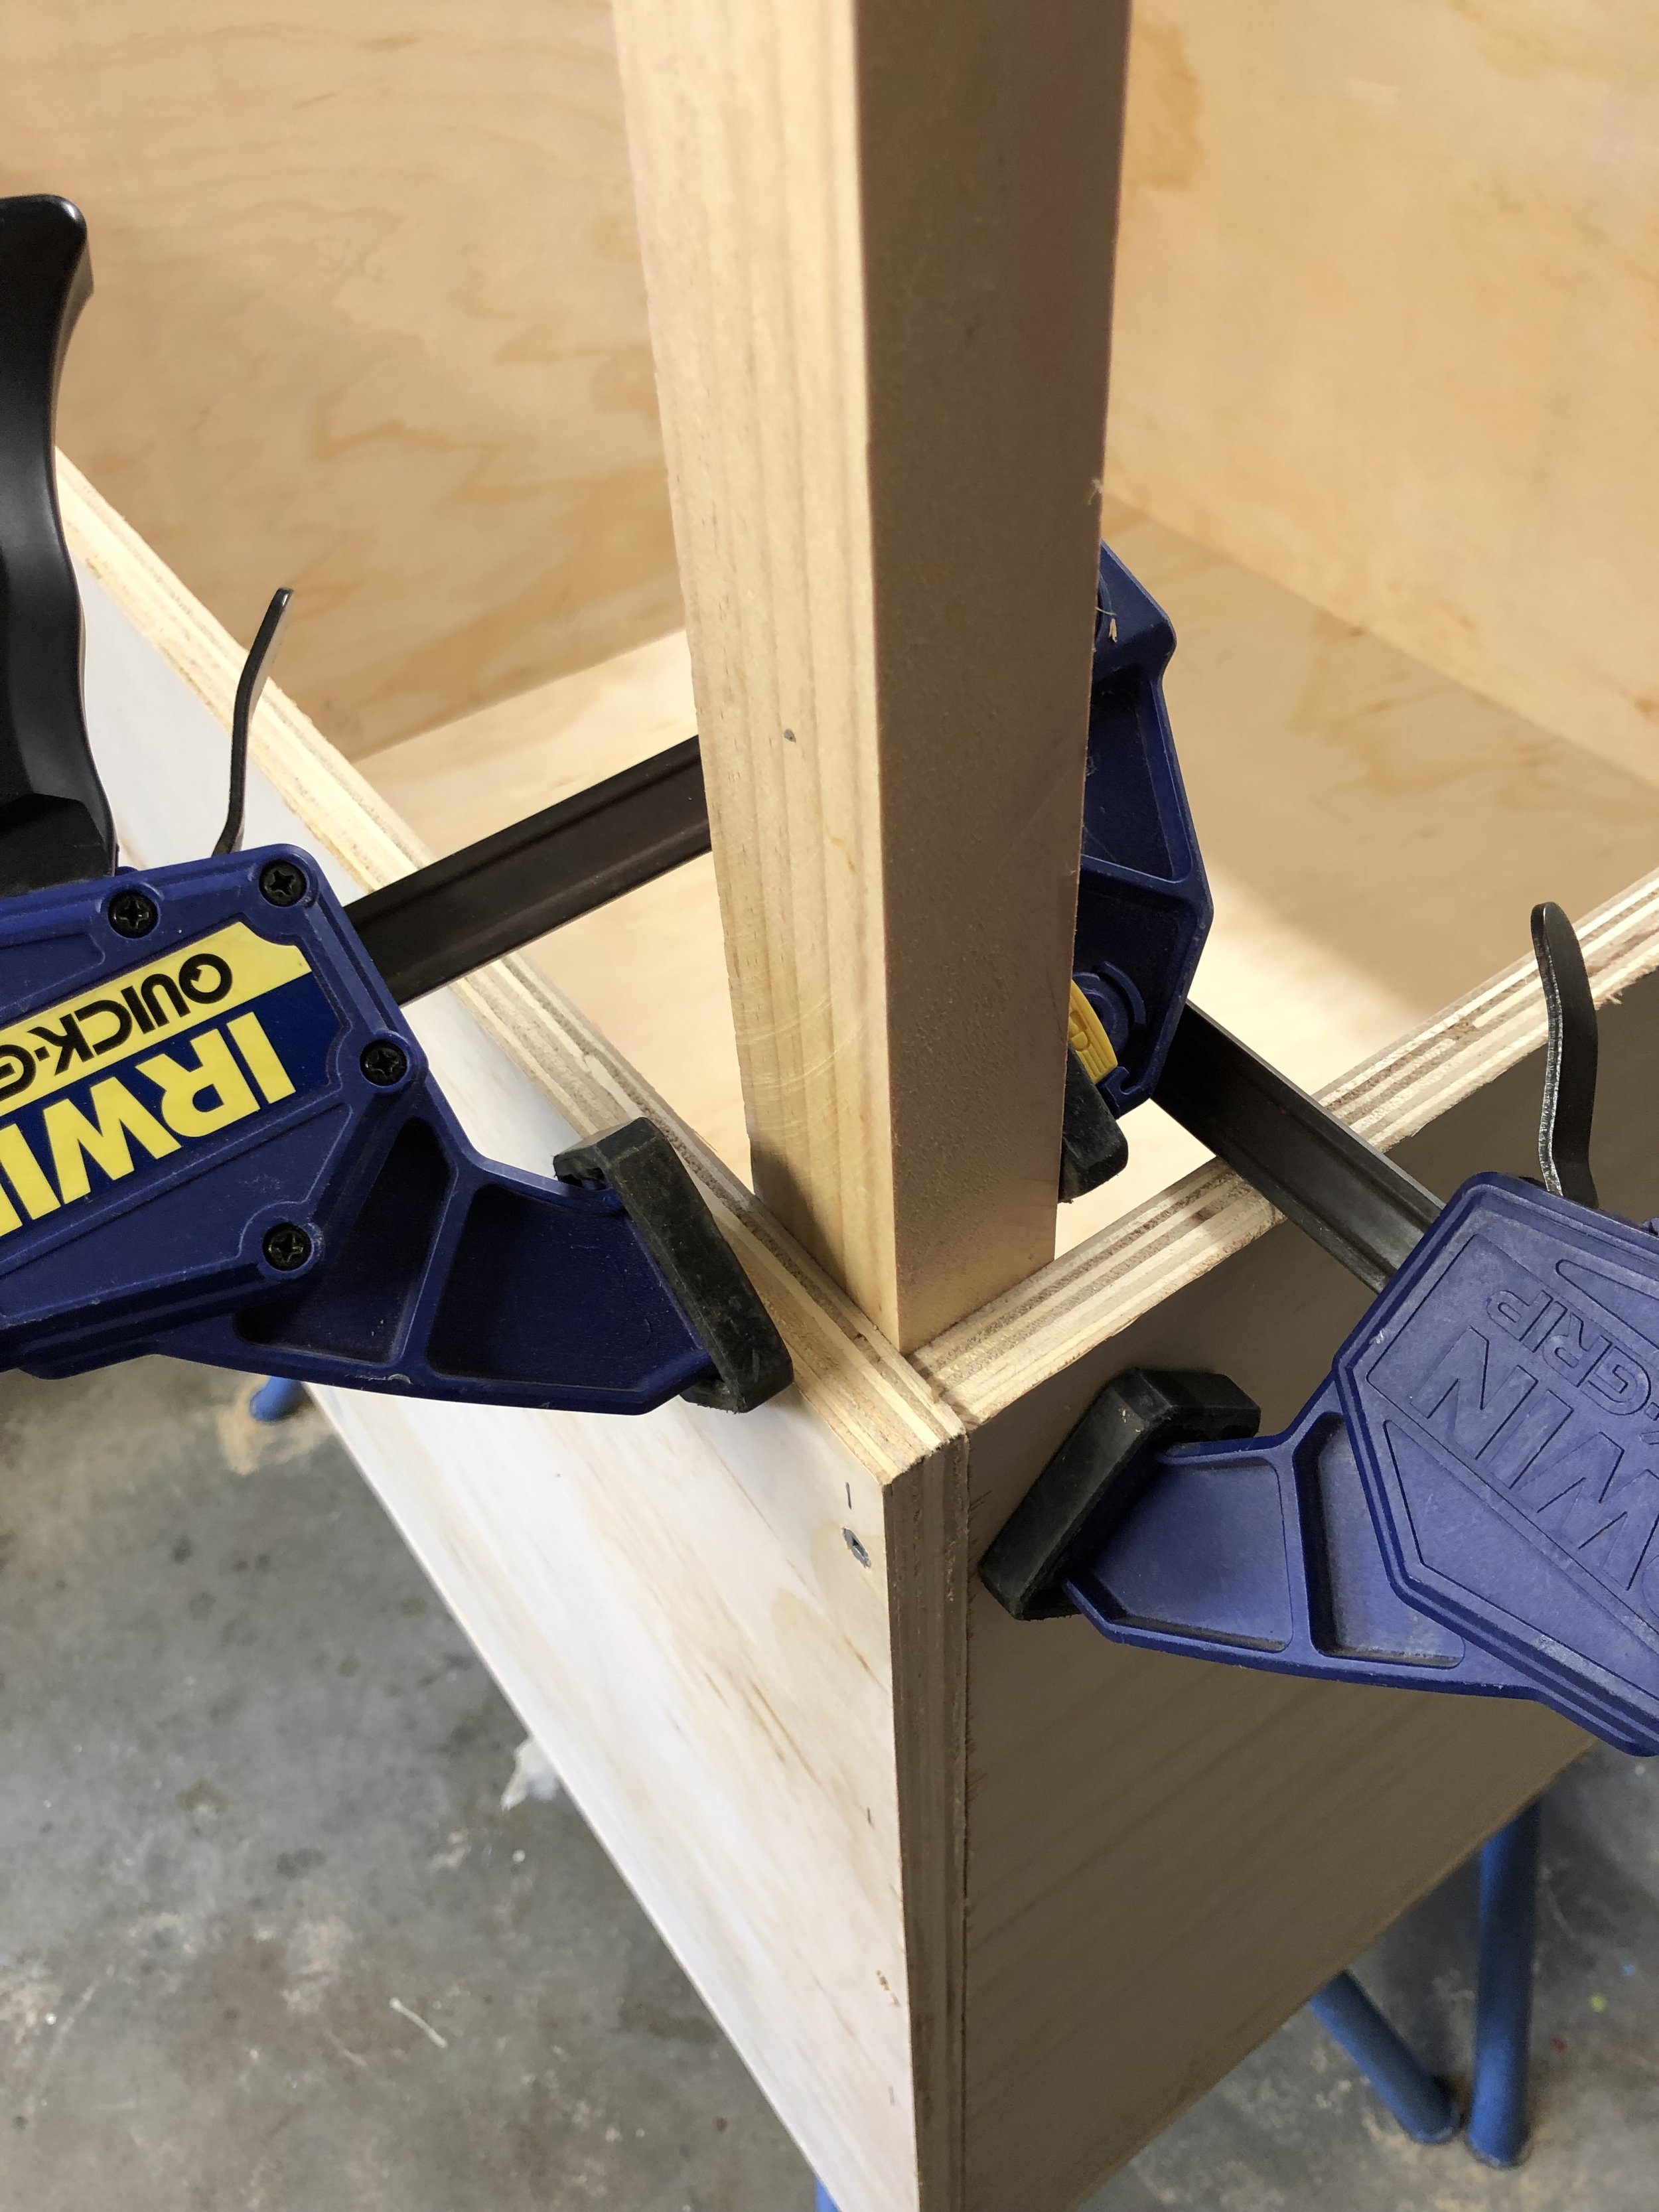
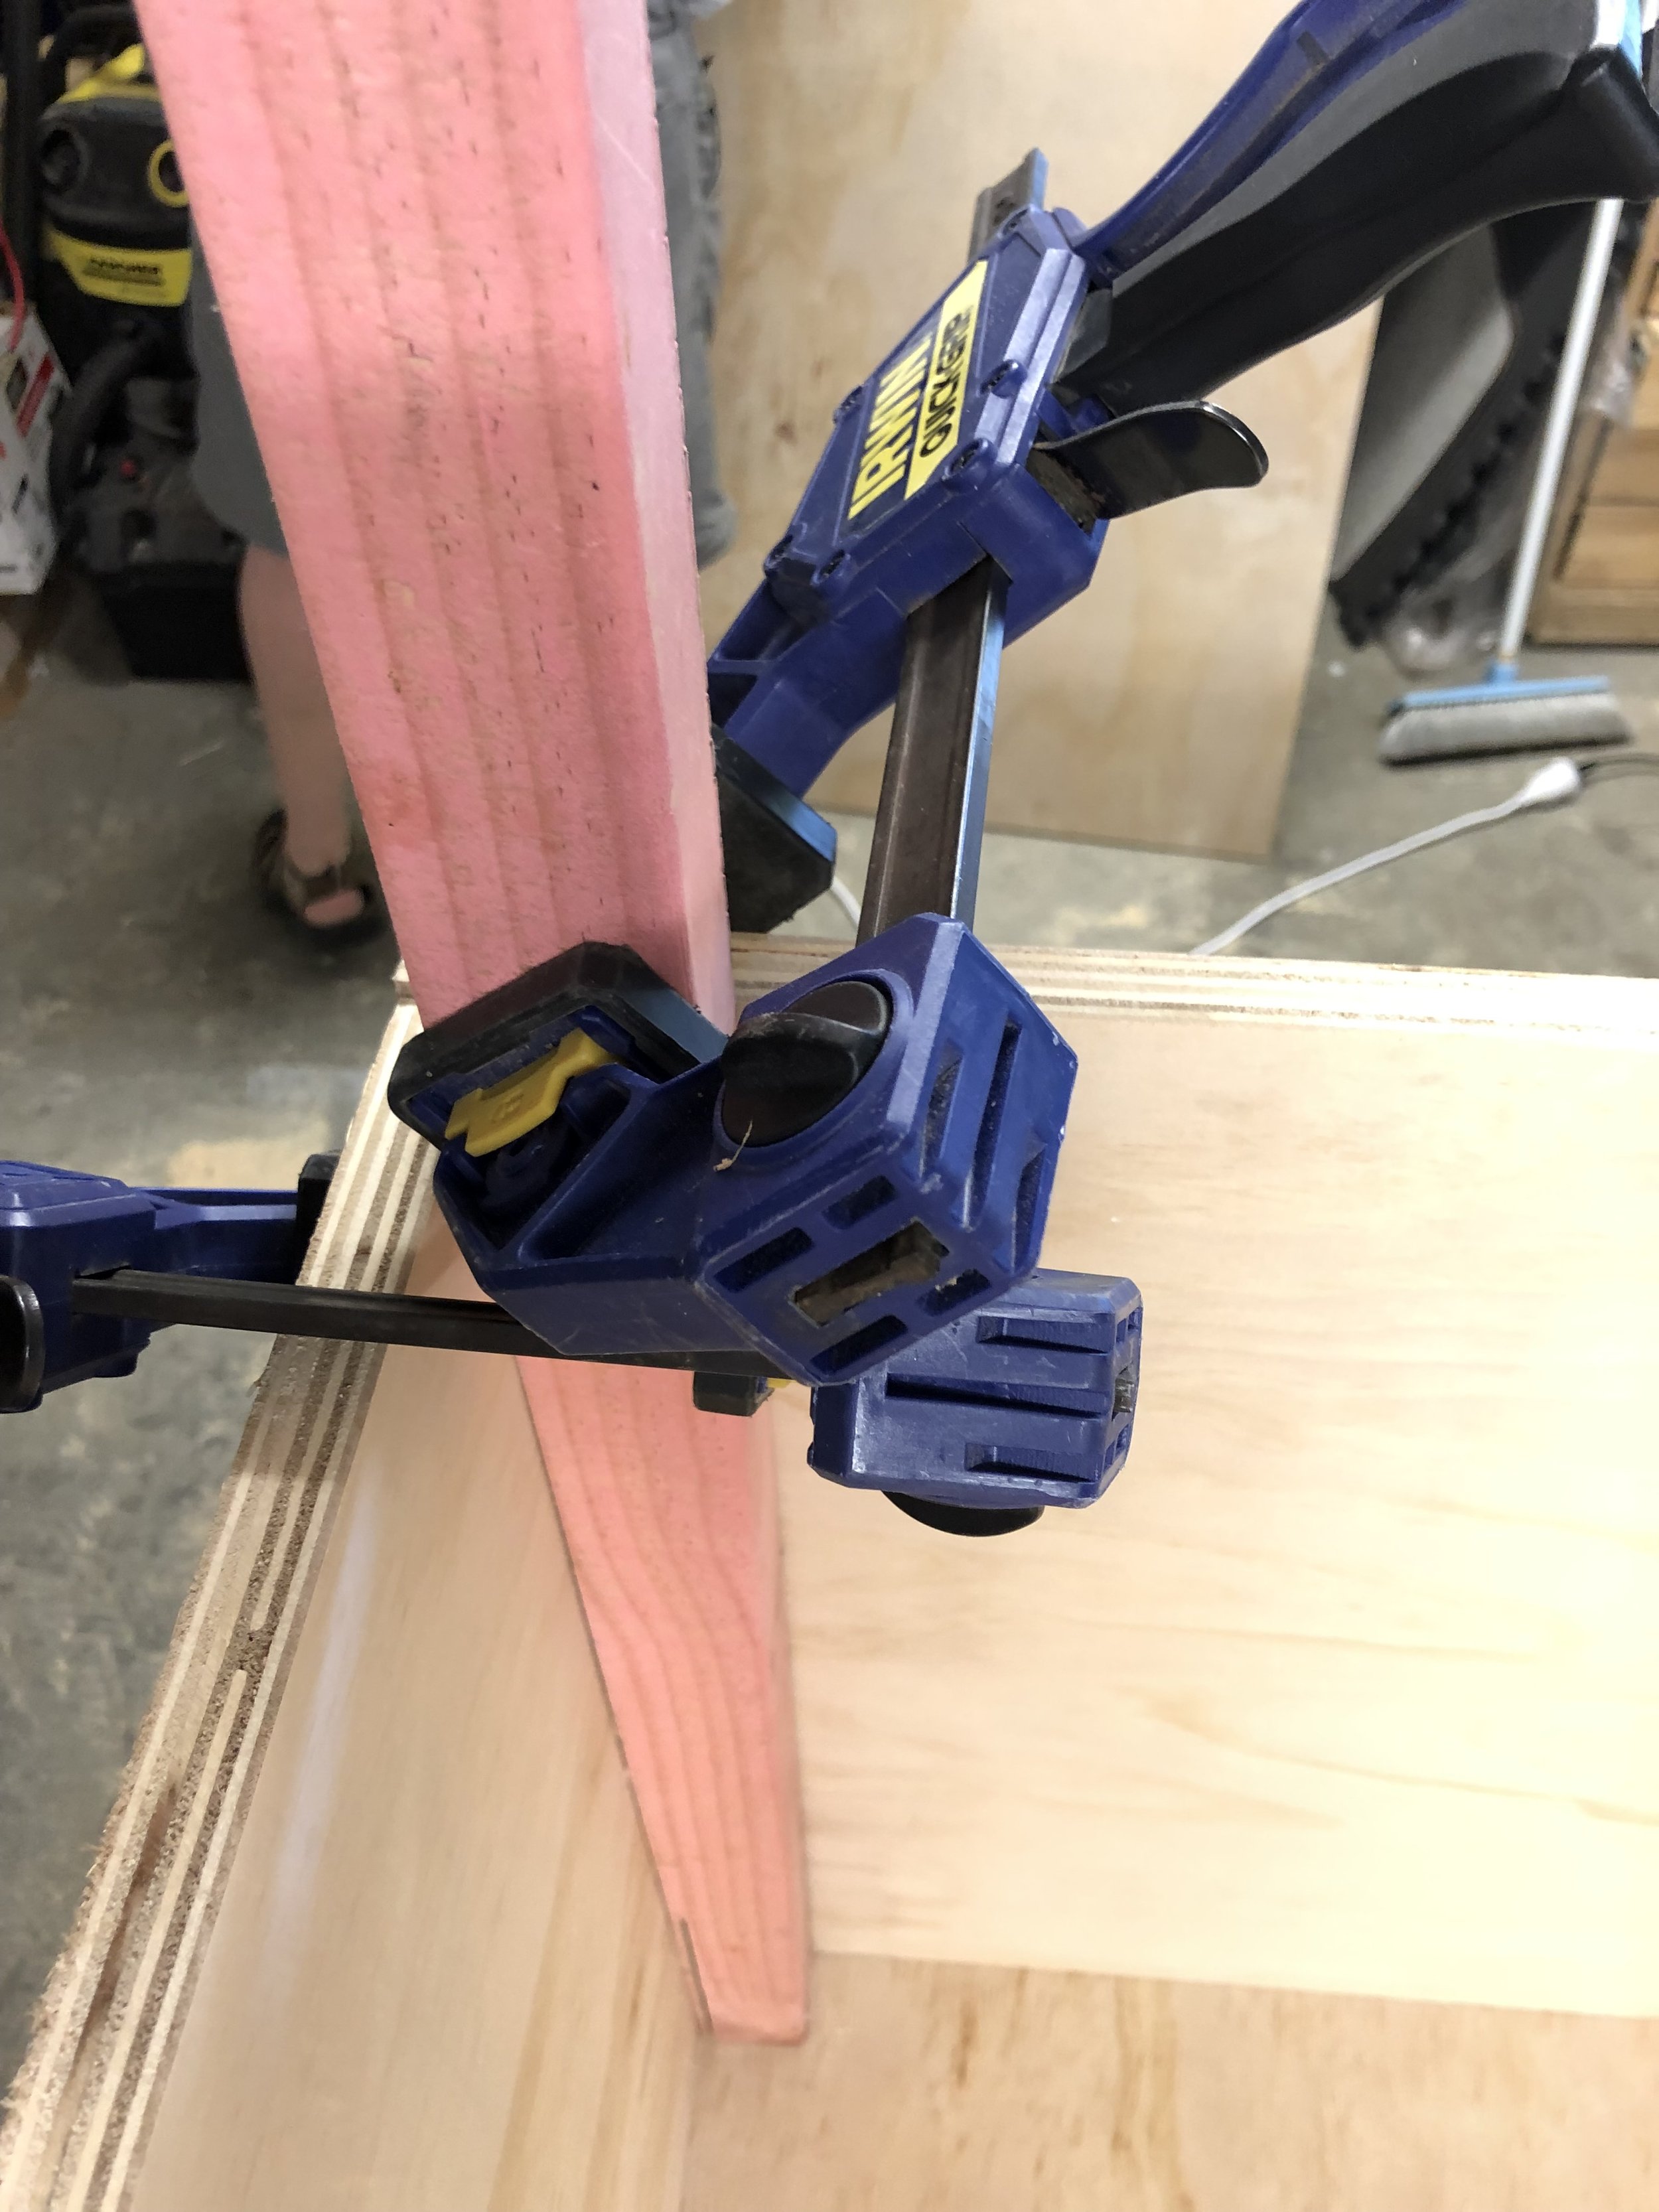
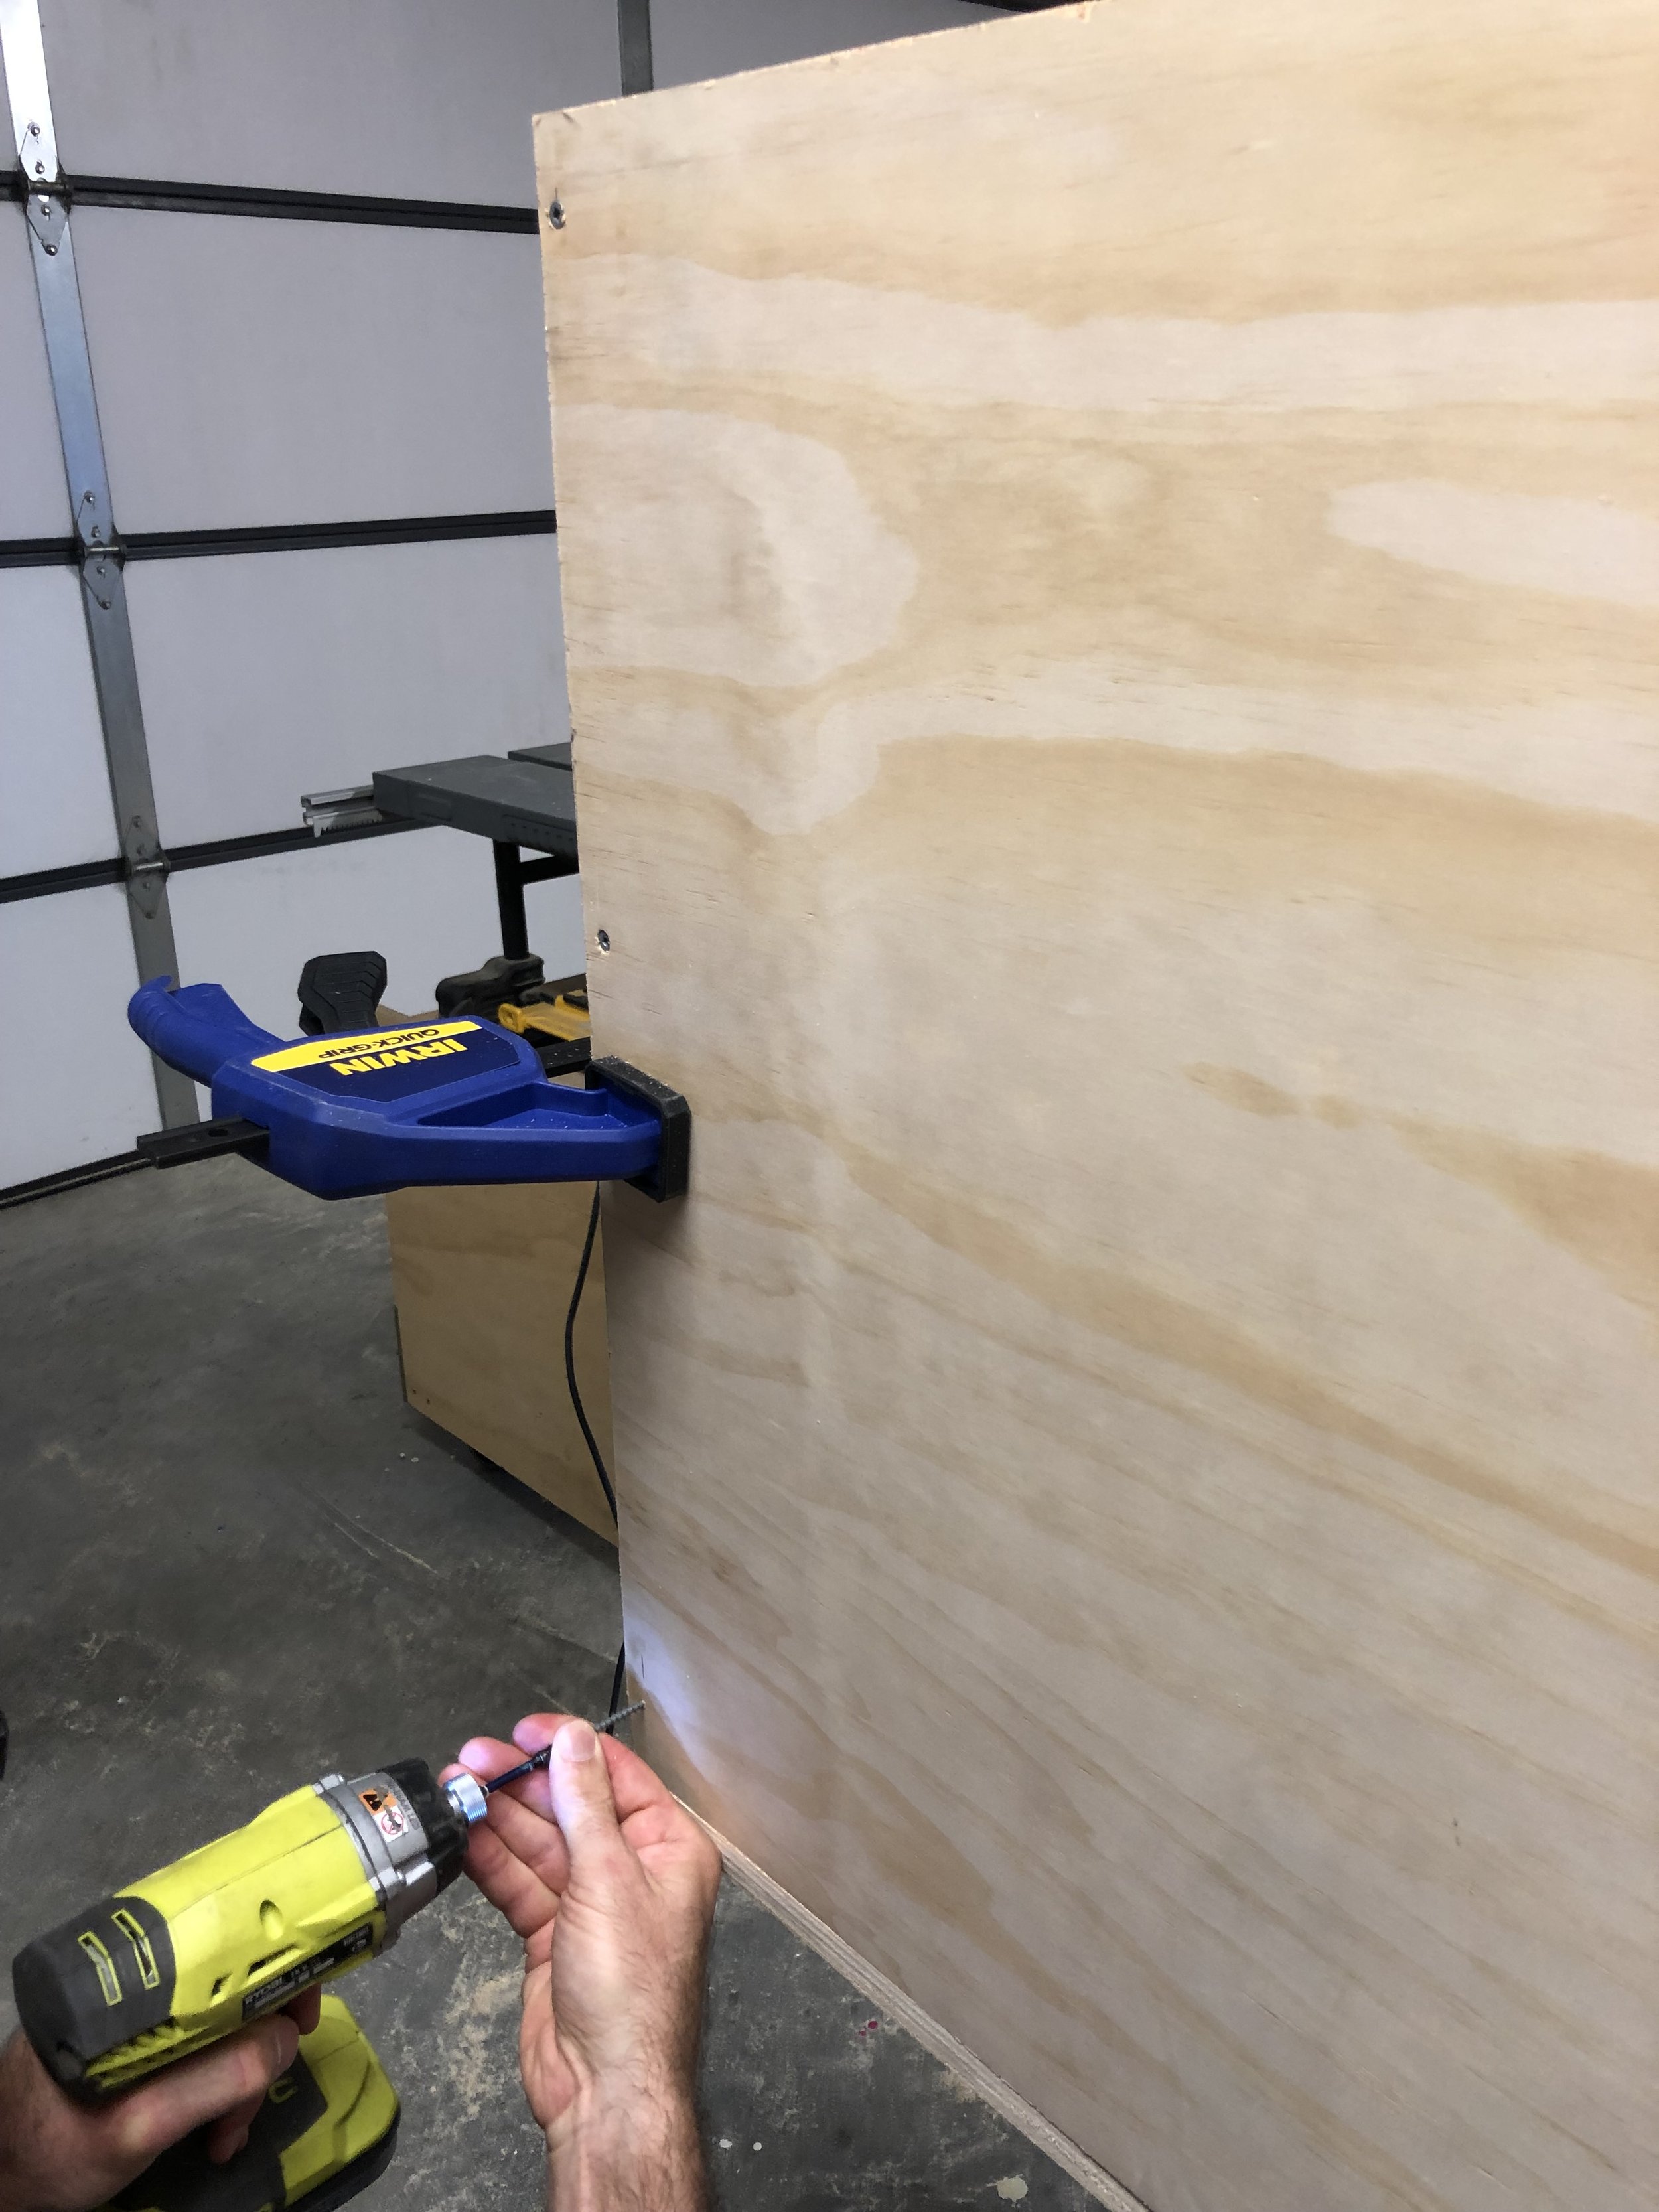
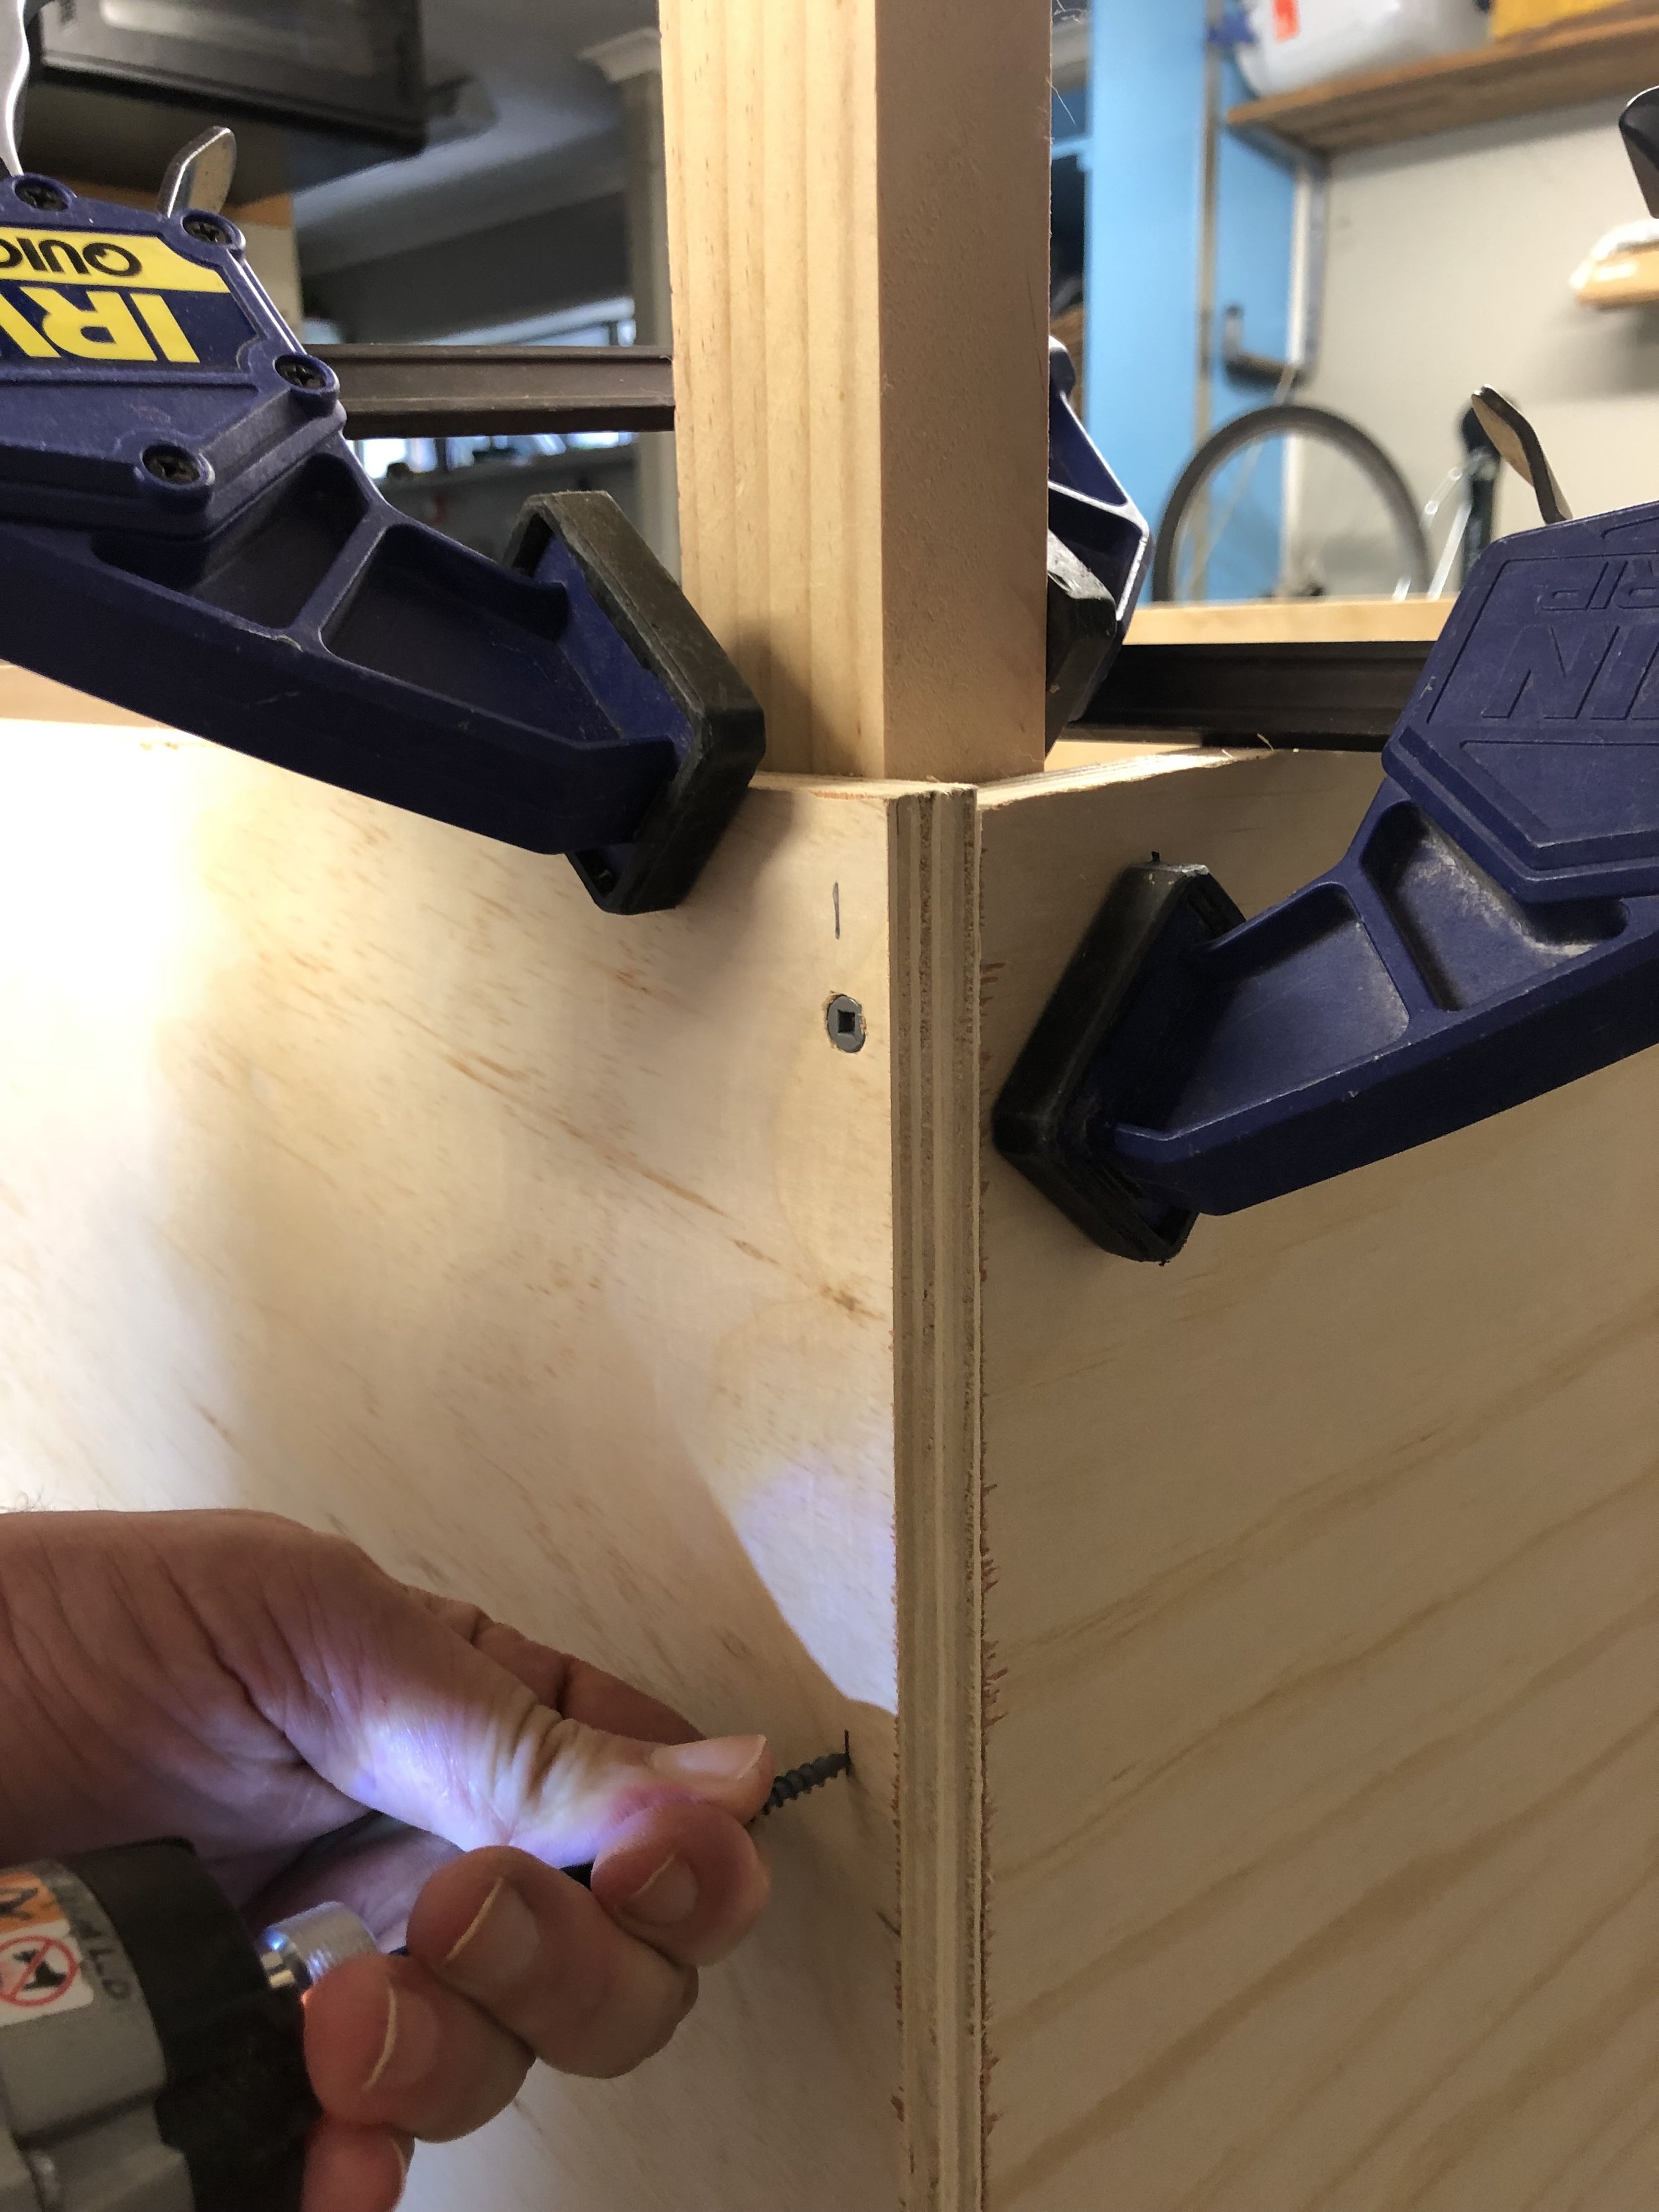
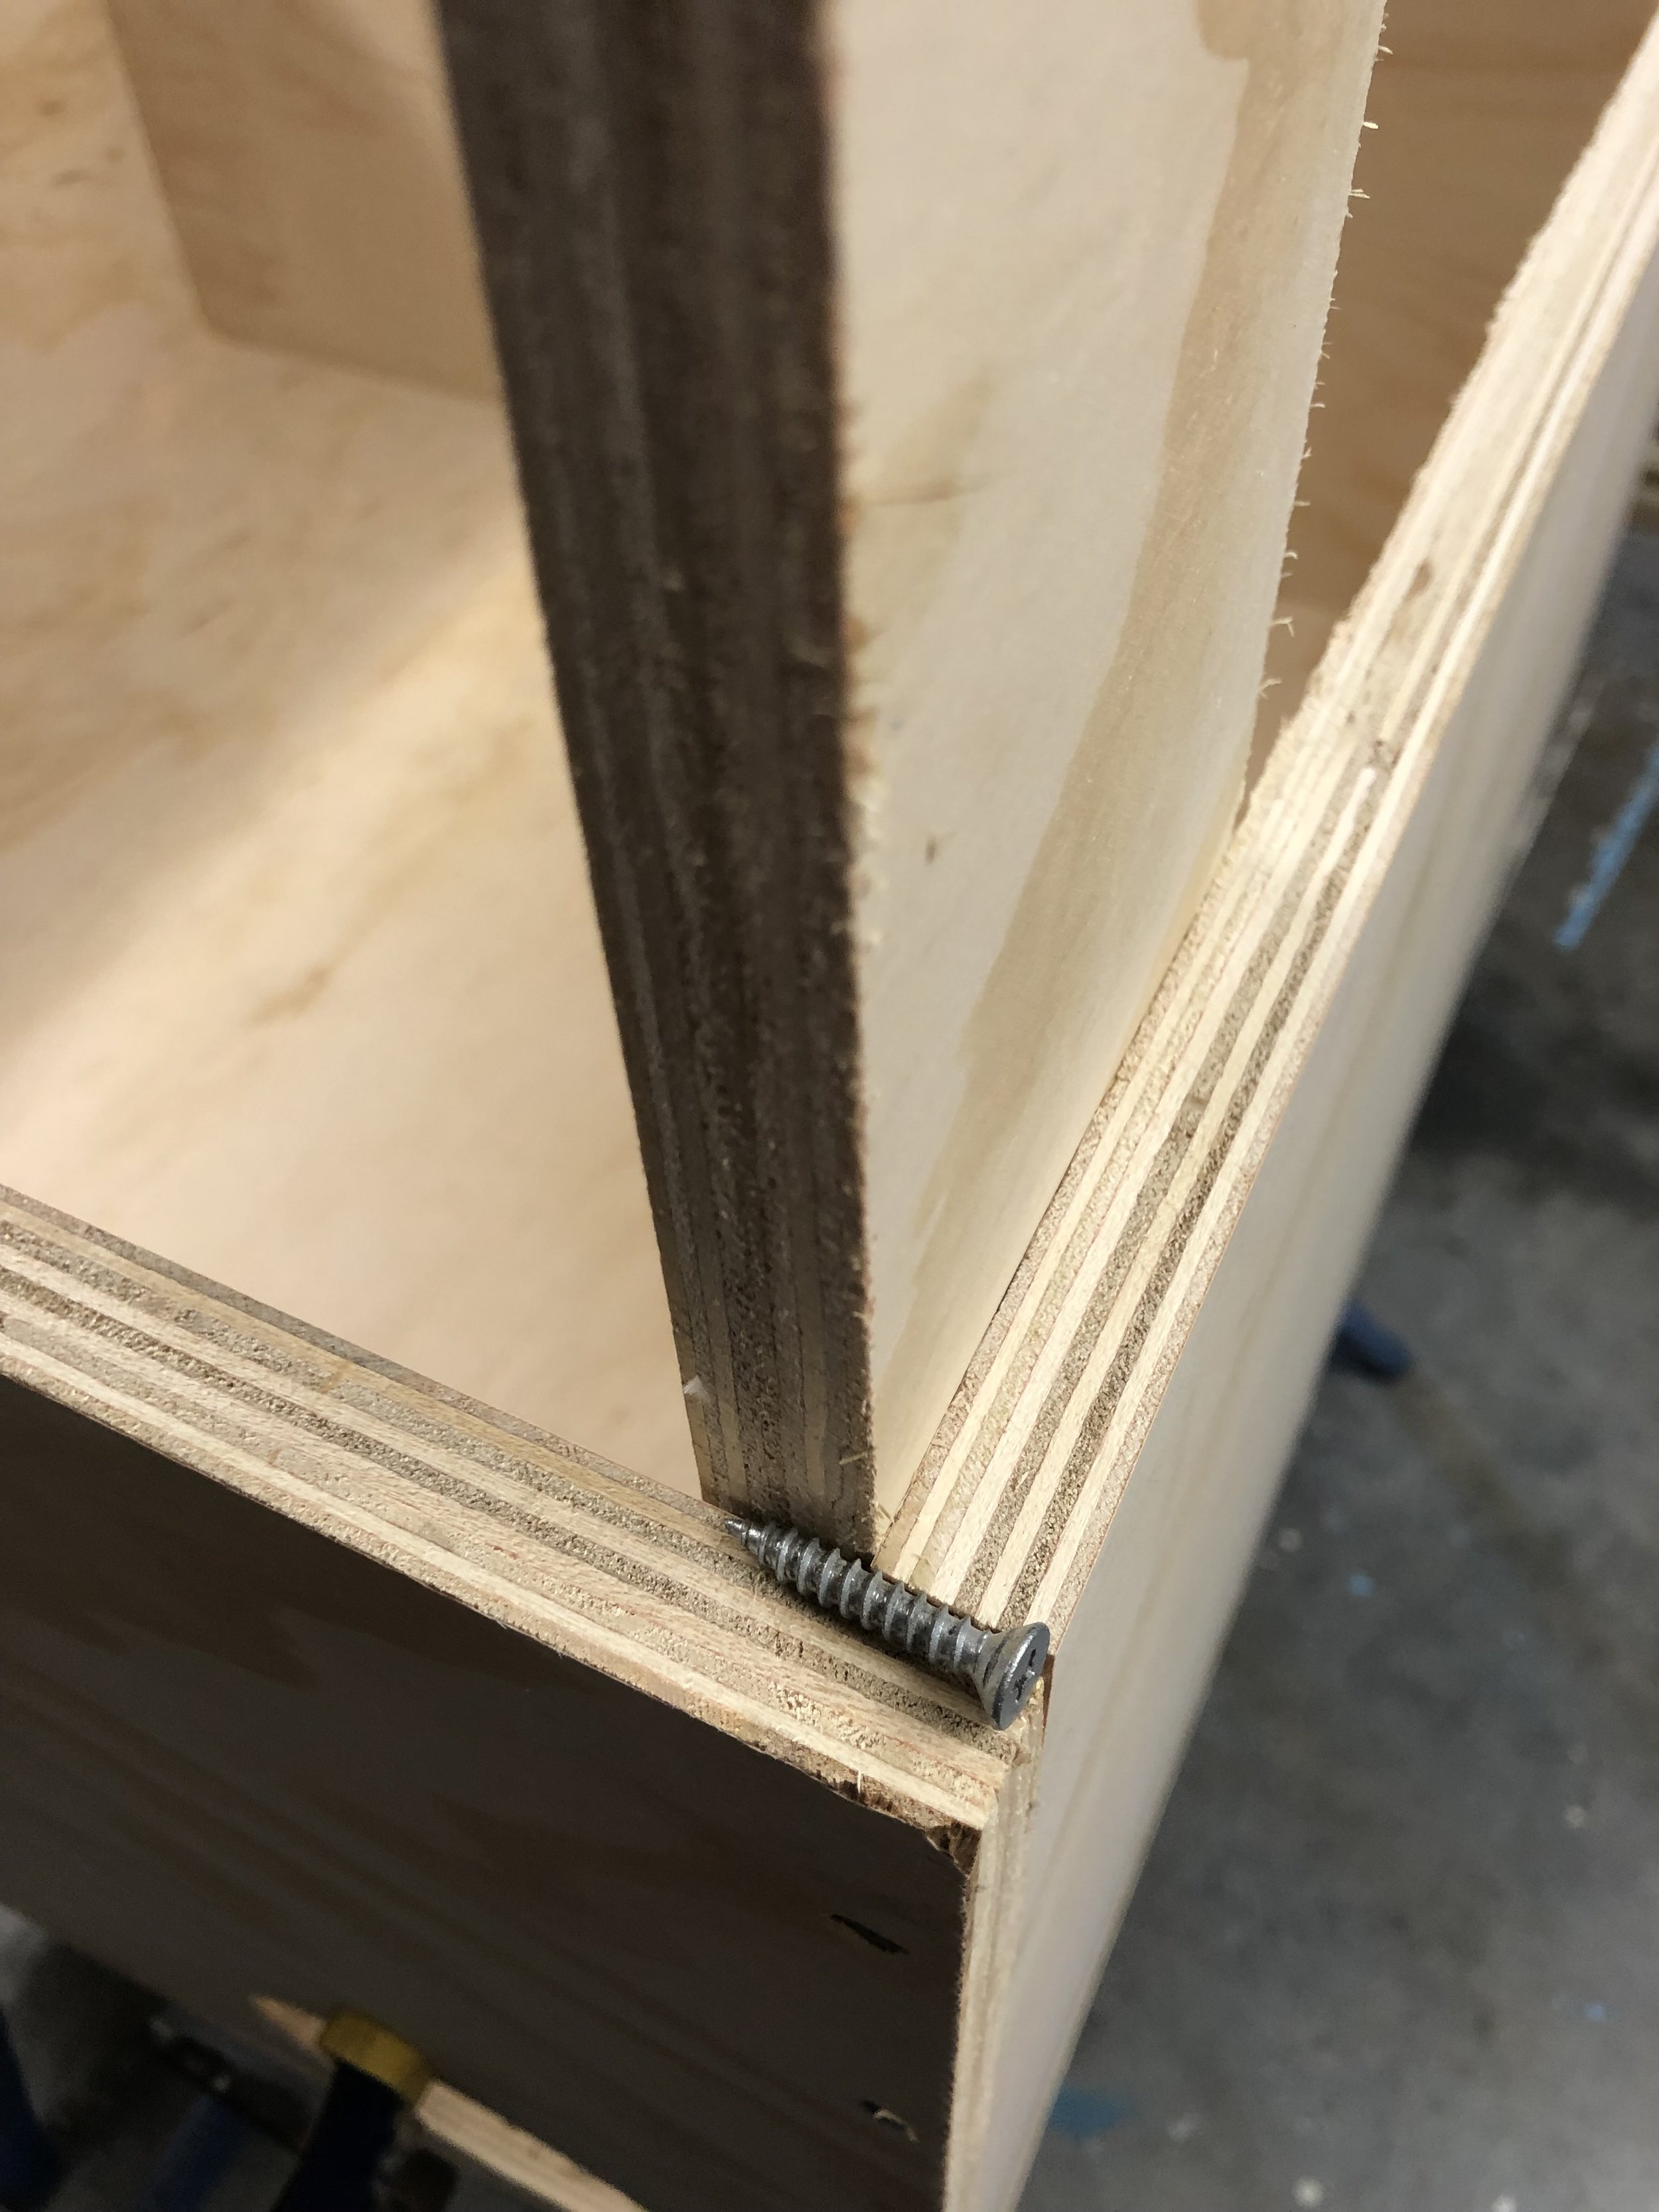
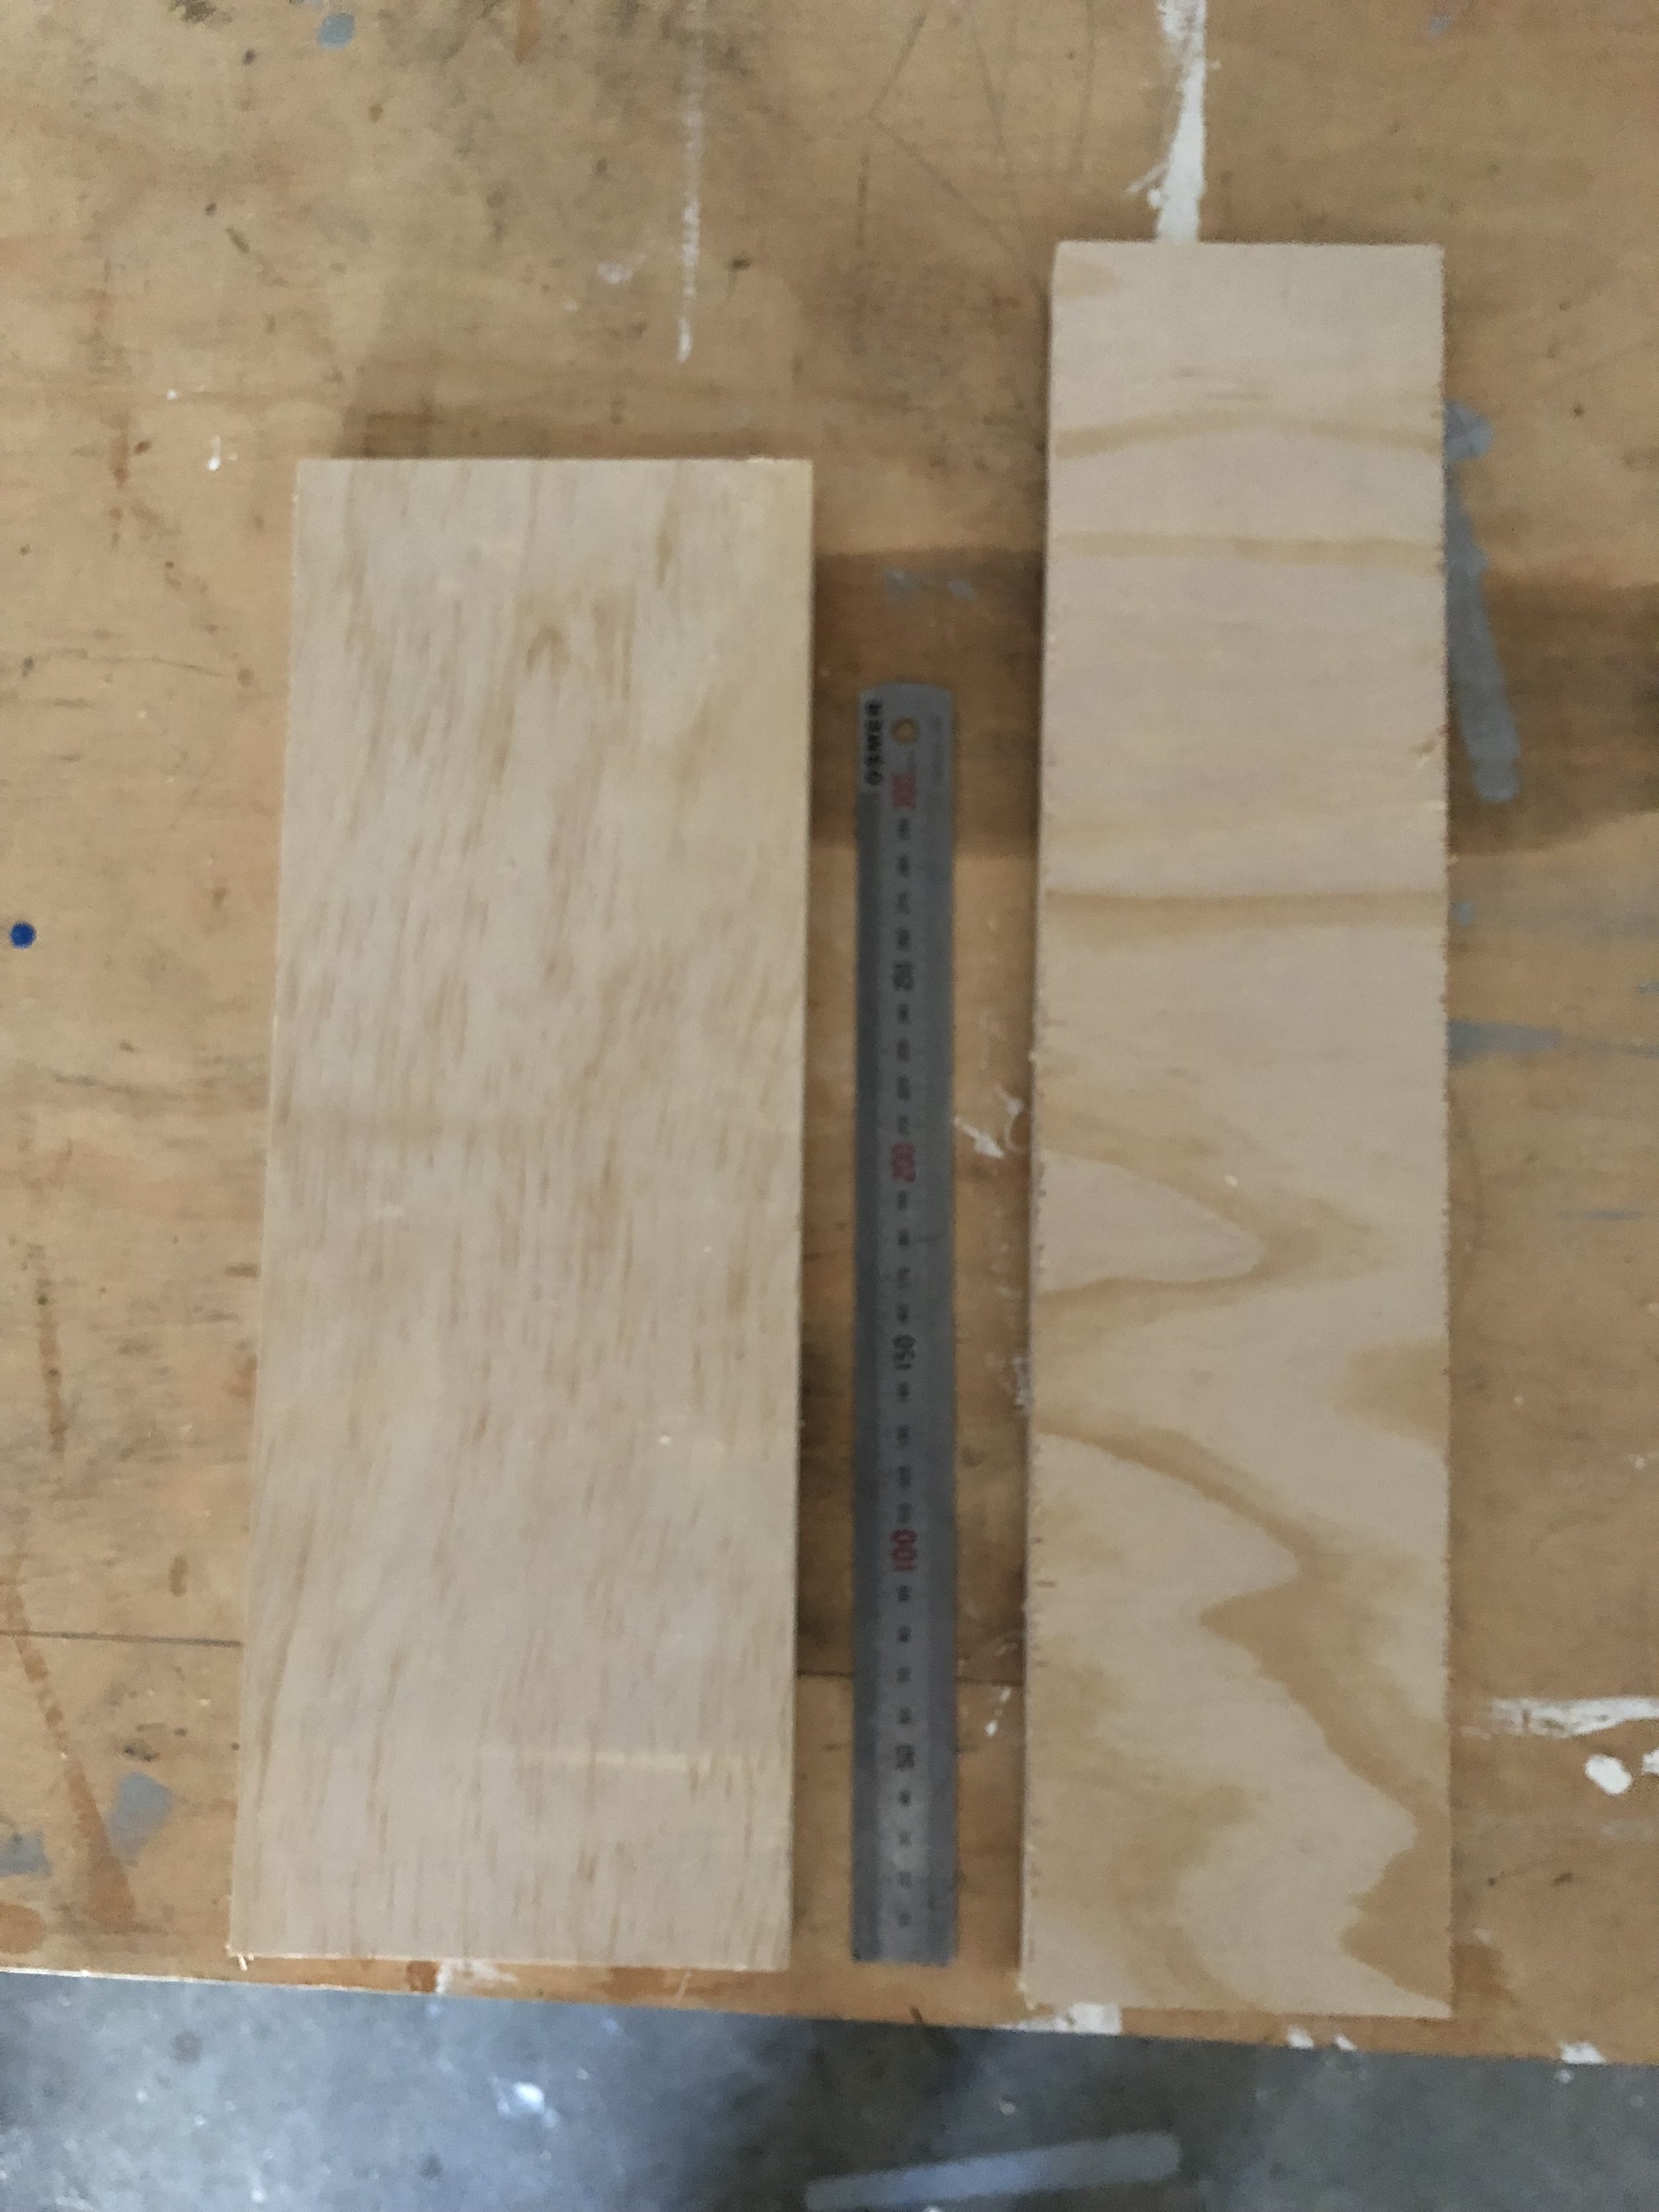
Place your scrap of known square timber into the resulting internal corner and clamp in place.
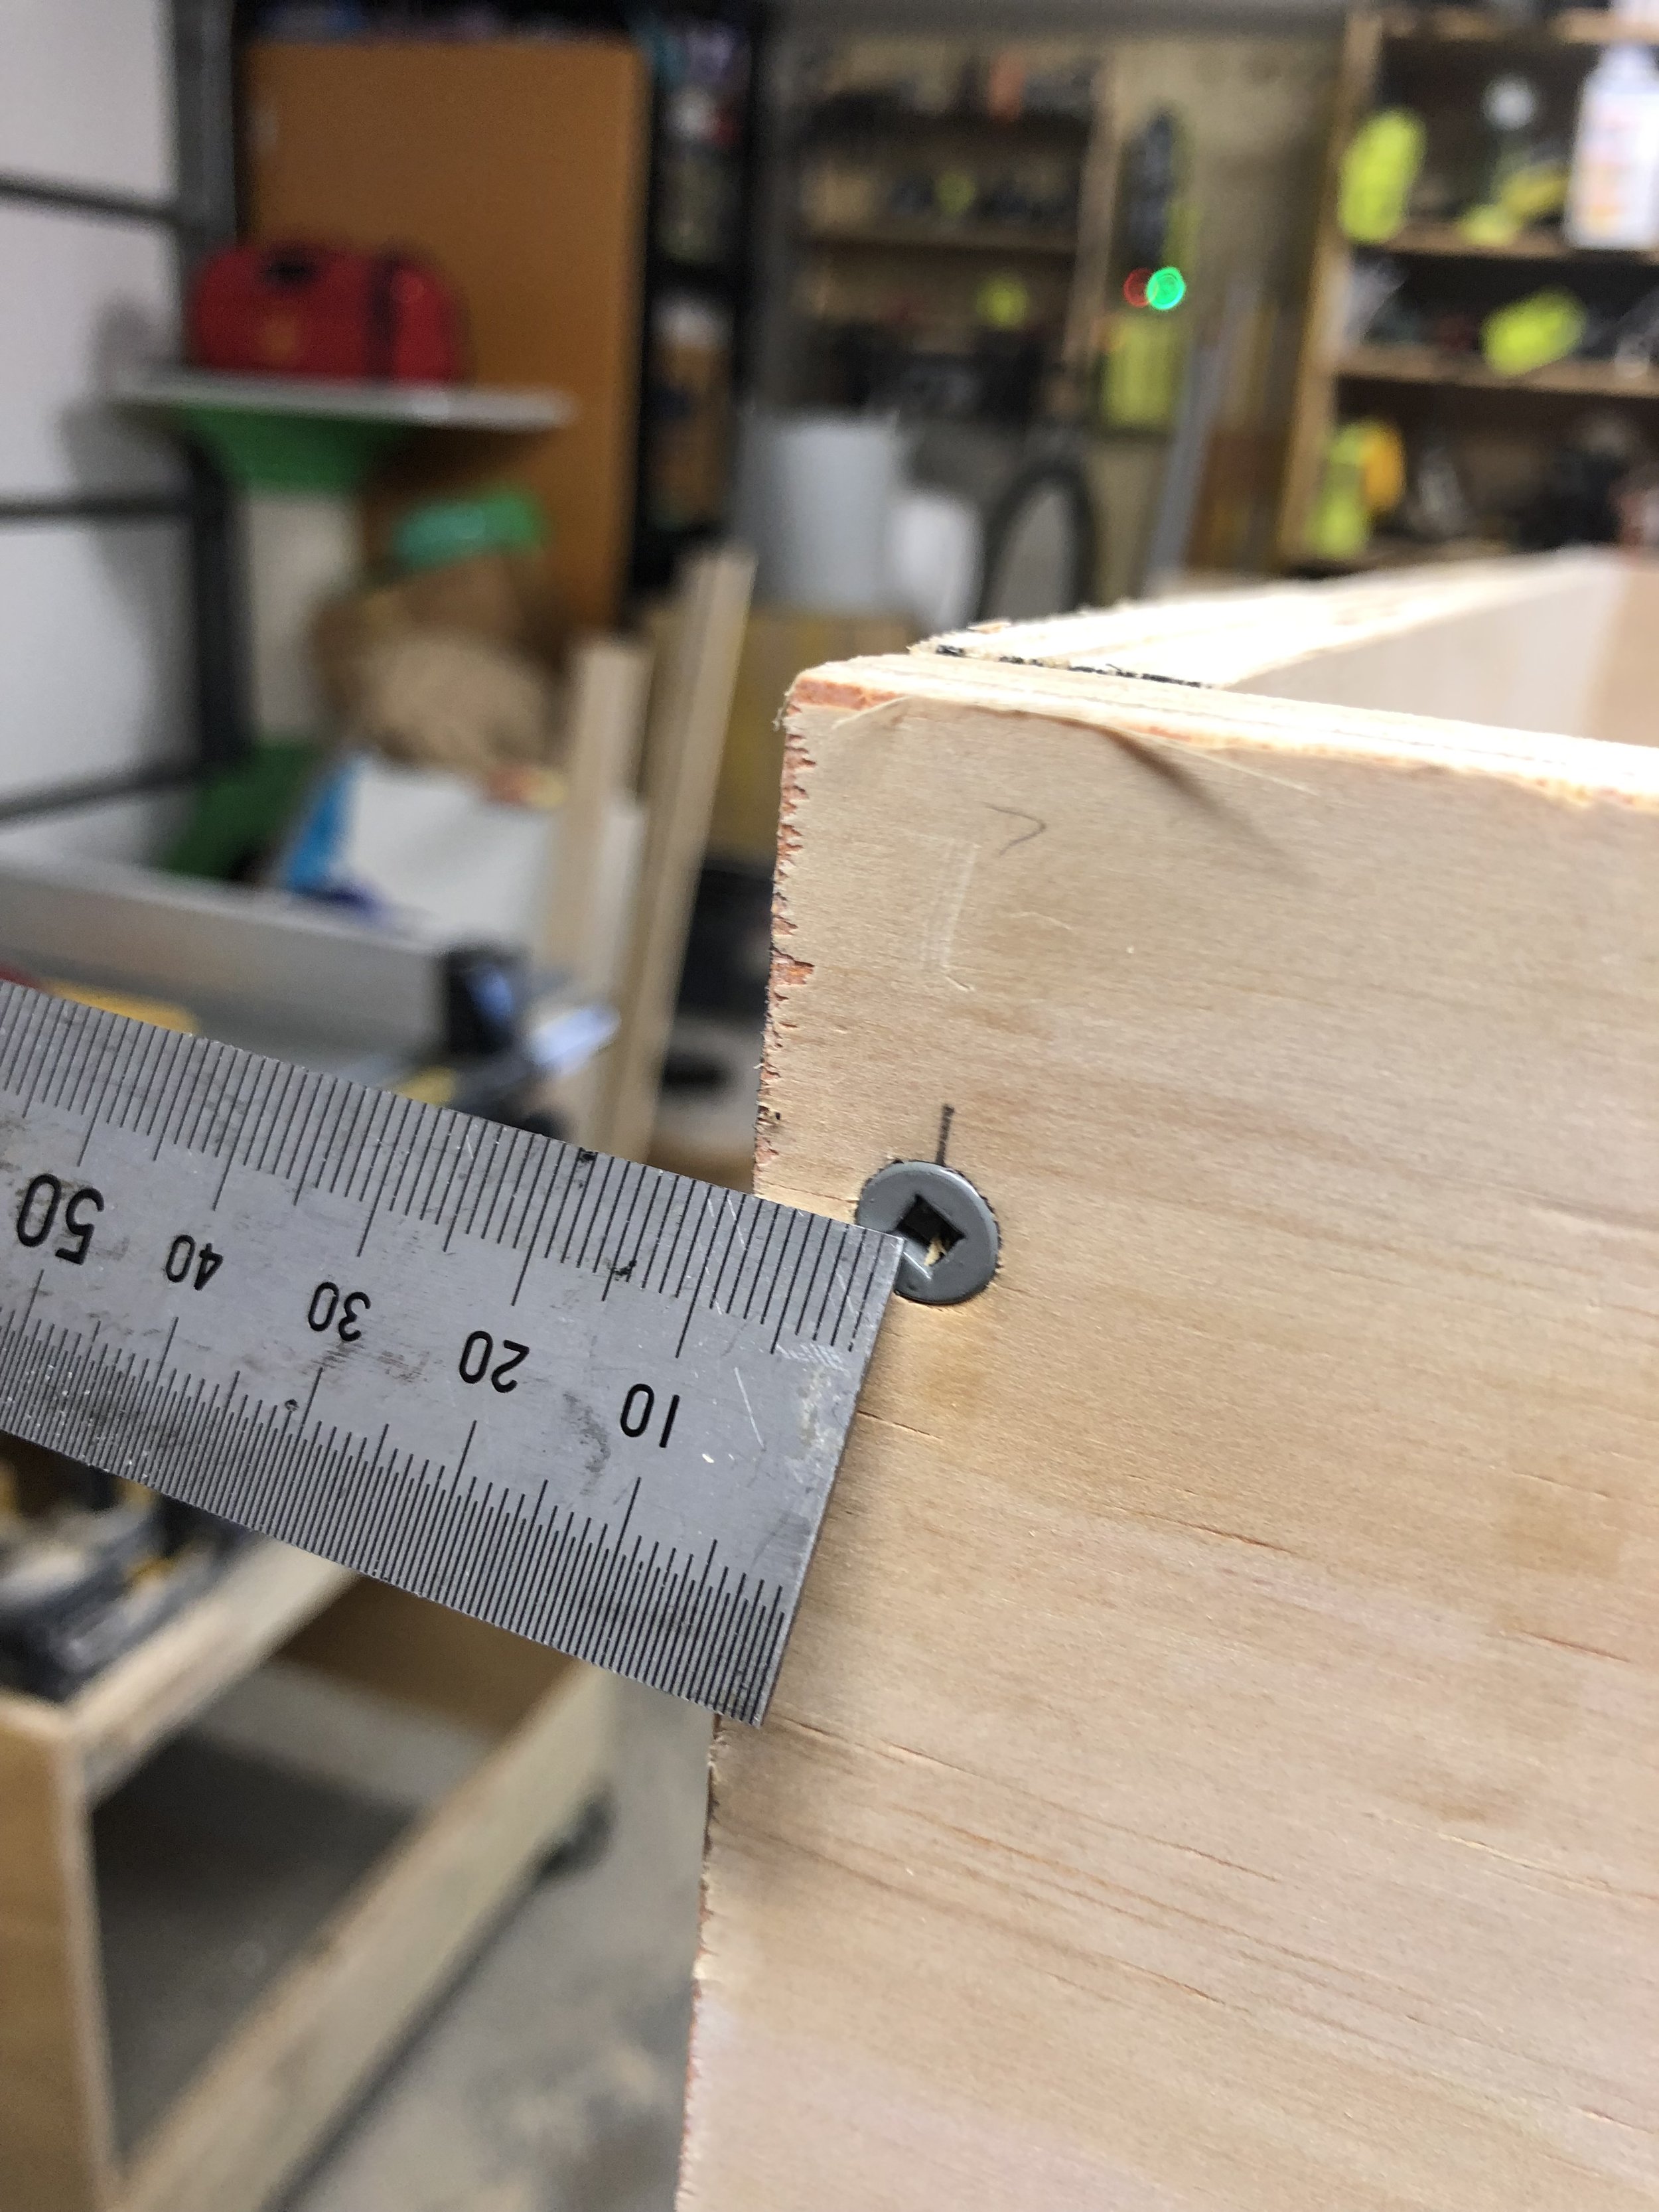
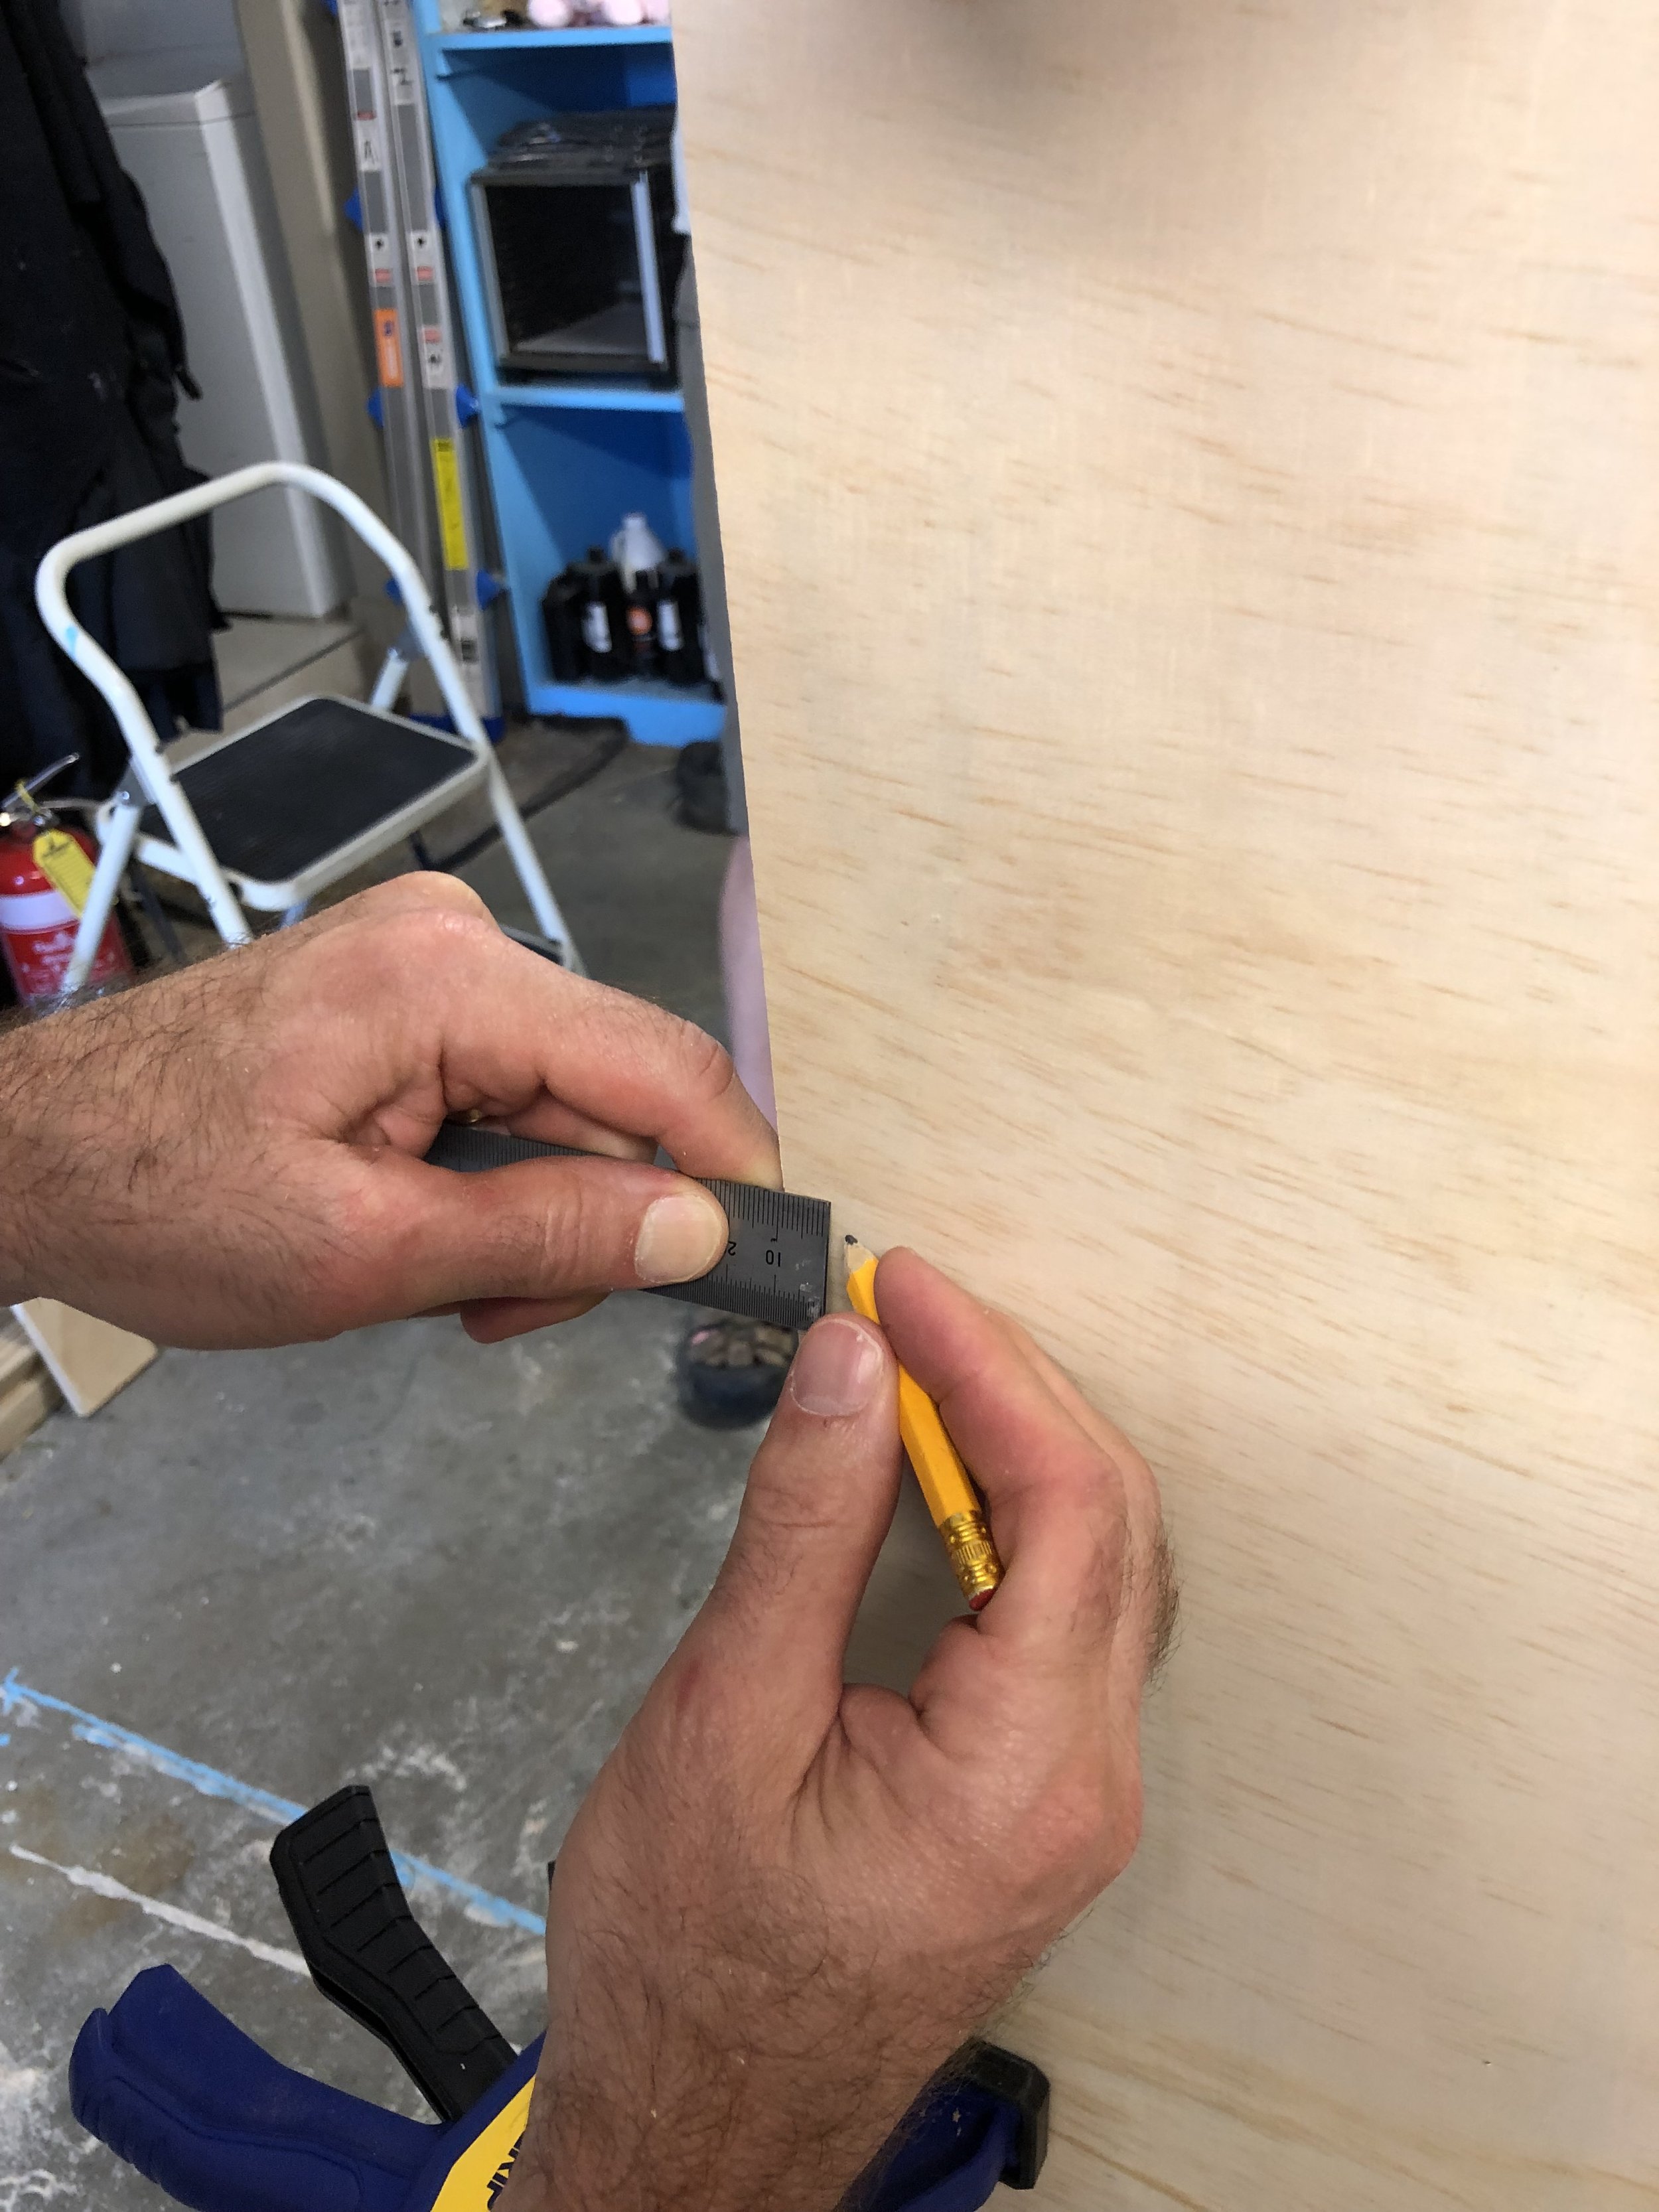
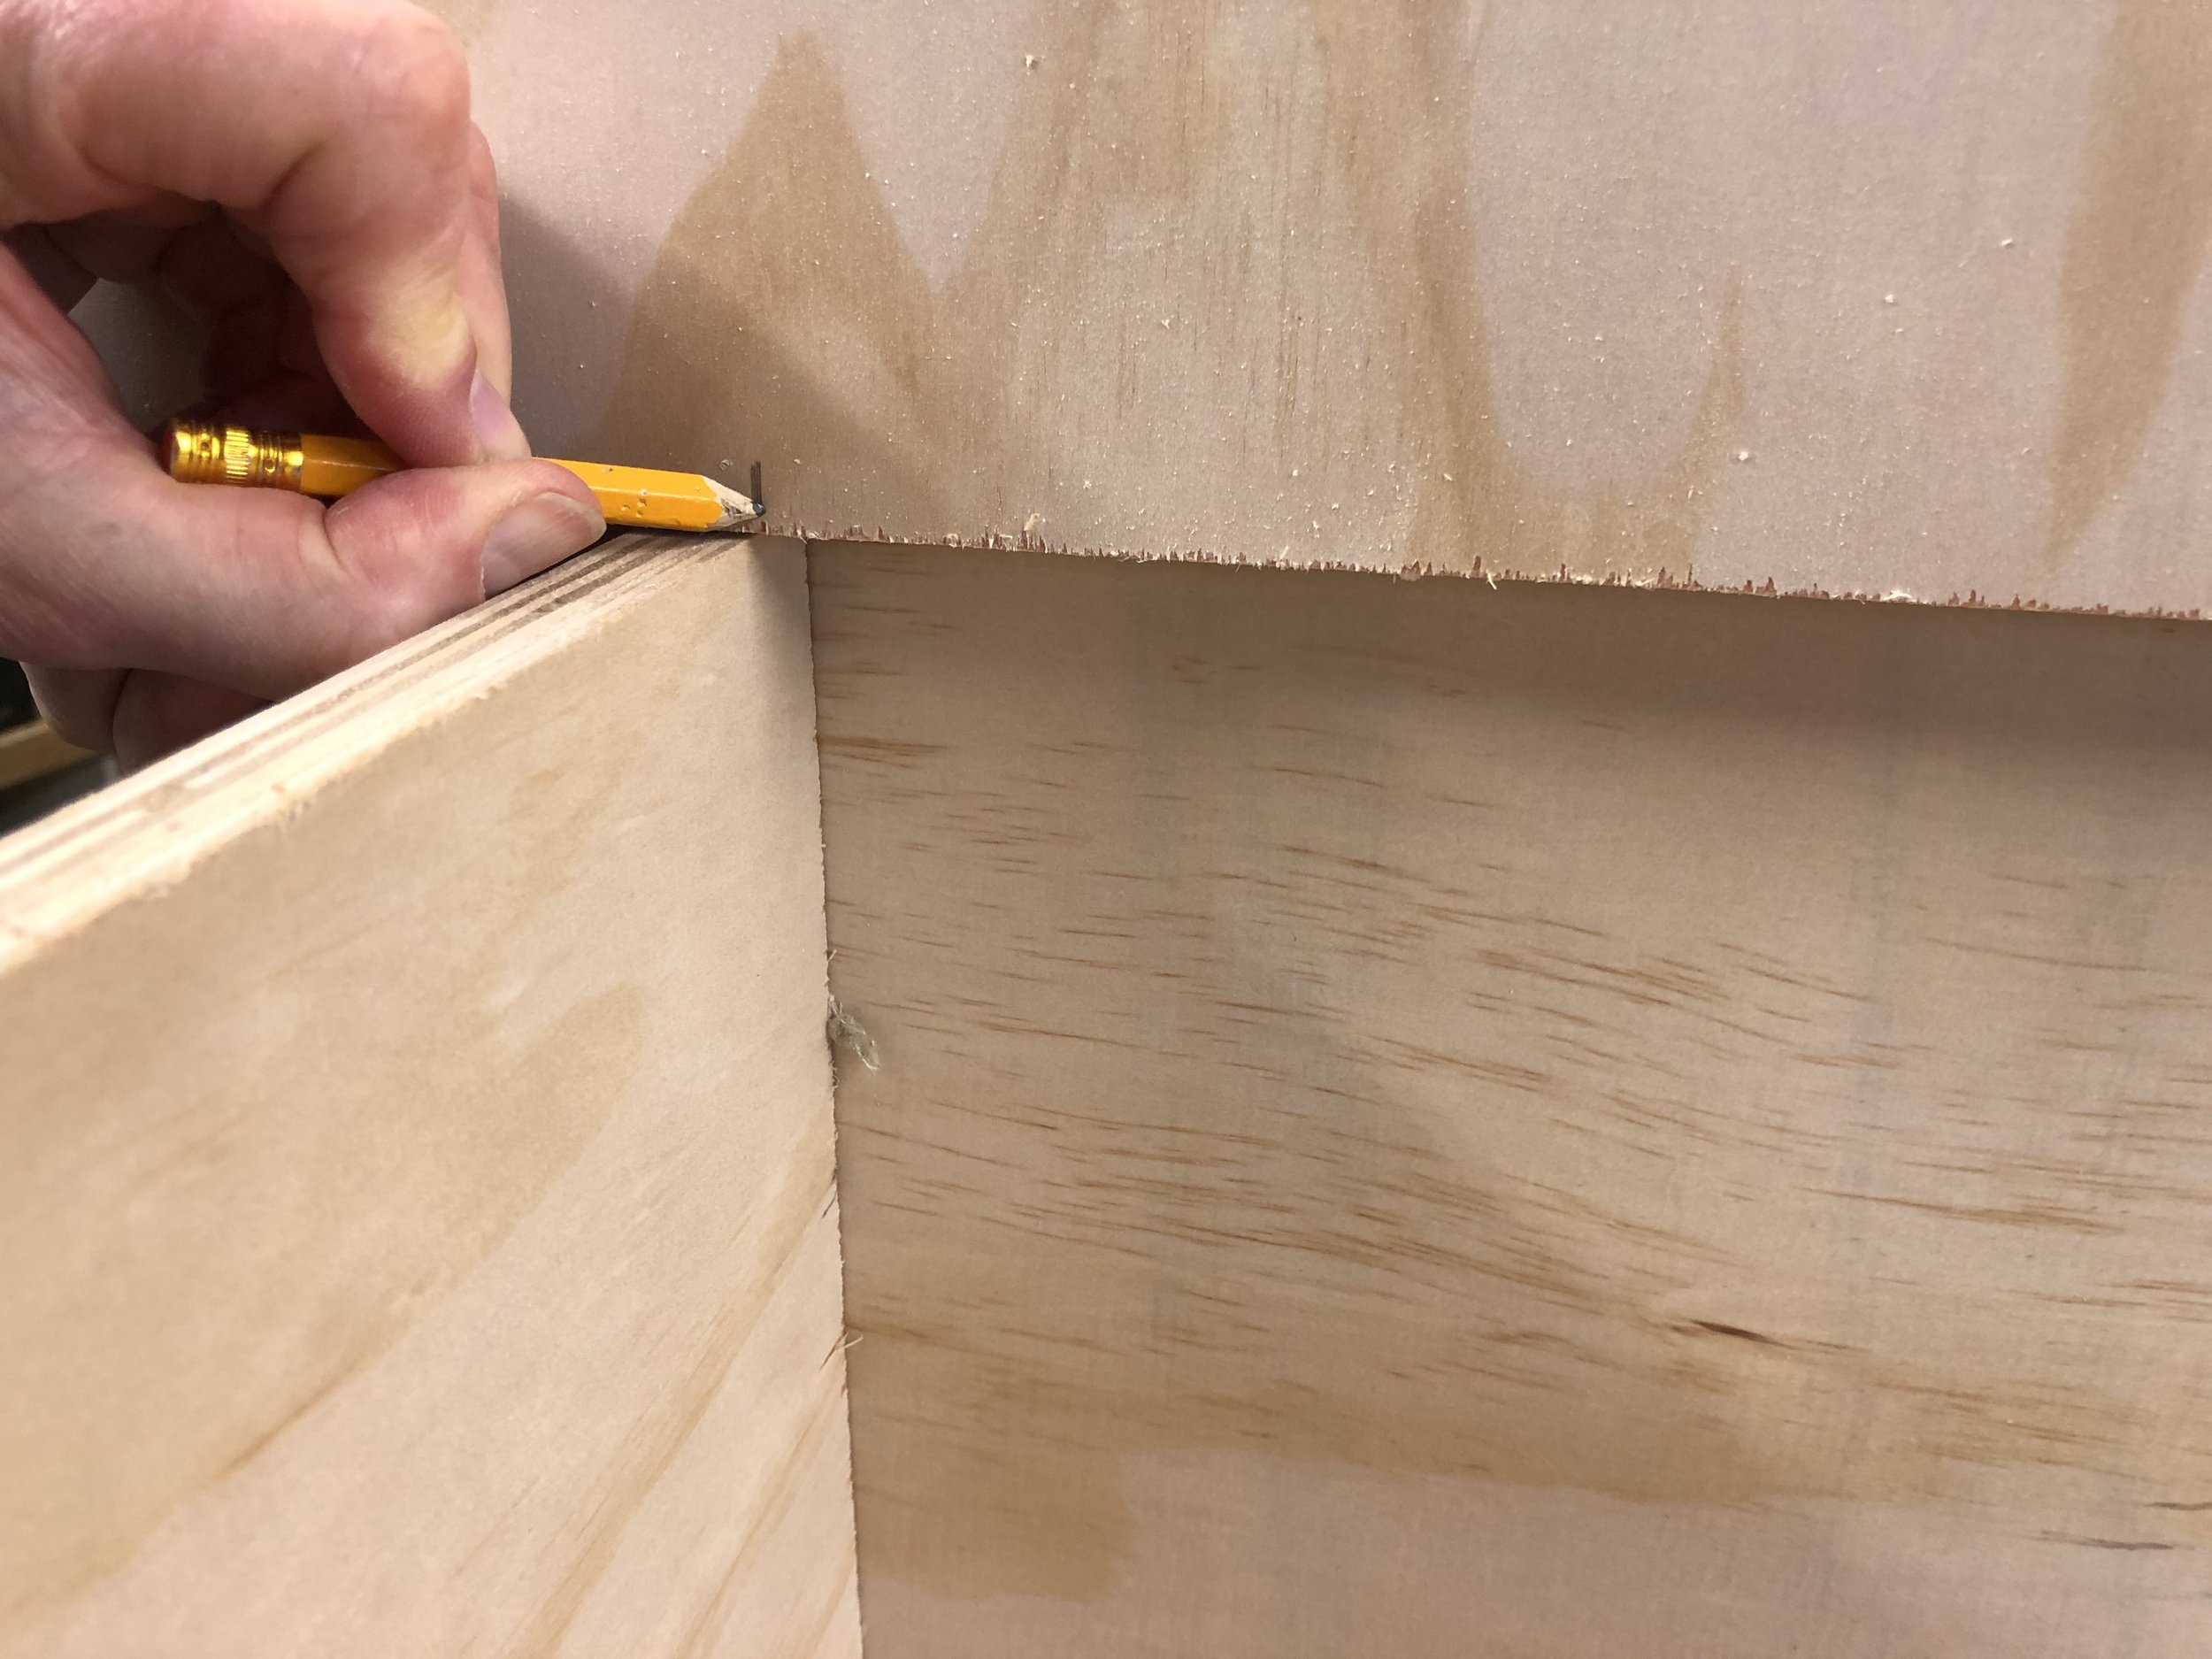
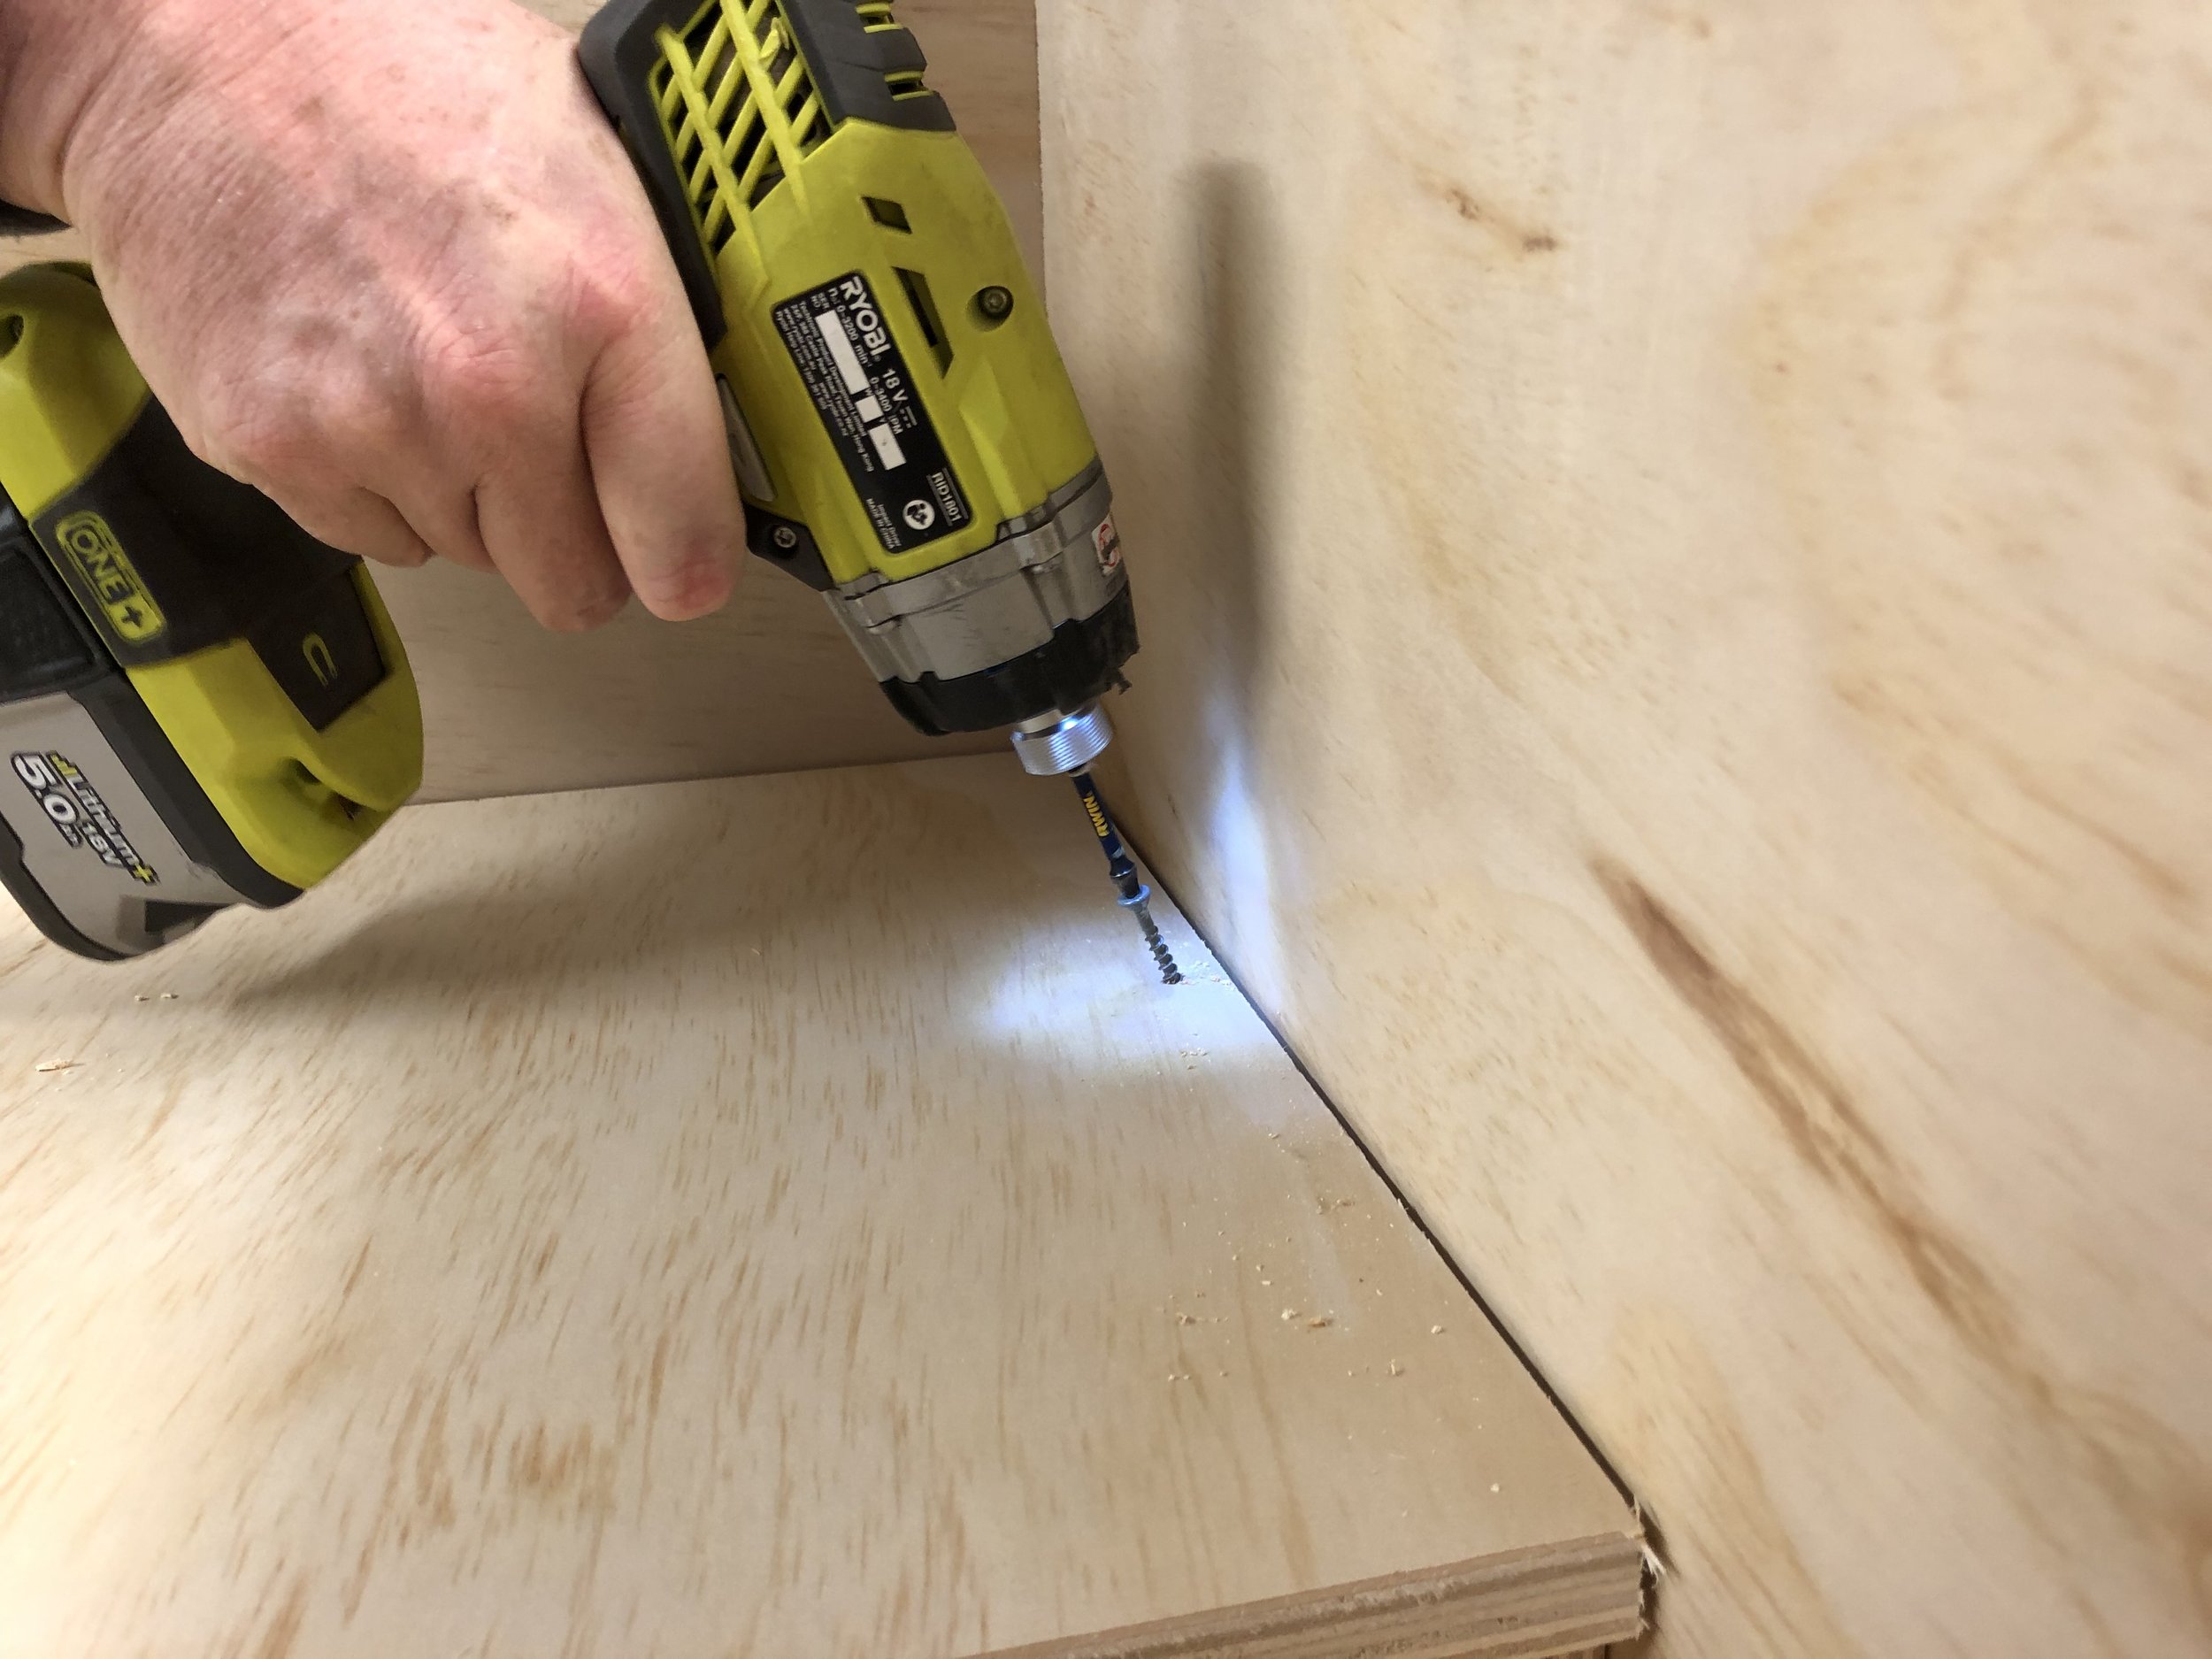
On the Front mark your ply to guide your drill for driving your screws - Make your first mark about 2cm down from the top edge of the Front. From the side edge of the front measure in 9mm and make a mark. This is where you drill the pilot hole for the screw.
At this mark Drill your first pilot hole from the Front and through into the edge of the Side in one go. Then drive your first screw to help keep everything aligned and together as you do the rest of the screws.
Then mark all the way to the bottom at about 10cm intervals BUT make sure the lowest mark is a minimum of 5cm from the bottom of the base to avoid a screw collision when you screw the base to the Front/Back and Sides.
Drill your second pilot hole and then drive the screw.
Continue to drill one pilot hole and drive one screw working down to the bottom. This helps to keep everything aligned properly.
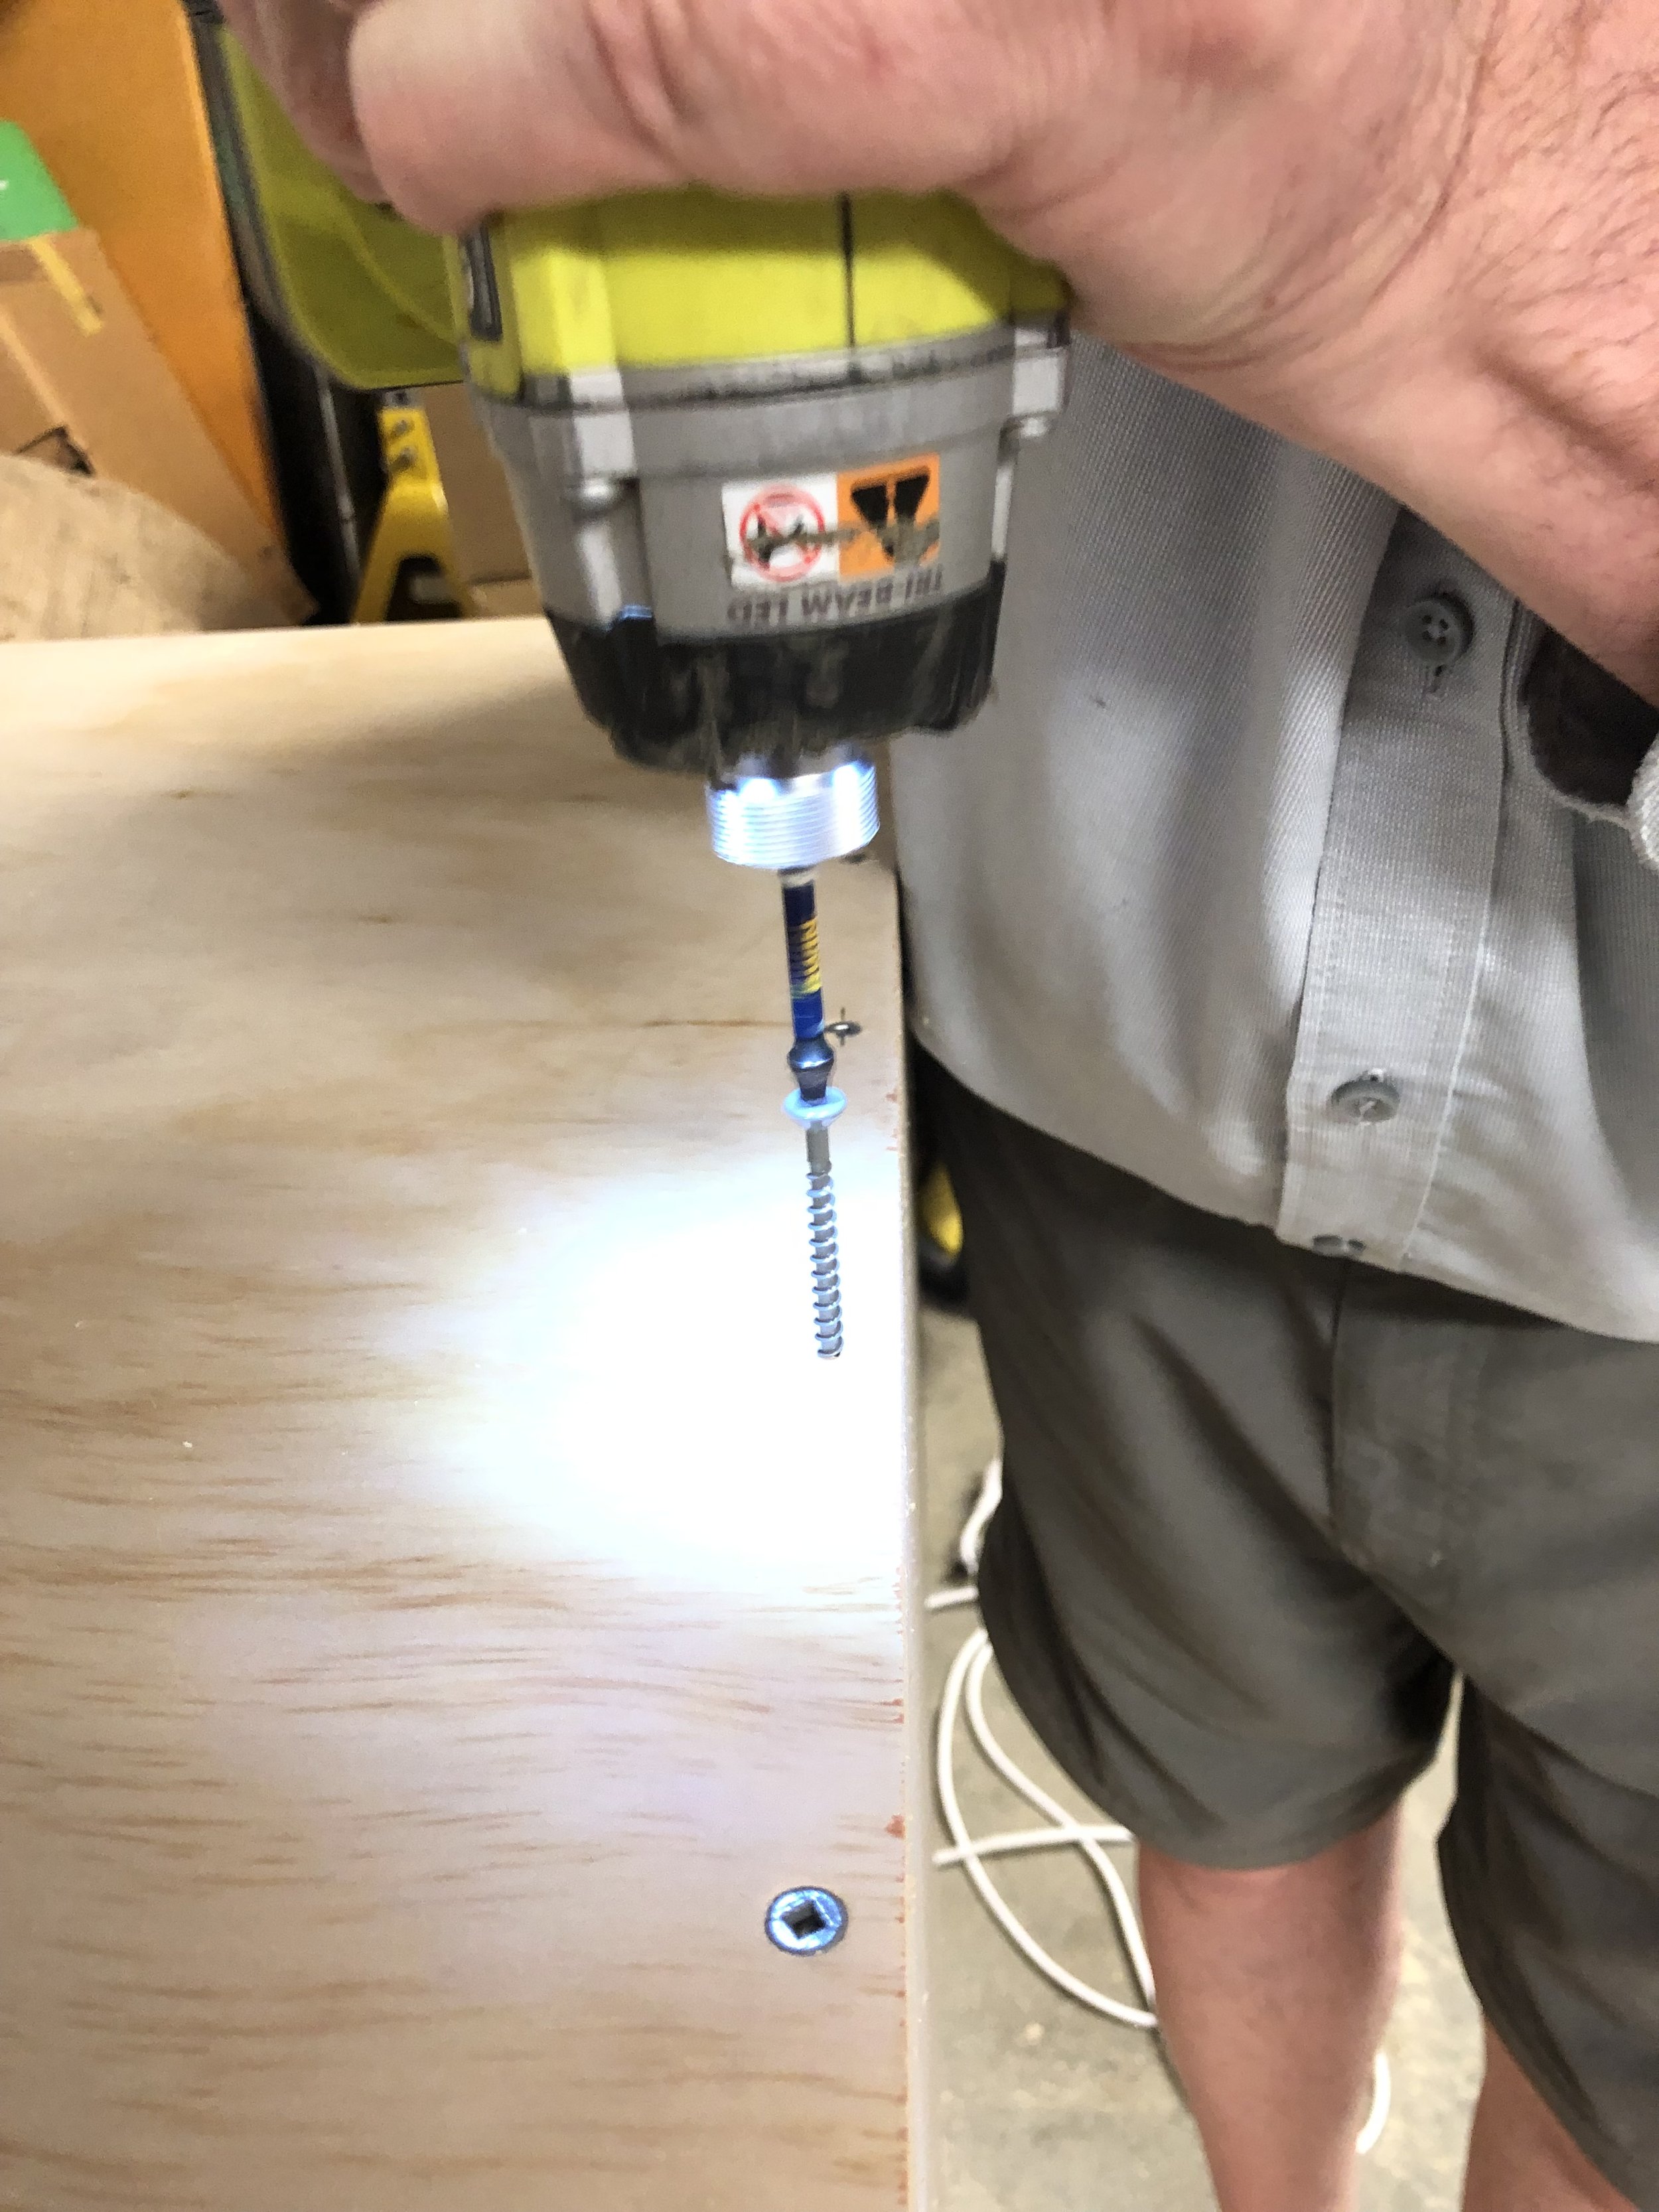
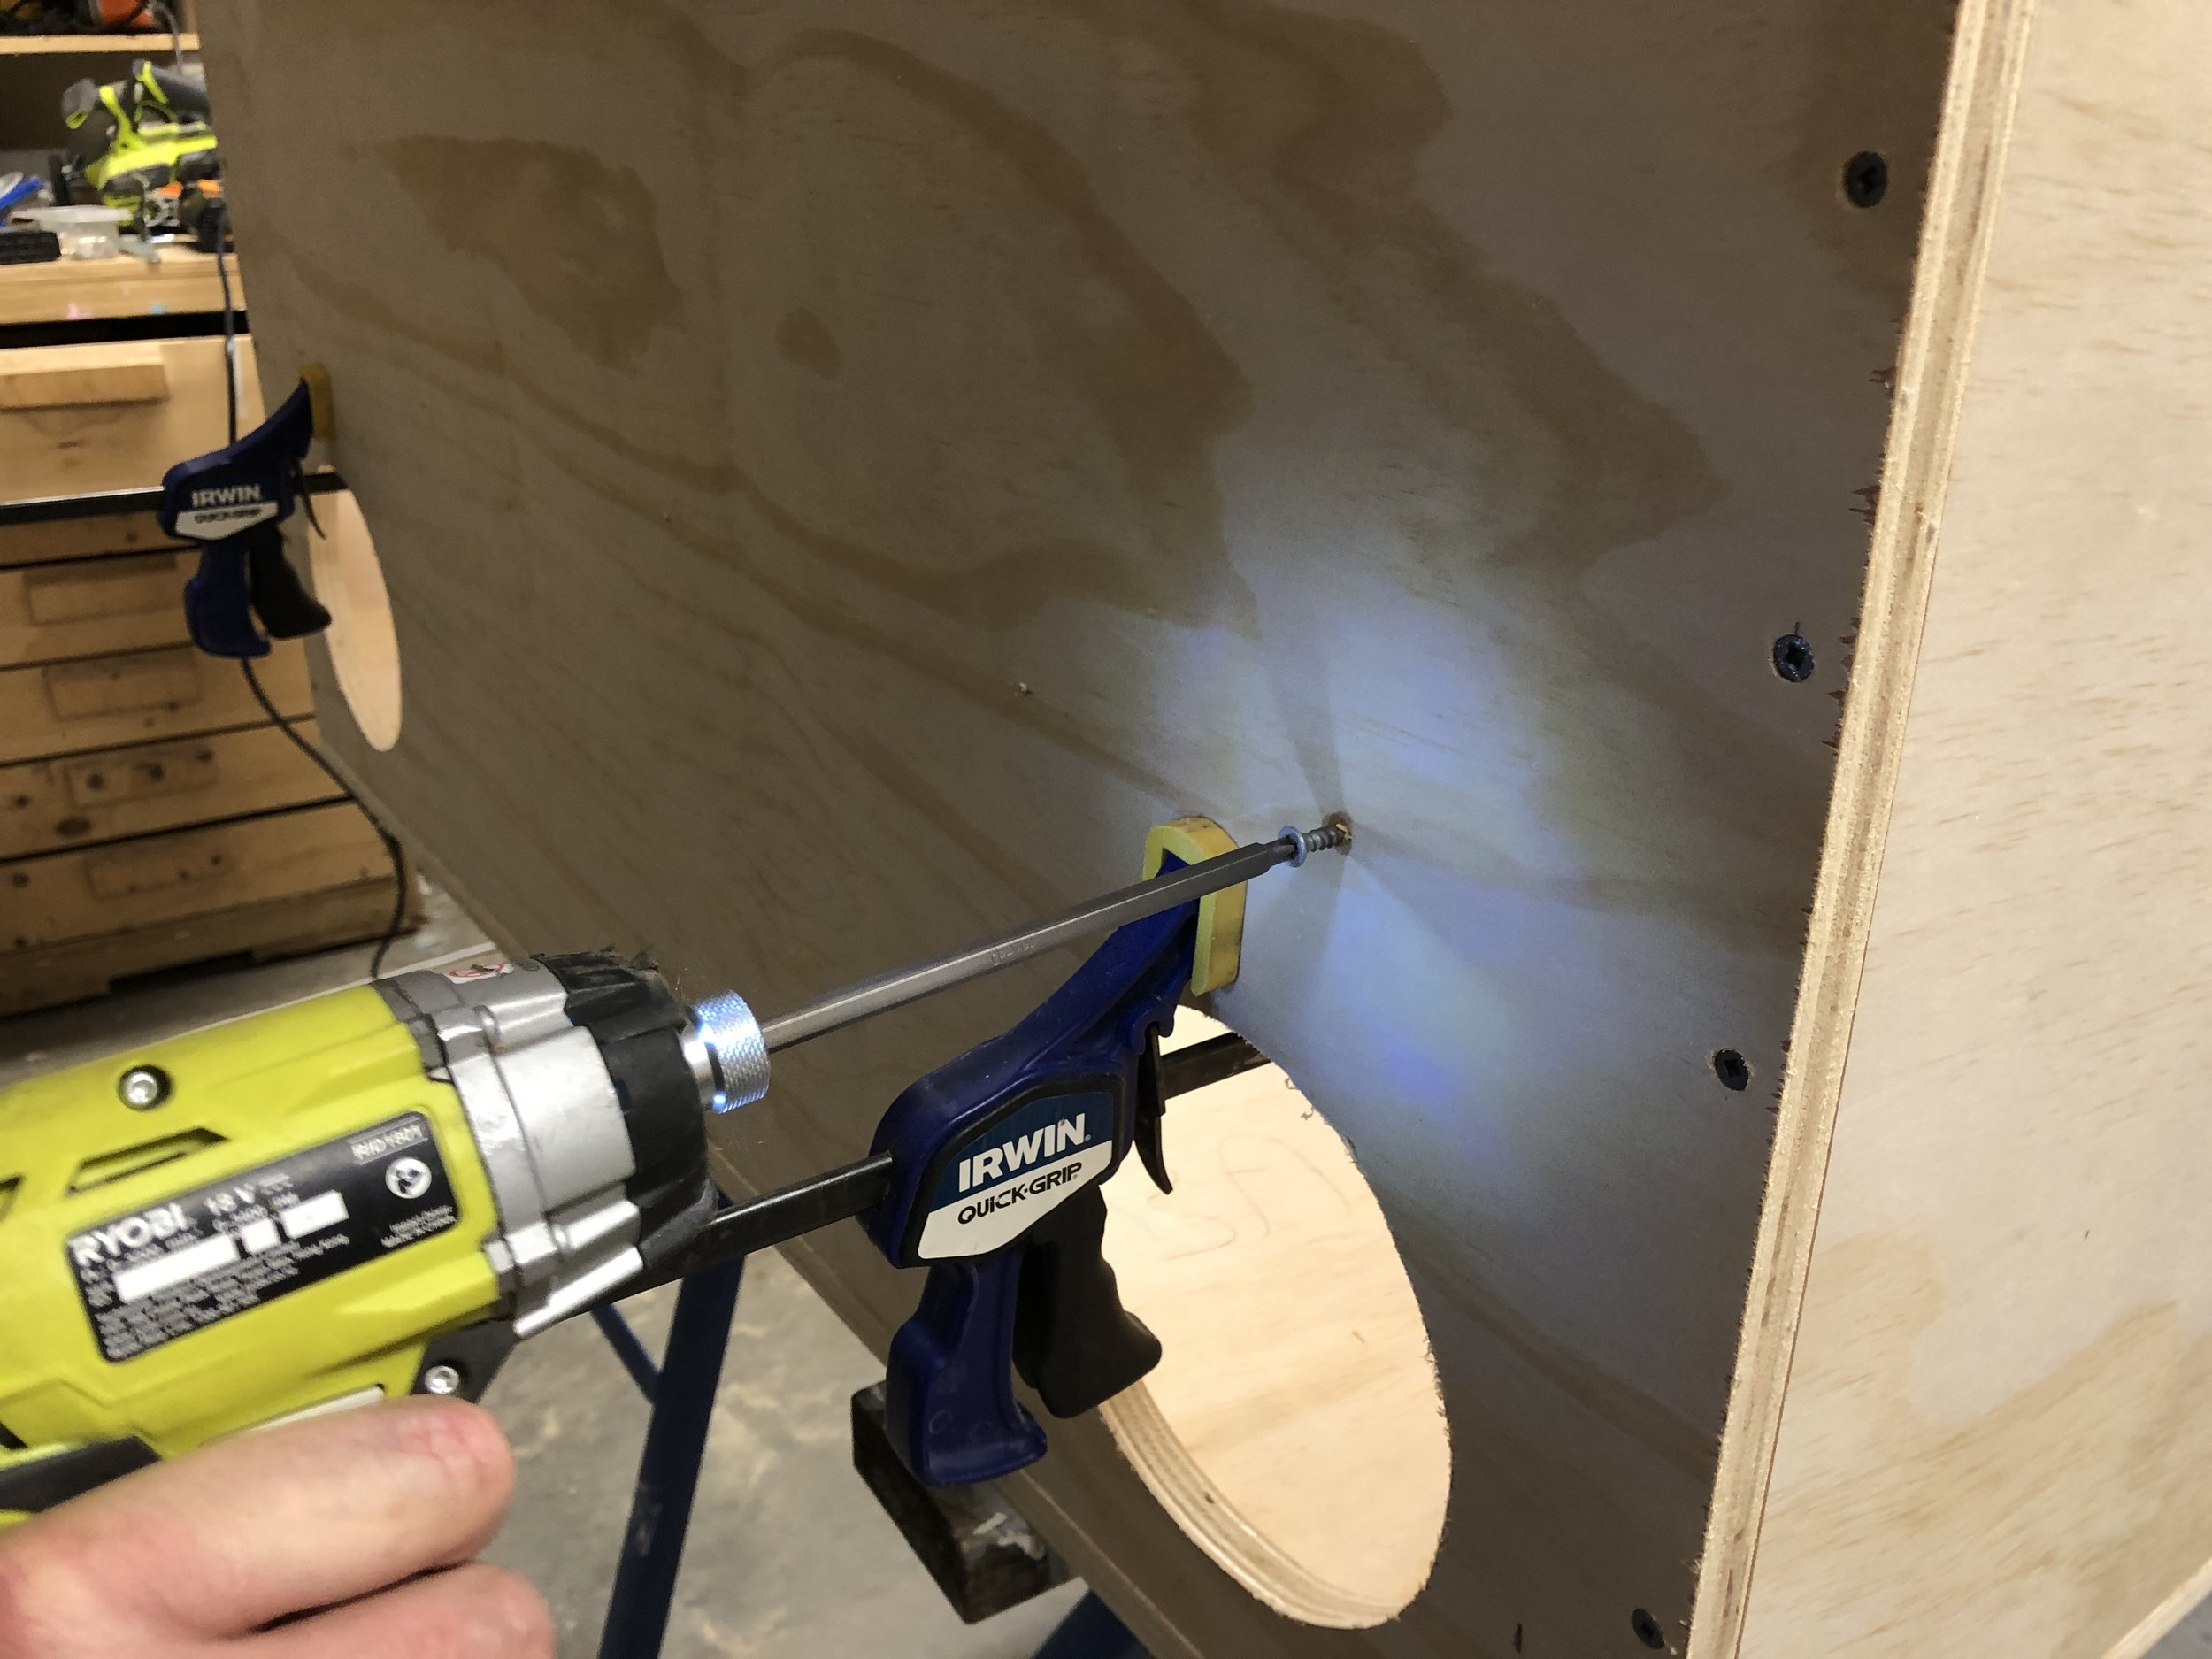
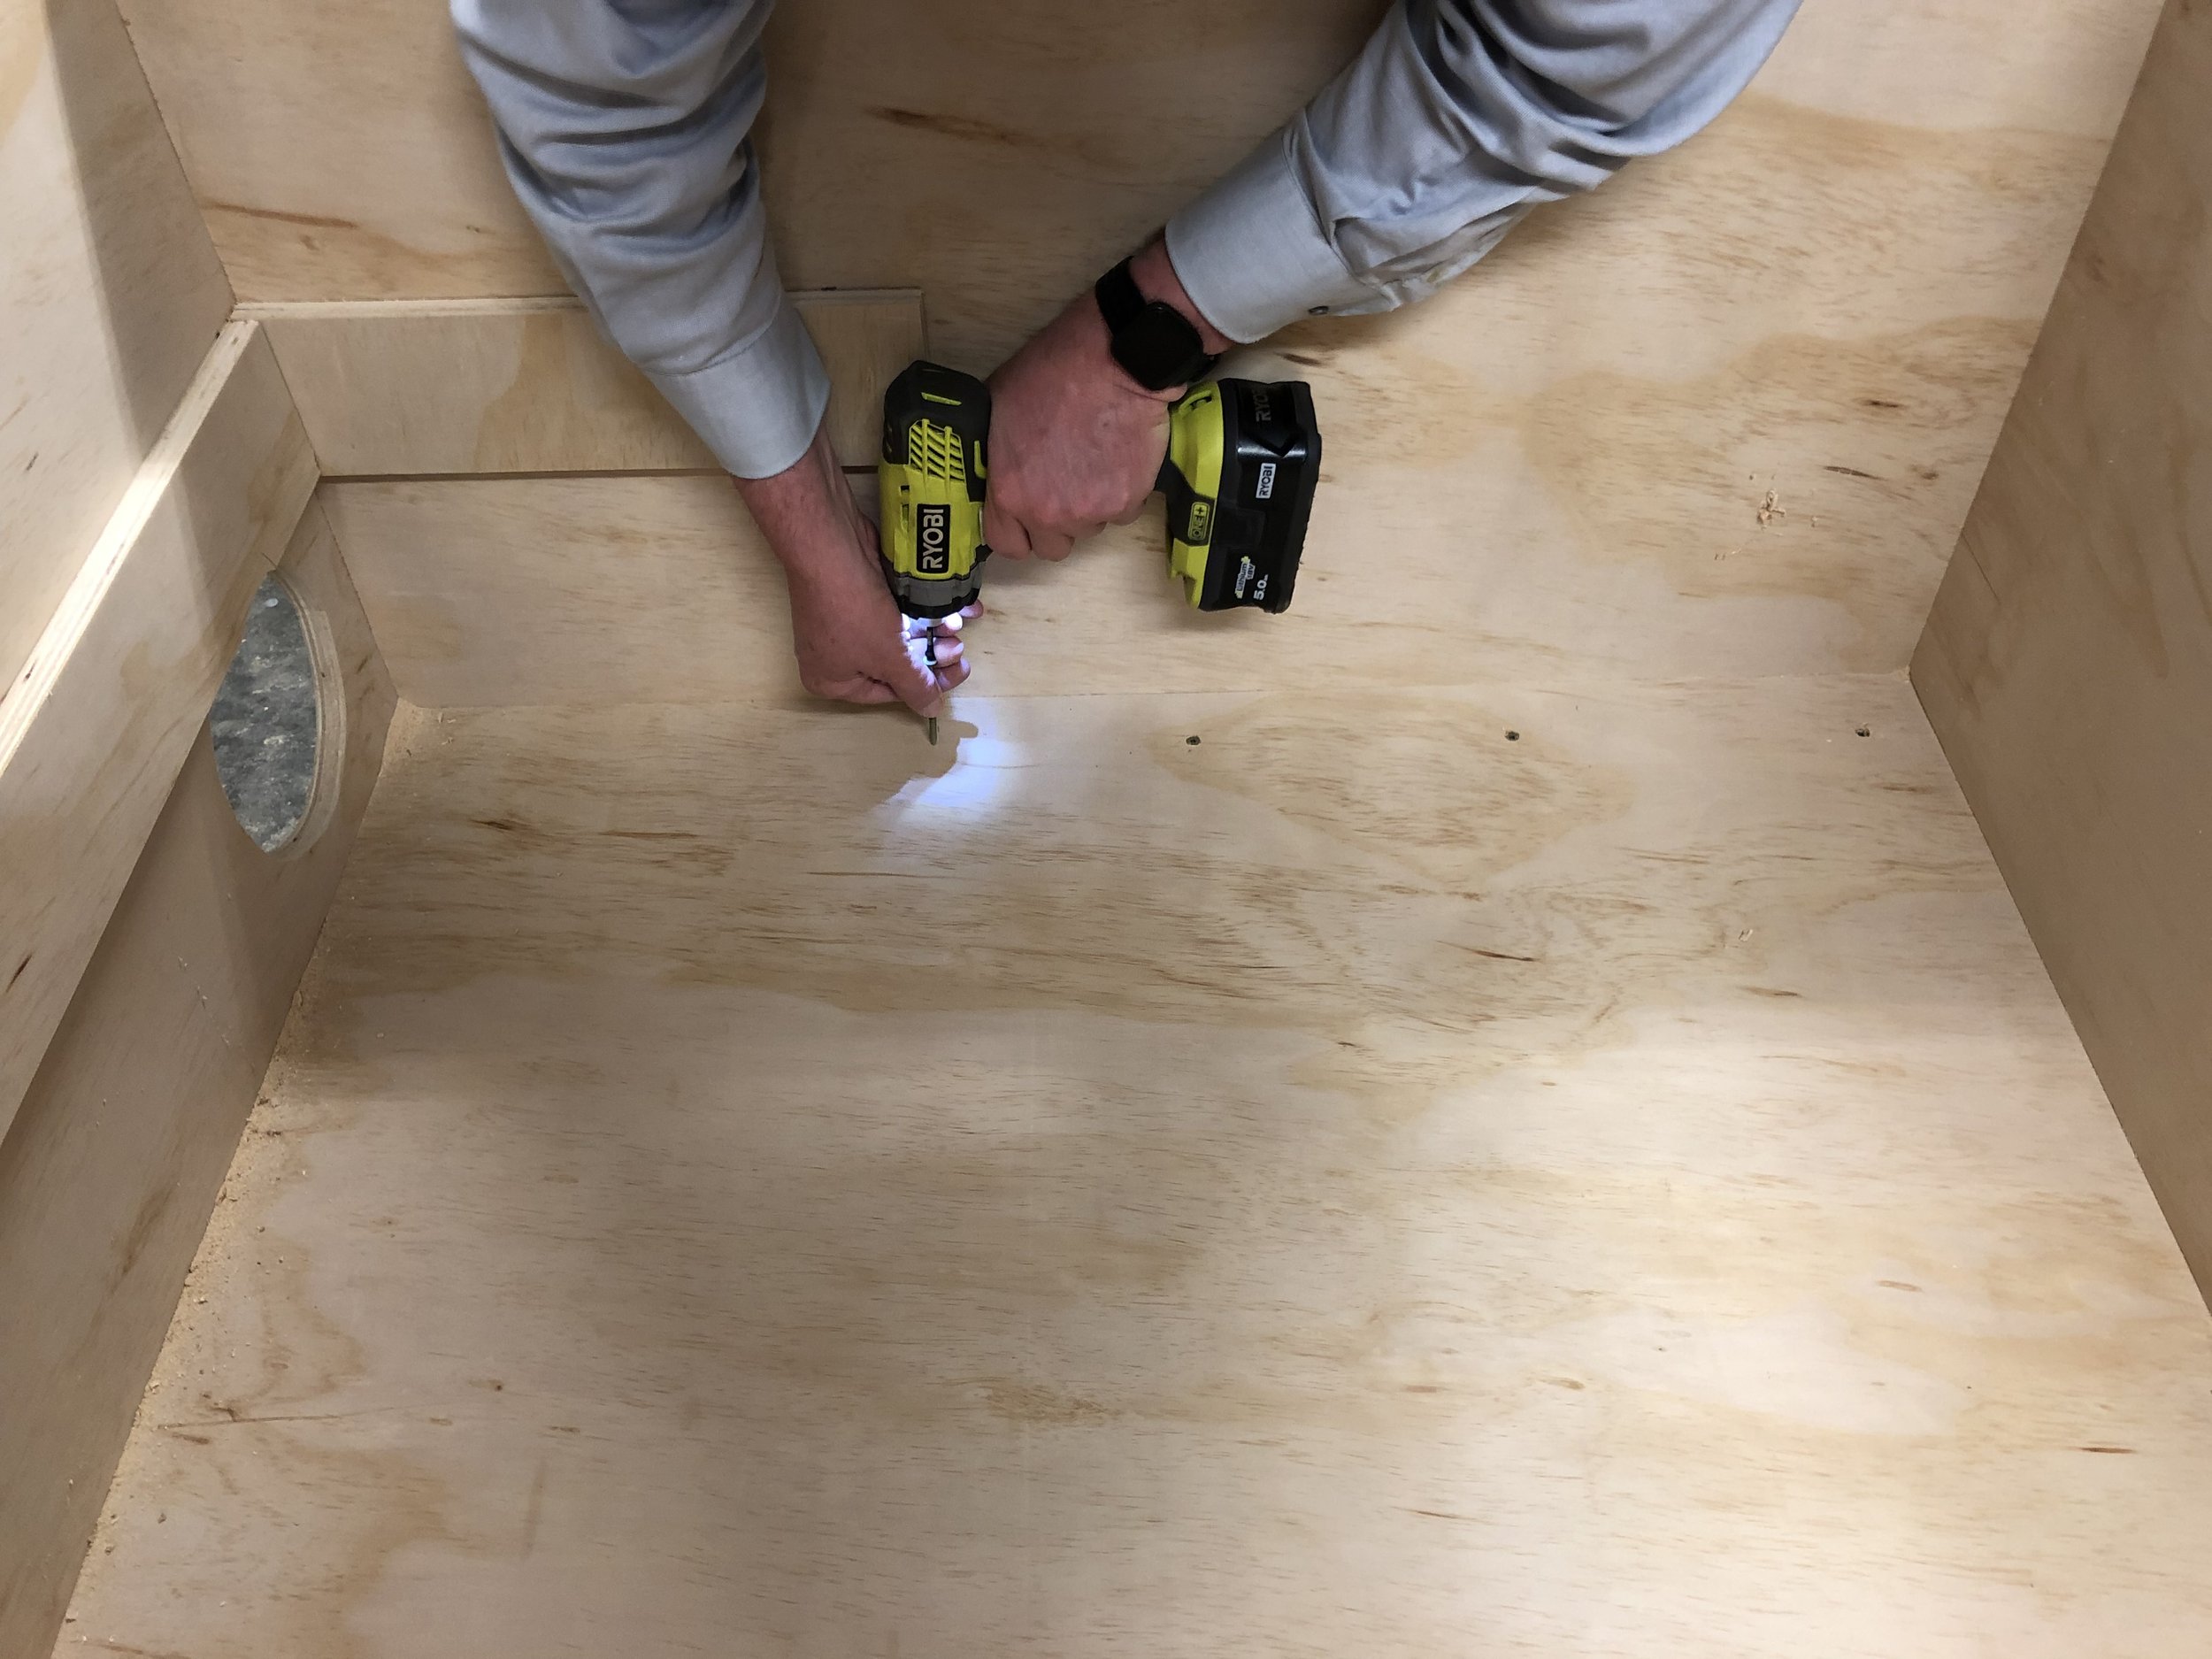
Now screw the joined Front/Side pieces to the Base
To do this start in the corner about 2cm in from the side edge.
Measure and draw mark guidelines for drilling along under the underside of the Base as a guide for your drill as you did above. This is best done sitting on the floor so that you can see under the Base.
Making sure to start from the corner drill your first two pilot holes - one under the Front and one under the Side.
Drive a screw into each of these pilot holes.
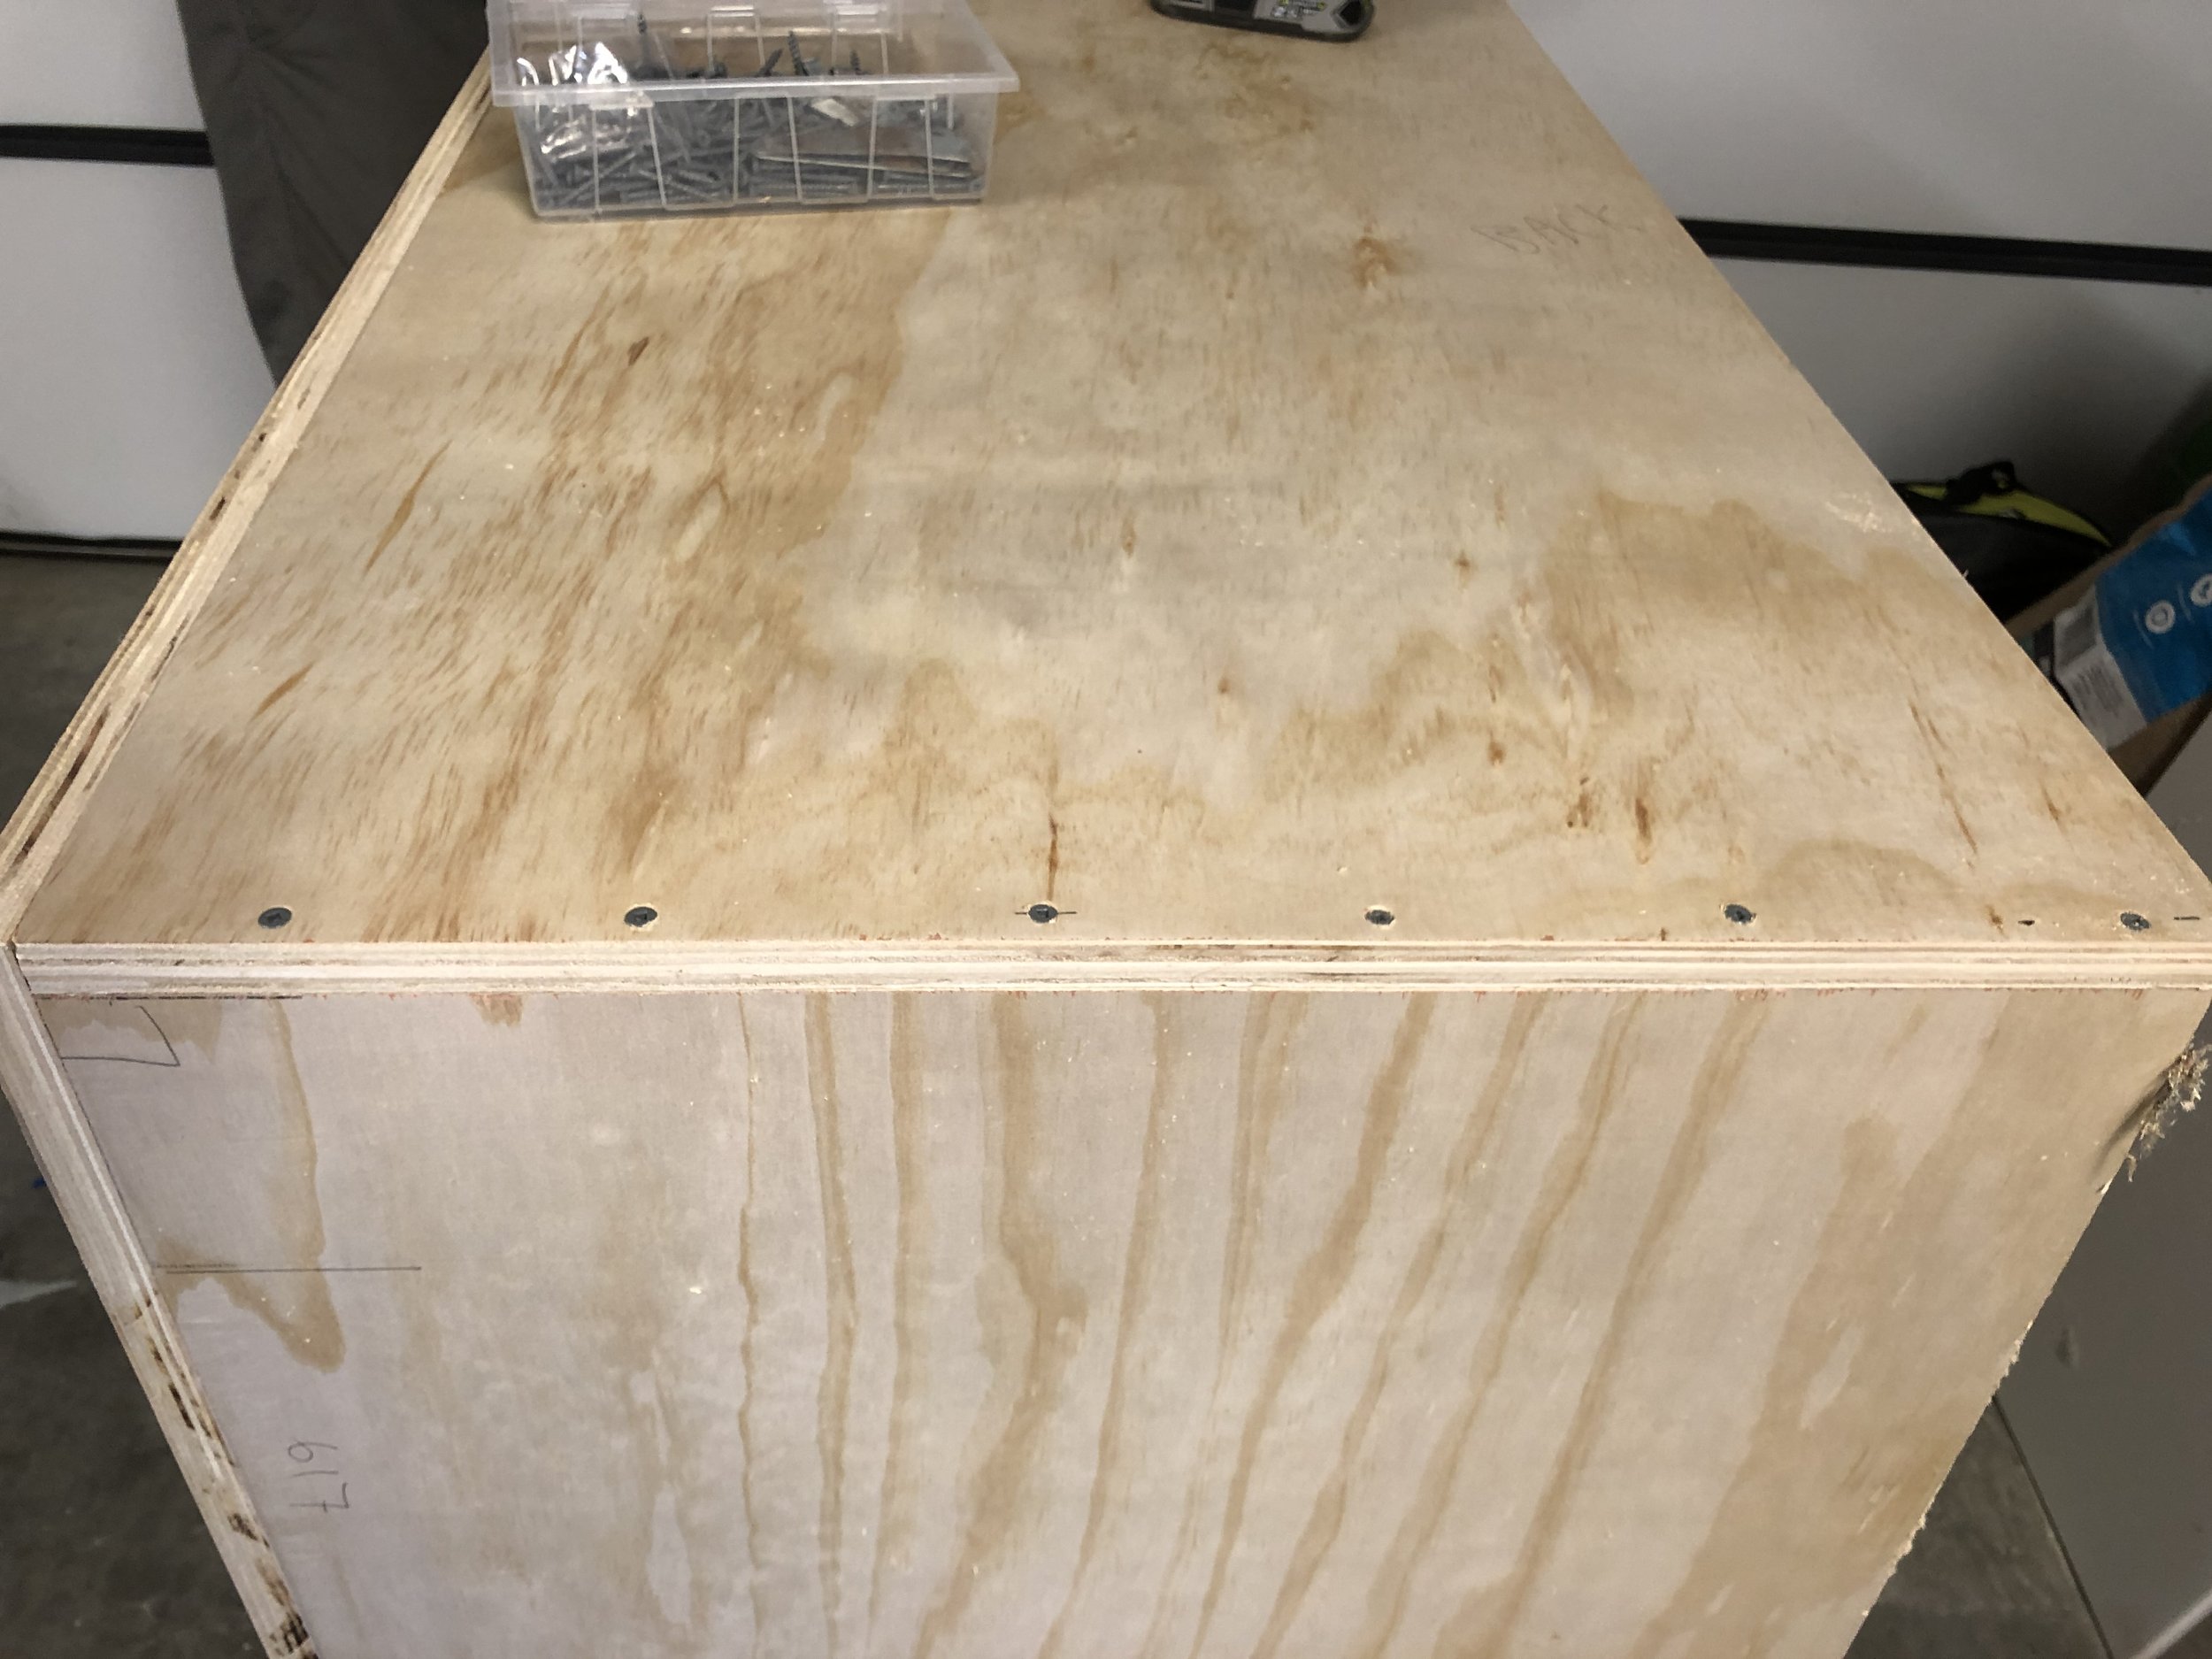
Once those have been driven, drill and drive the rest of the screws at about 10cm intervals along the underside to join the Front and Side to the Base.
Continue in this manner to join the next Side to the Front and the Base and then the Back to the Sides and then the Base.
Make sure to keep all of the edges aligned and flush.

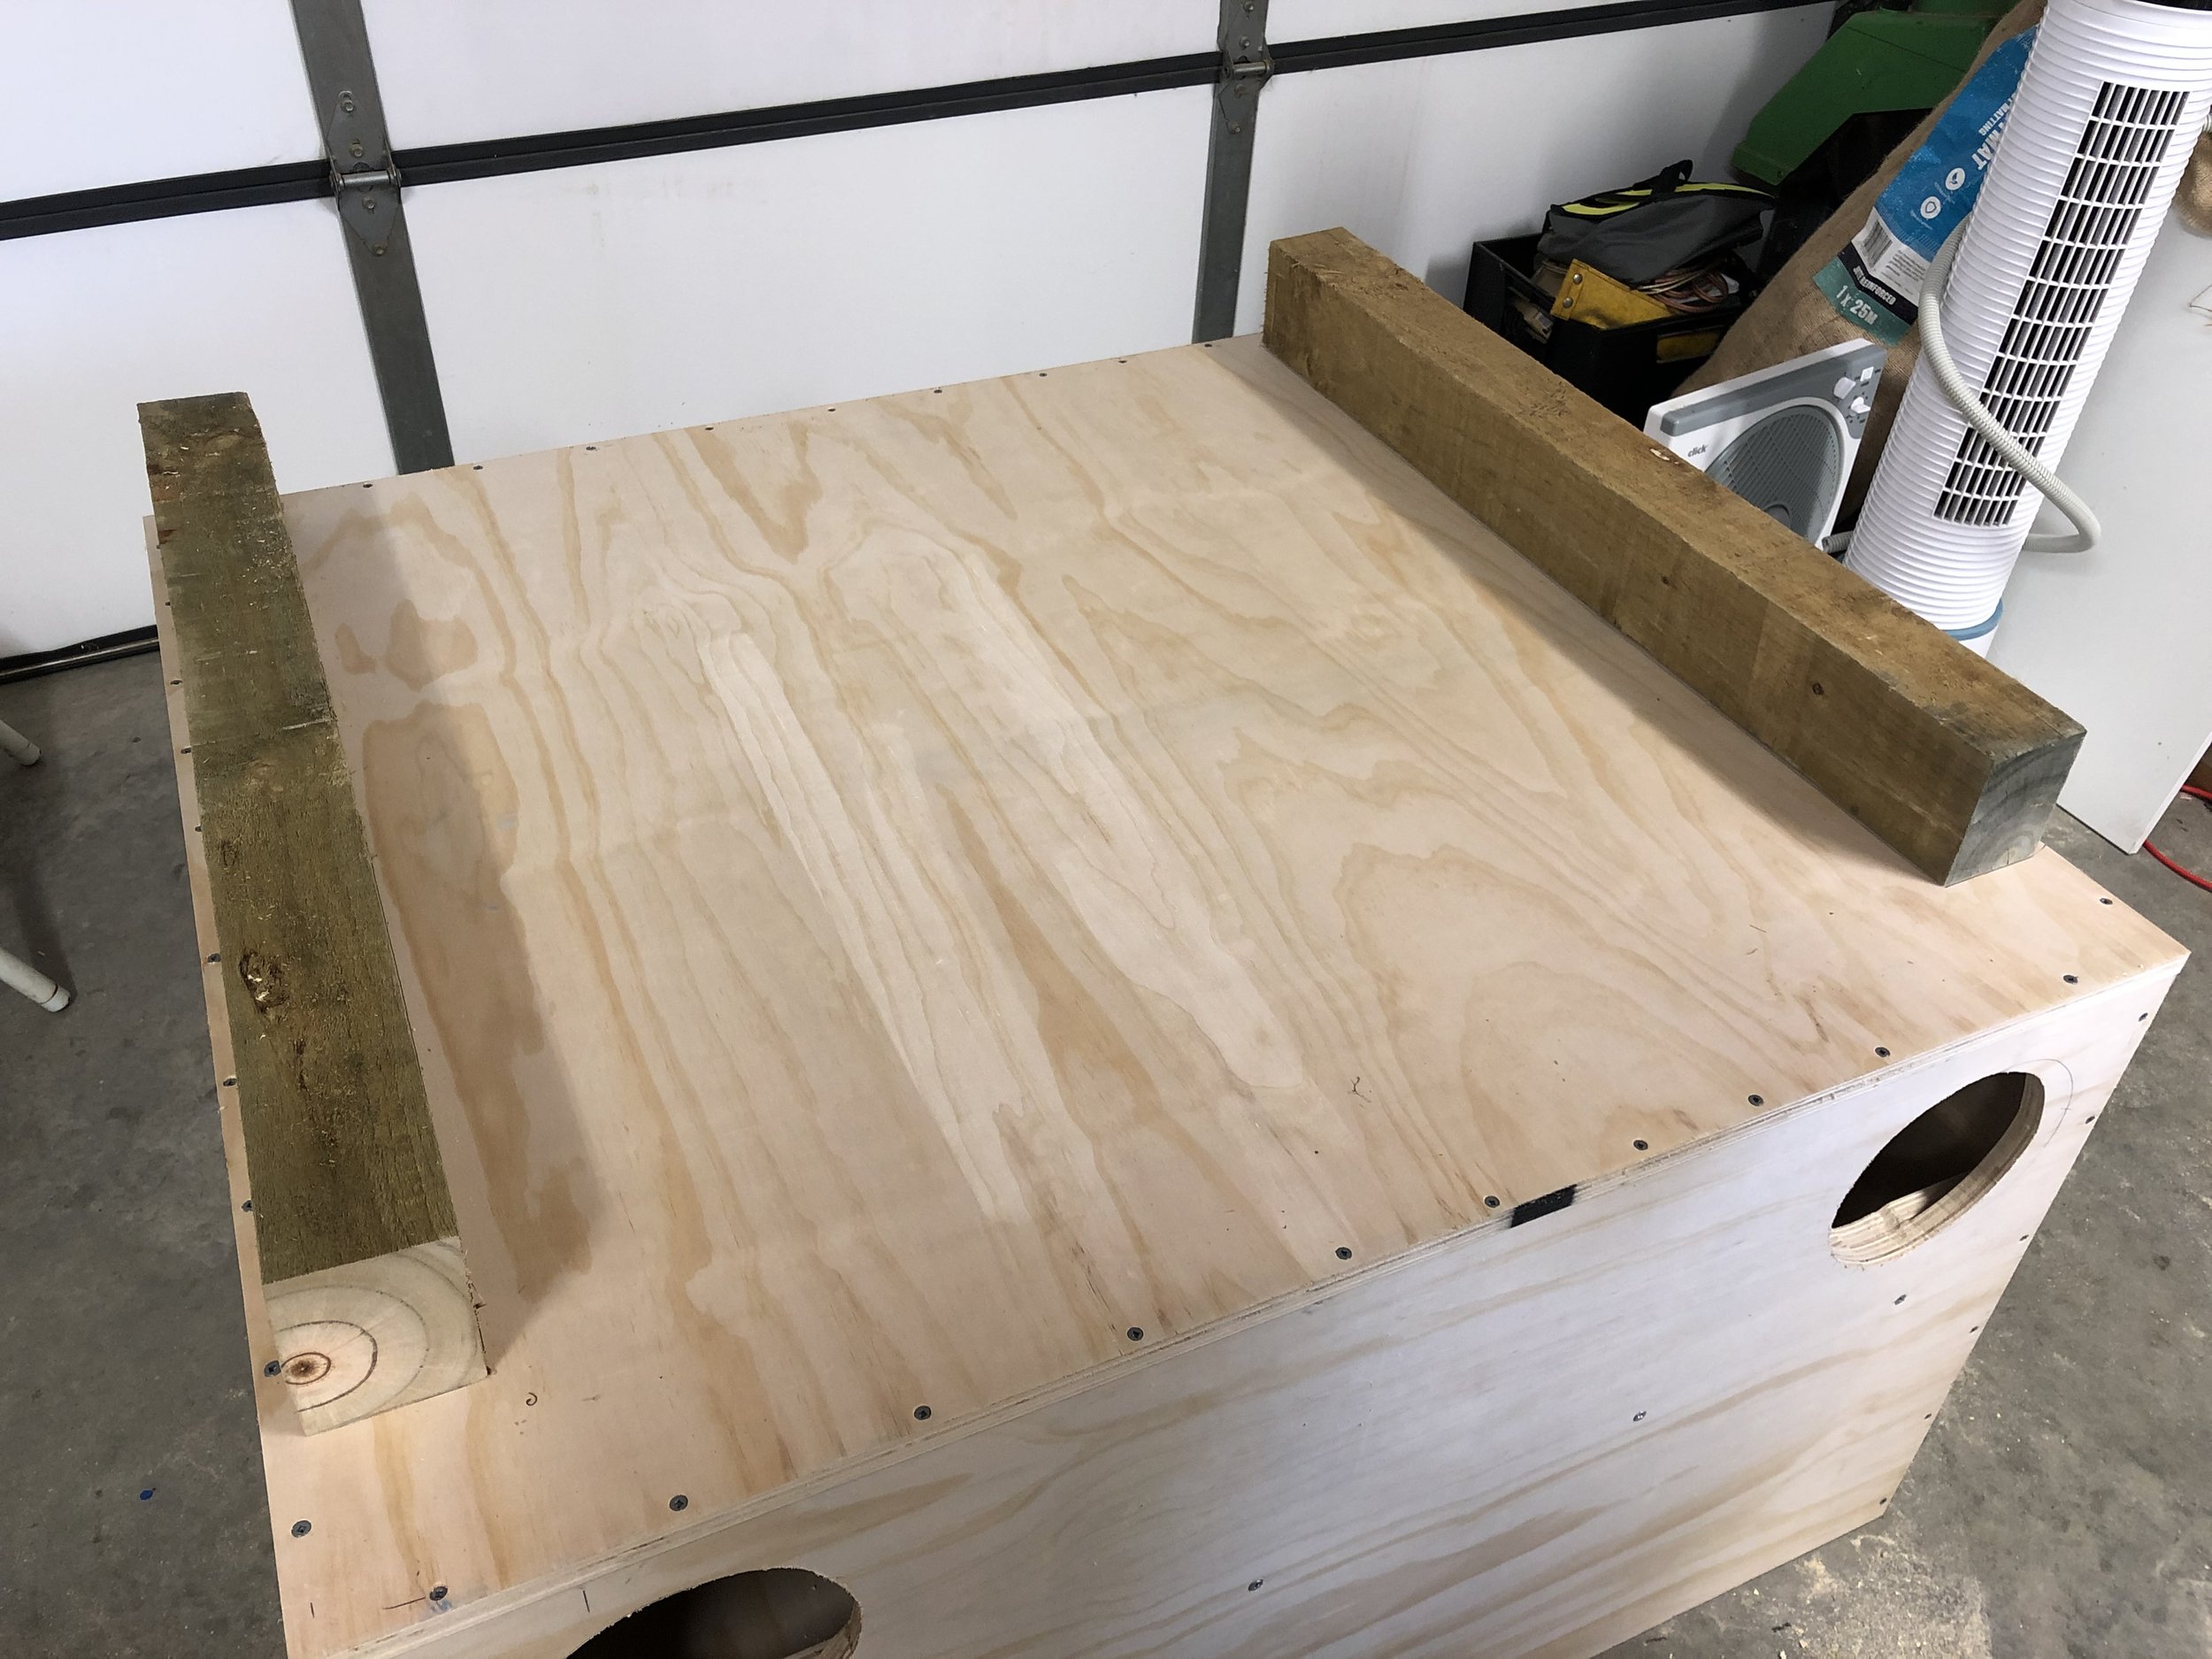
An Alternative way to Assemble -
Use the same known square scrap and clamp method and marking for Pilot holes but …
Sit the Base on a Flat surface
Place the Front, Side and Back pieces on top and clamp and screw the box pieces together in this order - Side to Front. Side/Front to Side. Side/Front/Side to Back using the techniques described above.
Then
Working carefully with two people, lift the screwed together S/F/S/B box pieces off the base. DO NOT let it twist or go out of square.
Turn this upside down then place the Base on top of the inverted box.
Make sure to line up all edges and corners exactly so that the box is squared using the base as a guide.
Starting 2cm in from one corner mark, drill and screw as above. Continue in this manner all the way along to the far corner. Repeat on the next side etc working your way around the box.

PAGE 10
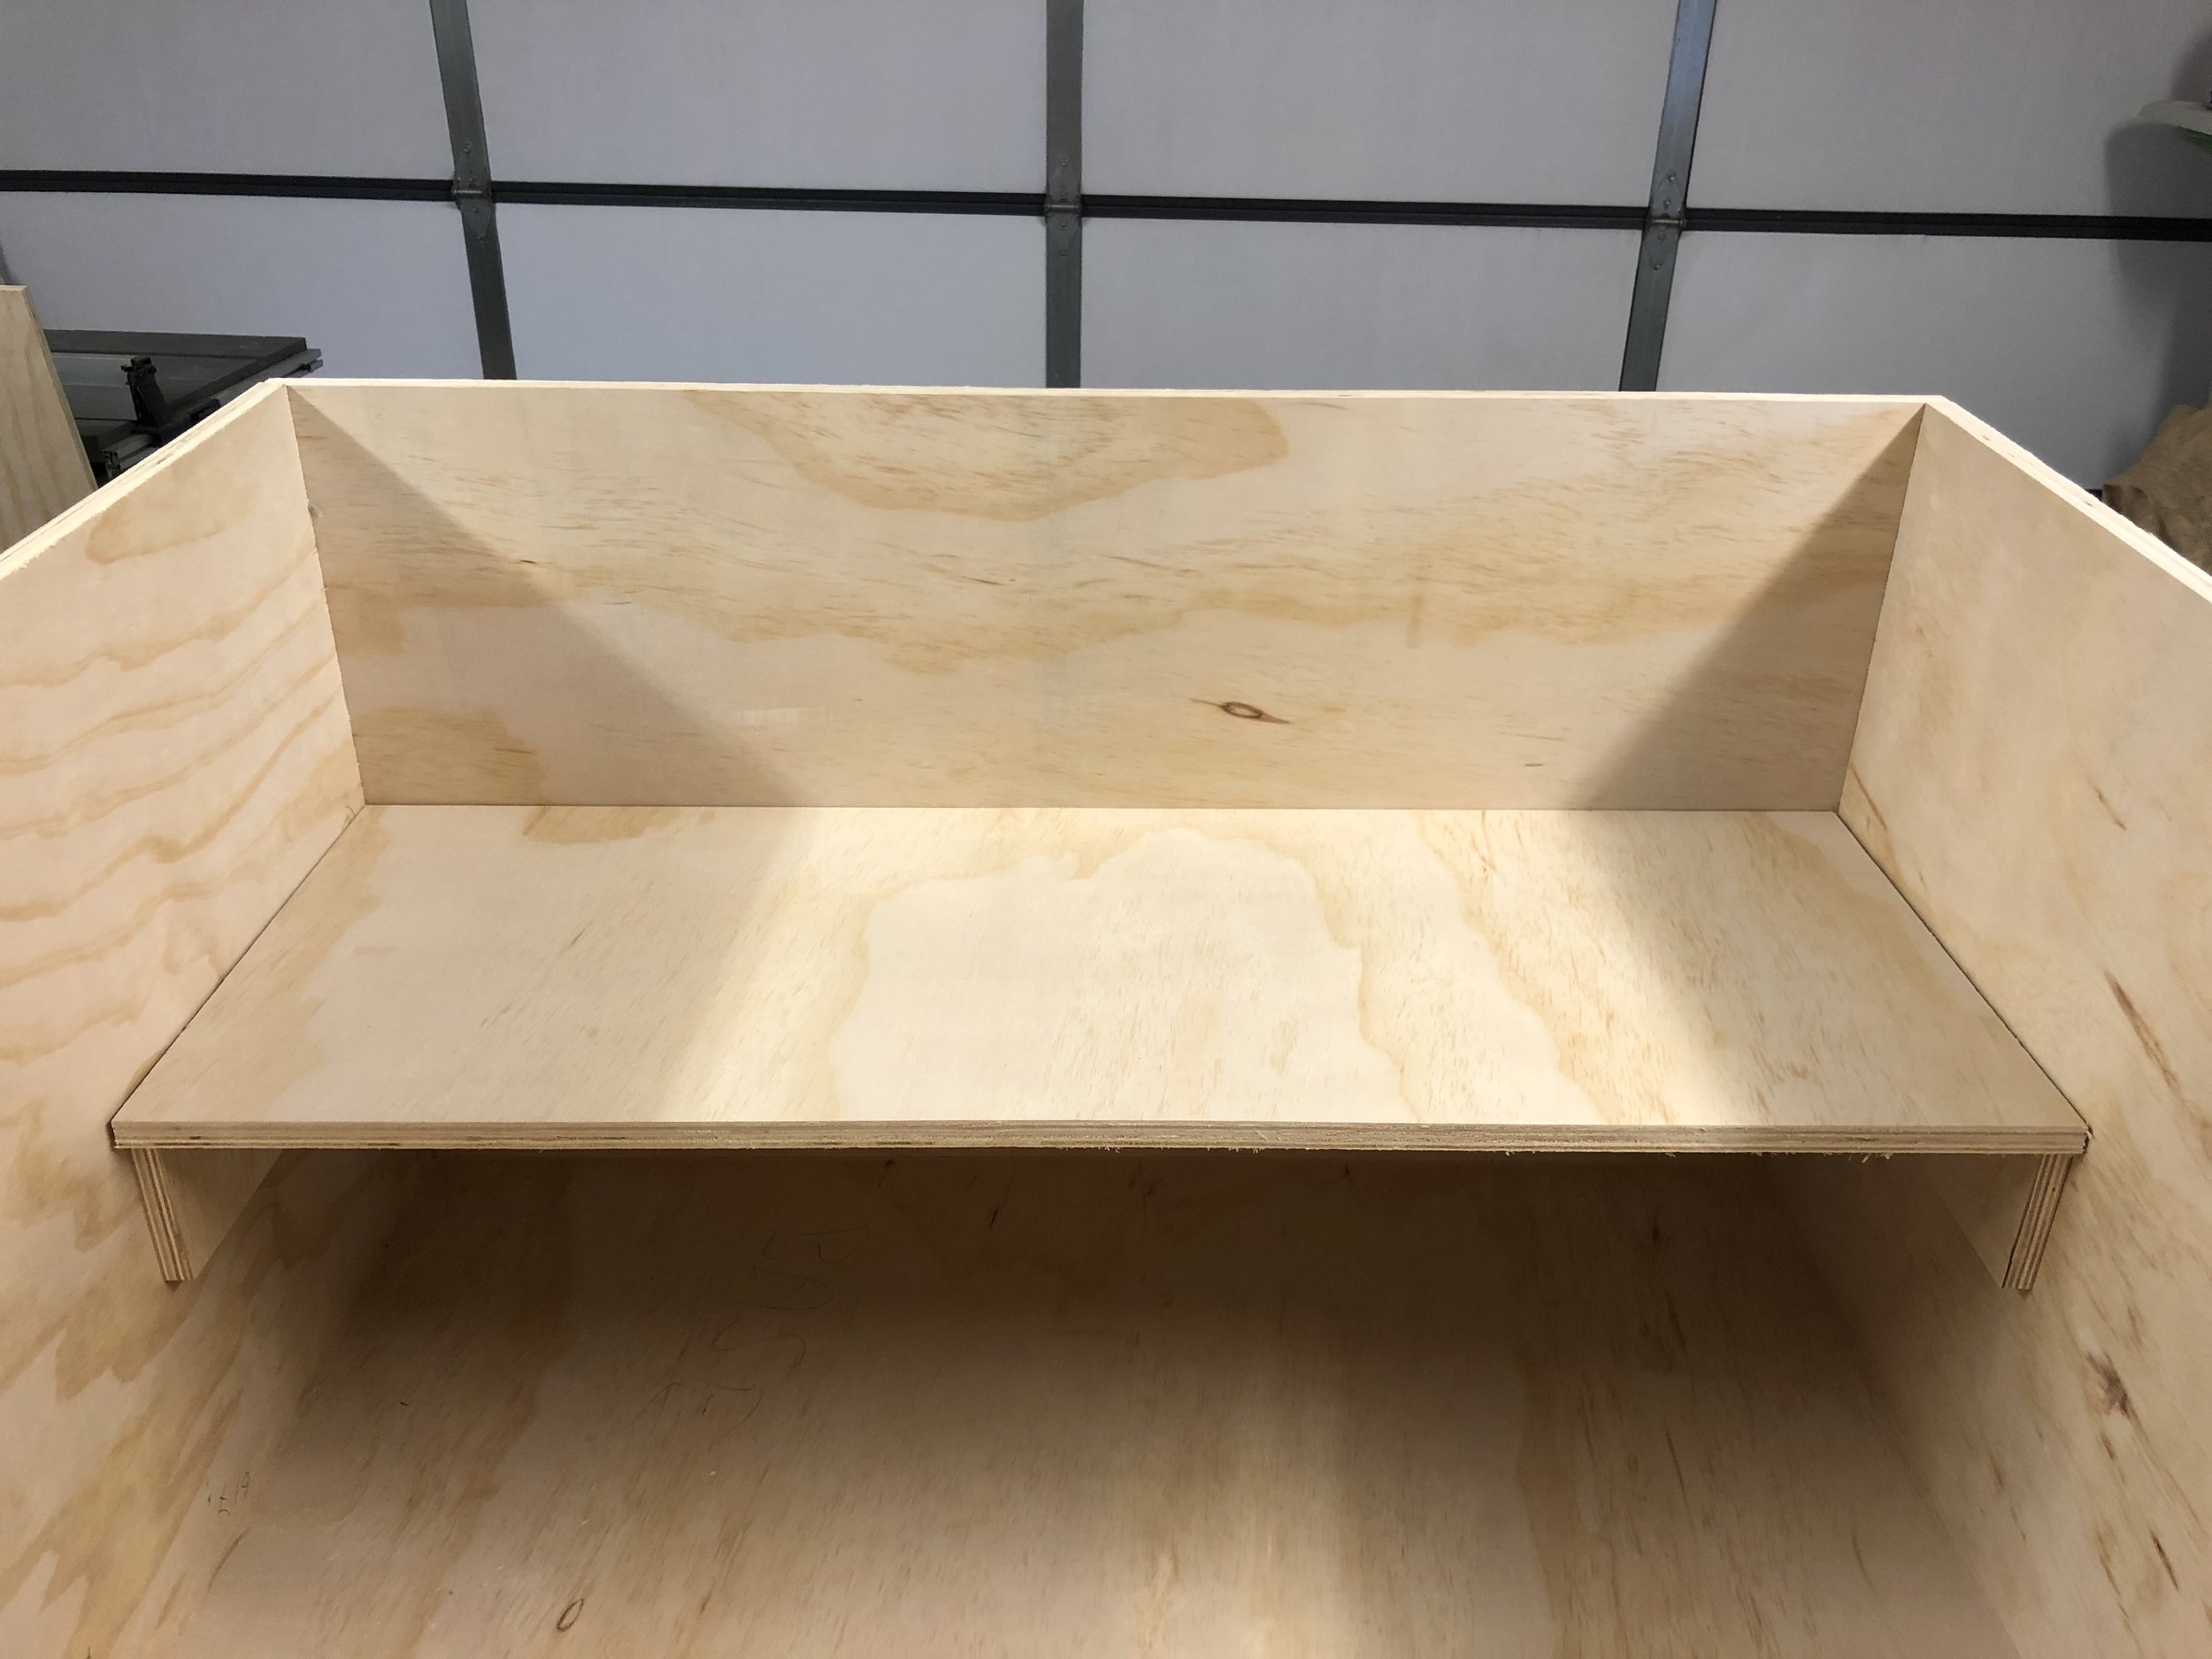
Measuring, Cutting and Fitting the Internal Shelf
Take Shelf Support Front. This will become the shelf support inside the front of the box.
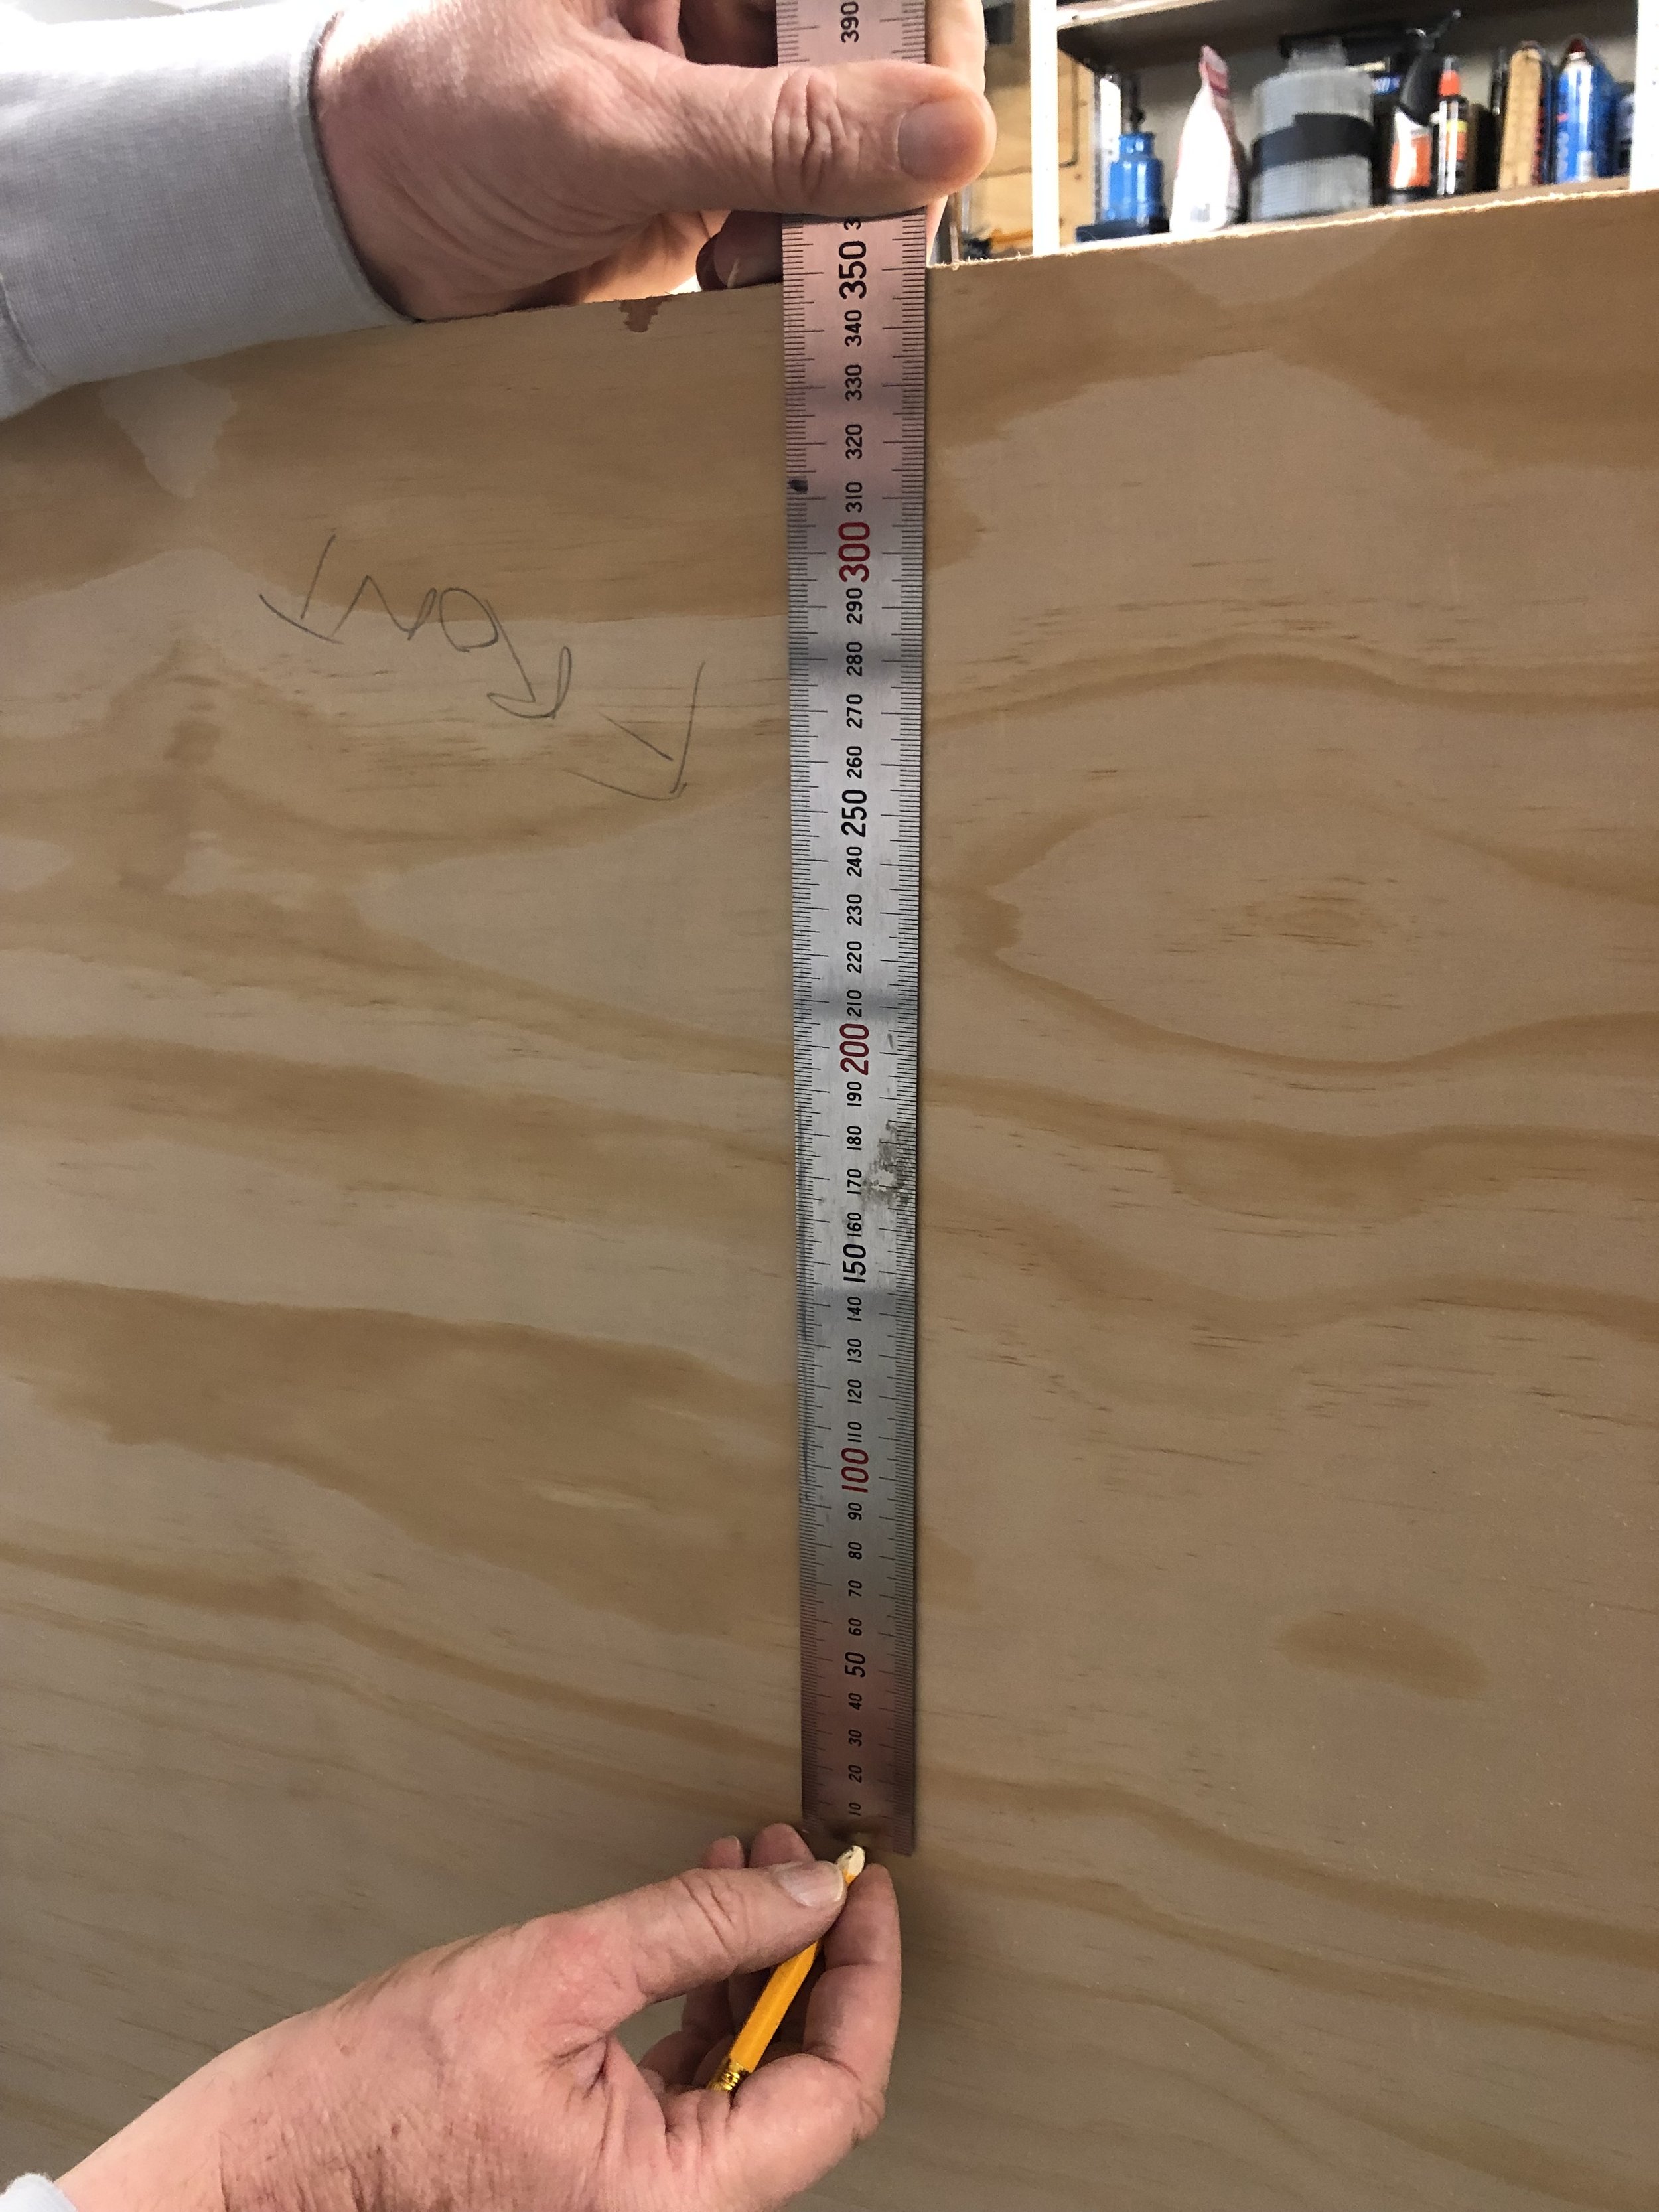
Decide on the height you want to have your internal shelf. And draw guide marks for this.
Make sure the Shelf Support will not cover your entry doors.
Using Remnant 1 as a guide, place it against the side as a spacer and seat Shelf Support Front into it. Do the same on the other side to ensure the Shelf Support Front will fit when centred on the front.
We didn’t need to trim the length of our Shelf Support Front as it fitted perfectly between the temporary spacers on either side. If yours needs to be shortened to fit, measure between the spacers and trim off any excess length.
Center Shelf Support Front and align to your height marks. Clamp in place and screw the shelf support to the Front. Use the shorter screws for this.
Next we will use Remnant 1 to make the Side Shelf Supports.
To determine the length of the shelf supports for the sides, measure the short edge of the Shelf.
On the long edge of Remnant 1 and mark this measurement and cut. Repeat. These two pieces should match the depth of the shelf.
Mark the sides of the box to align the side shelf supports and screw in place.

To determine the length of the shelf either hold the shelf in place and mark the length or measure the internal width between the box sides and trim the Shelf length to match.
Install the shelf - You can screw the shelf in place, hinge, or leave as a lift out piece. It is best to paint it first if you are going to paint inside the box and/or screw the shelf in place.
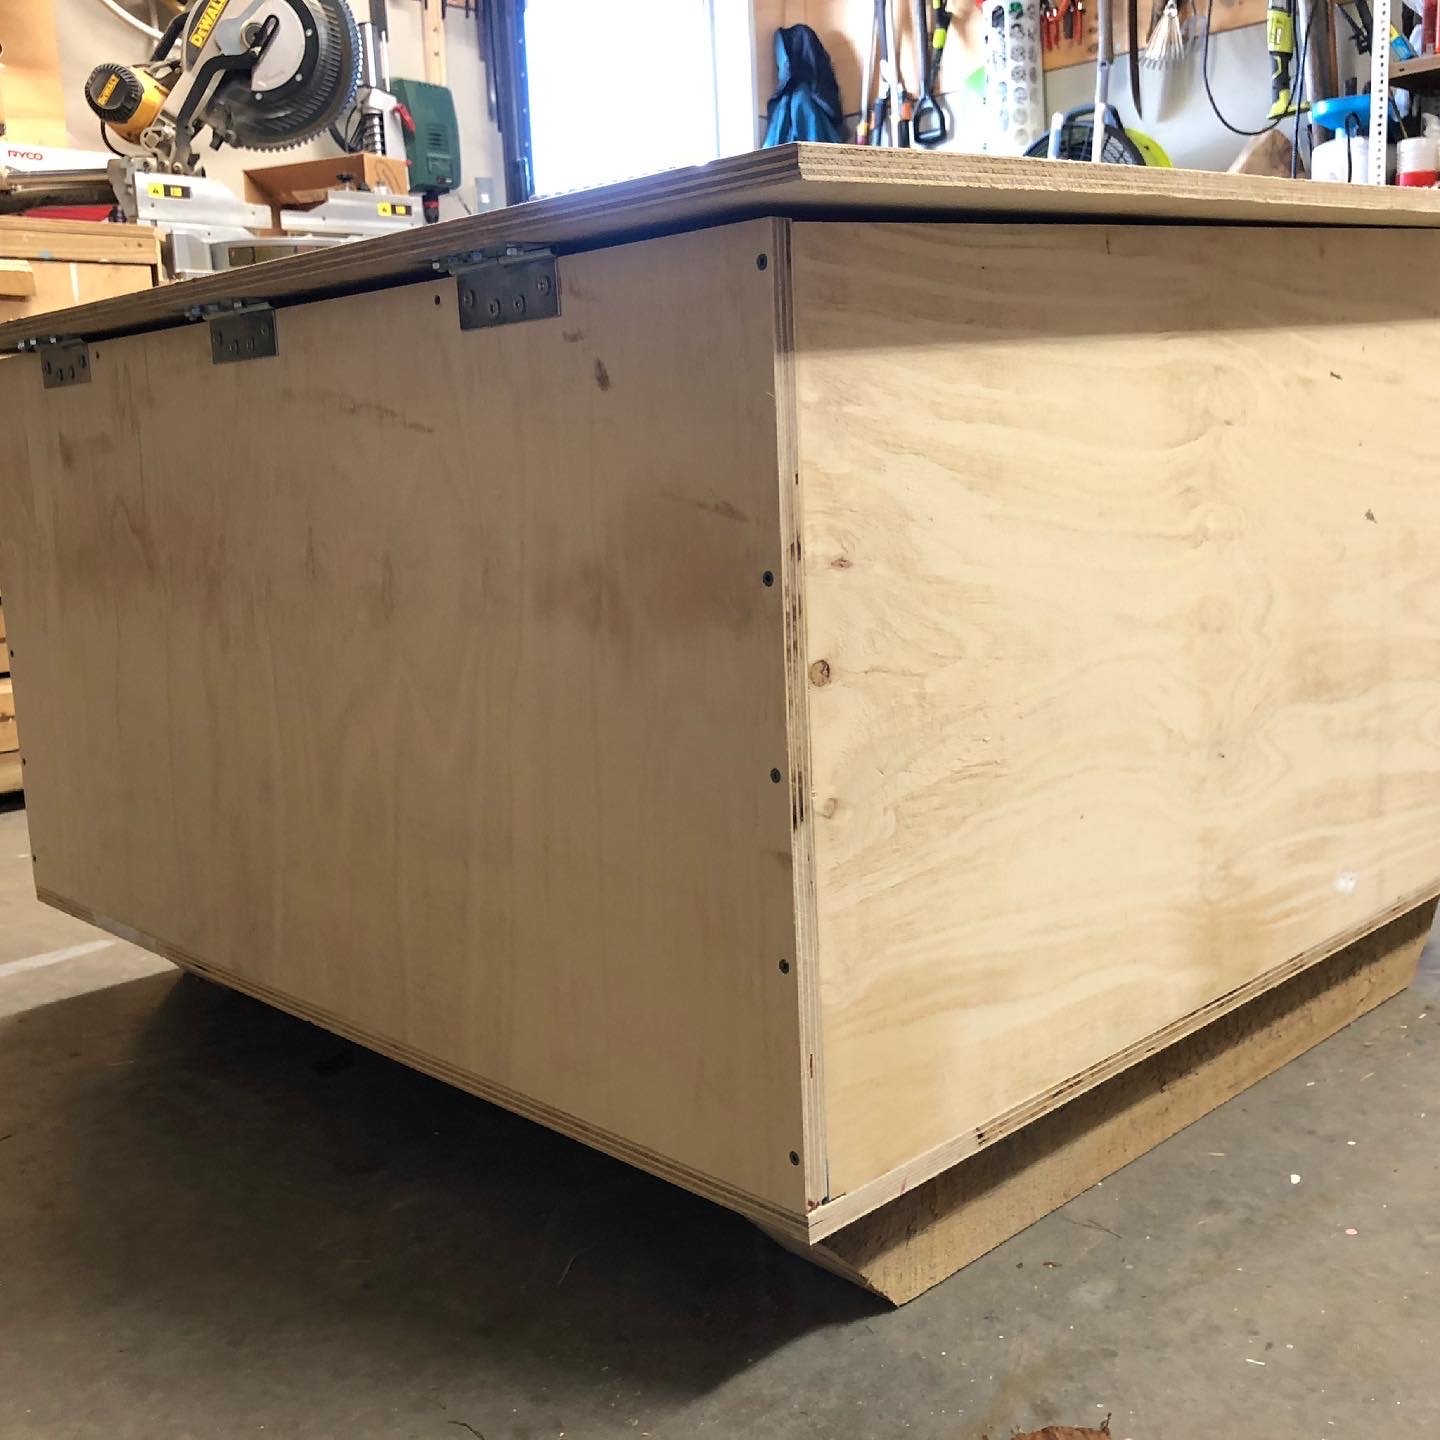
ROOF
Place the roof on your box and position with an overhang on each side of 5cm
Decide on how you want the roof attached -
Hinged at the front or at the back?
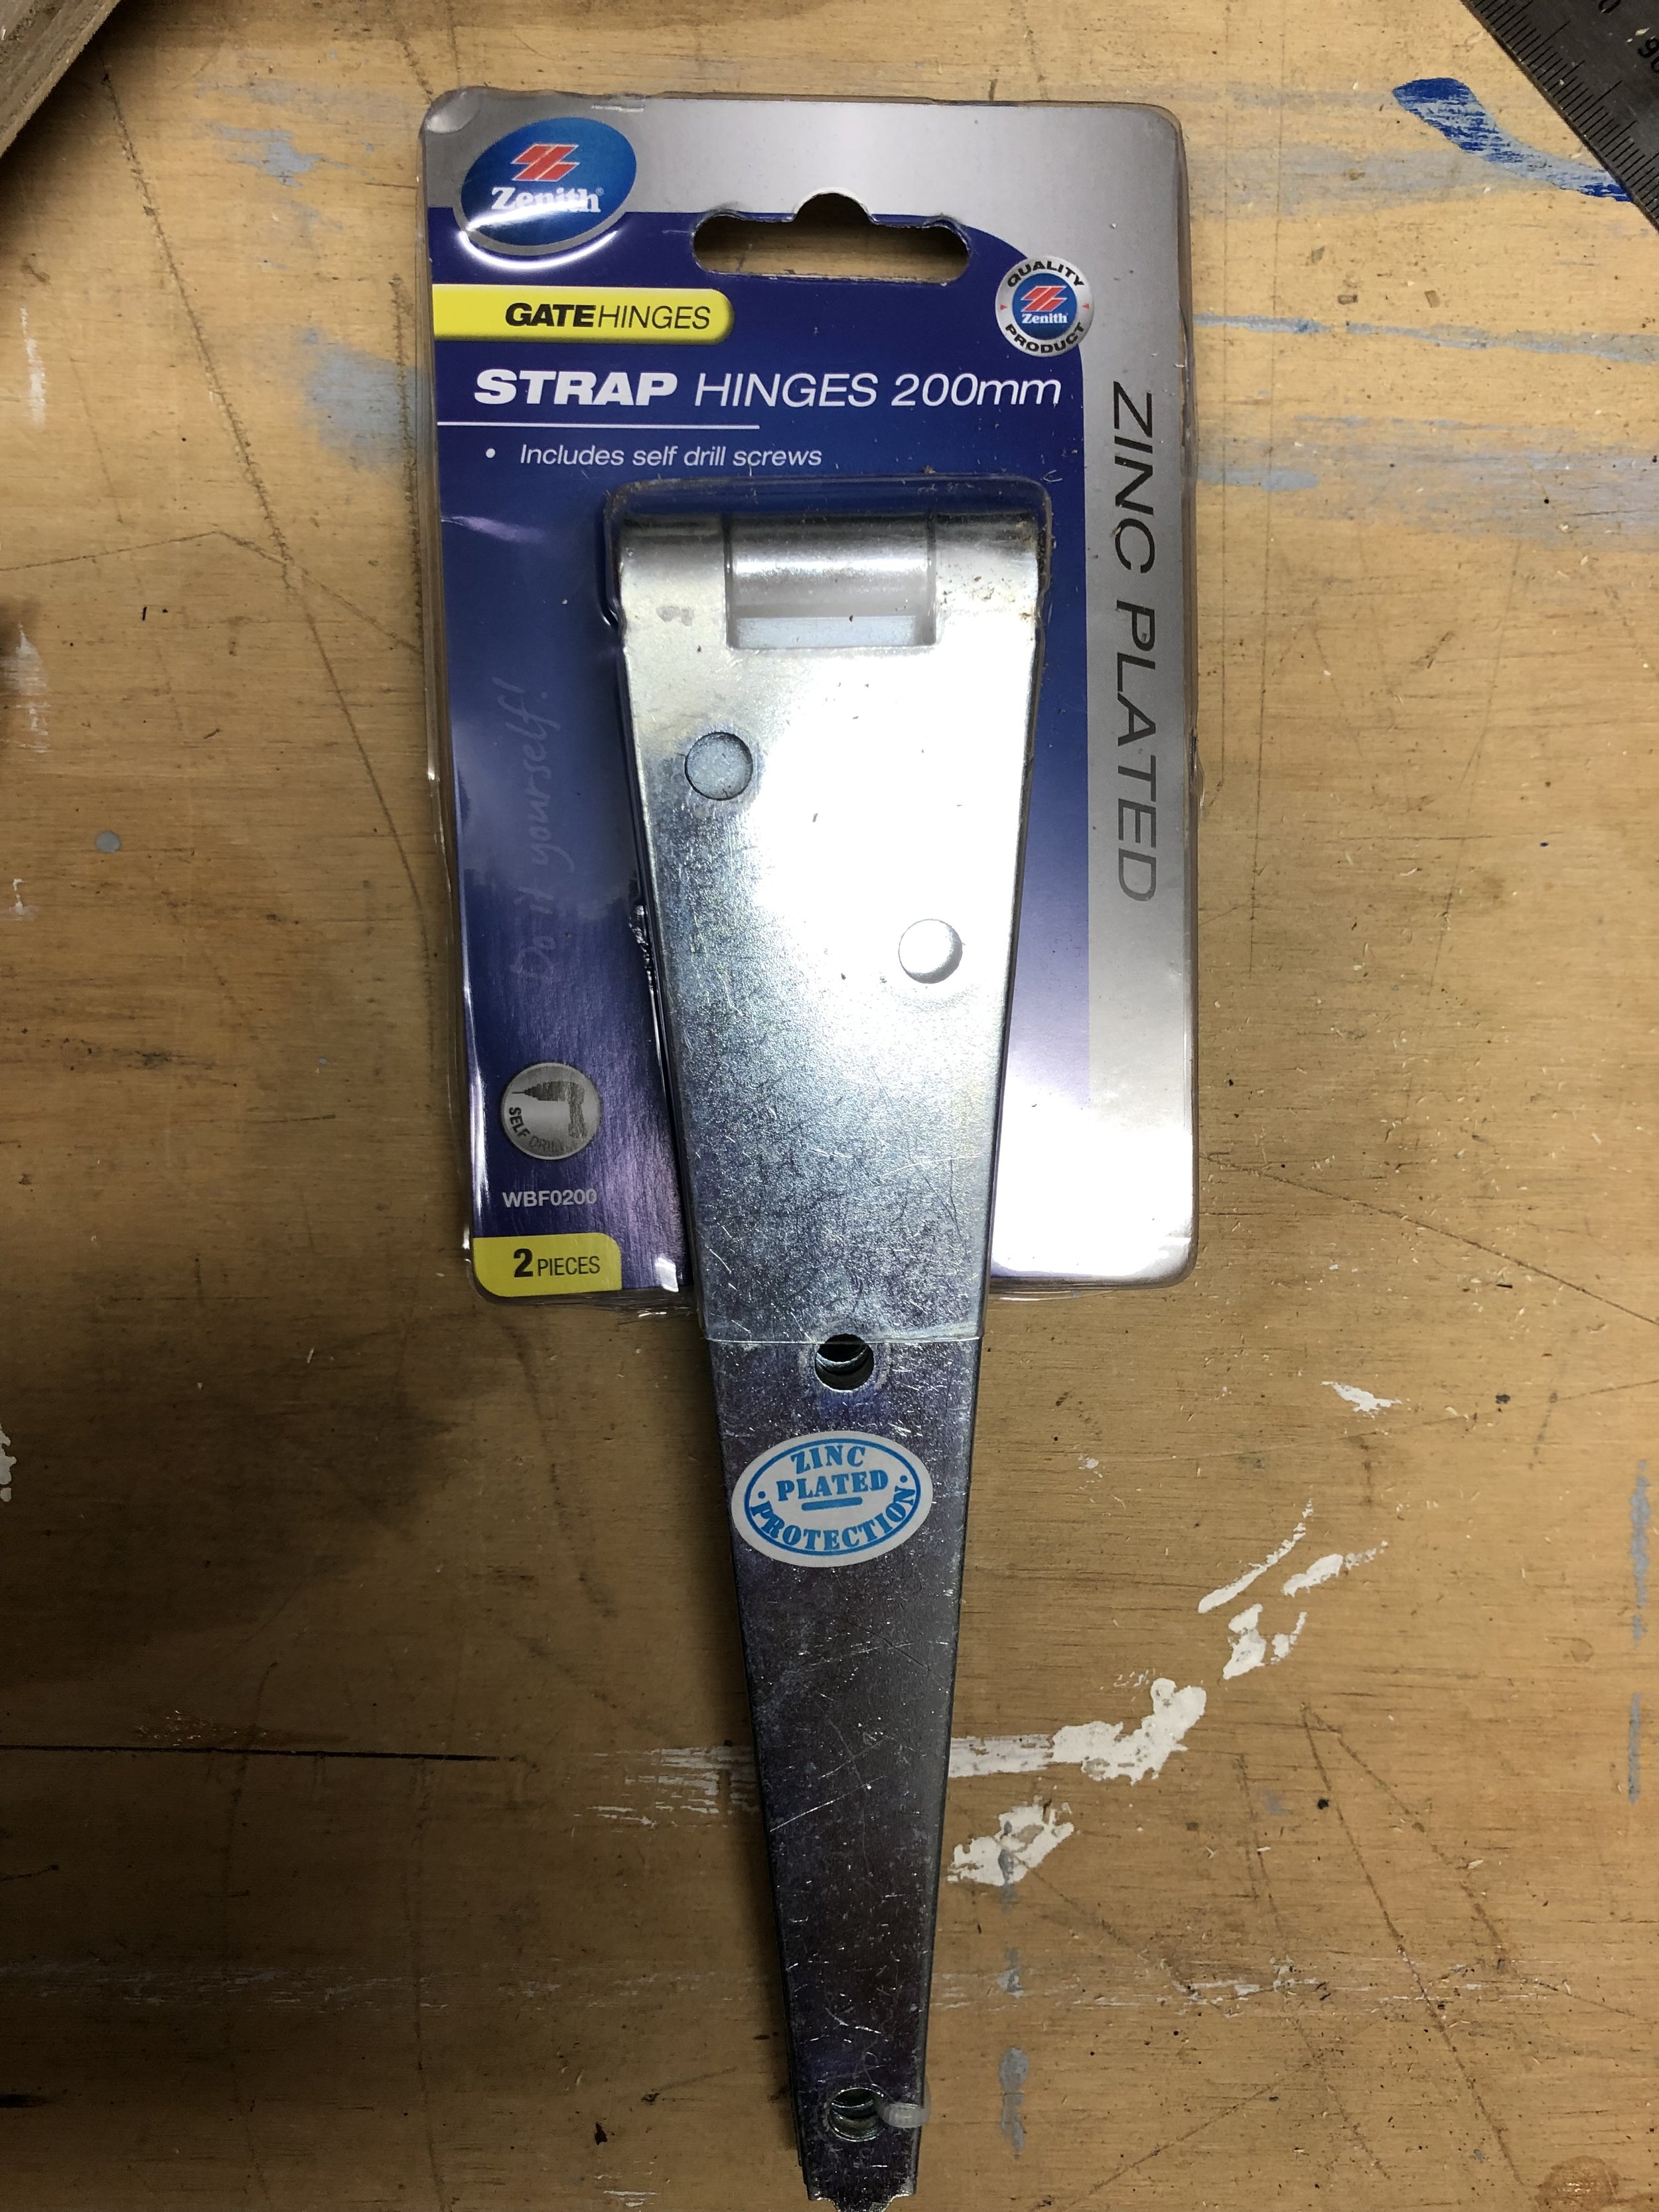
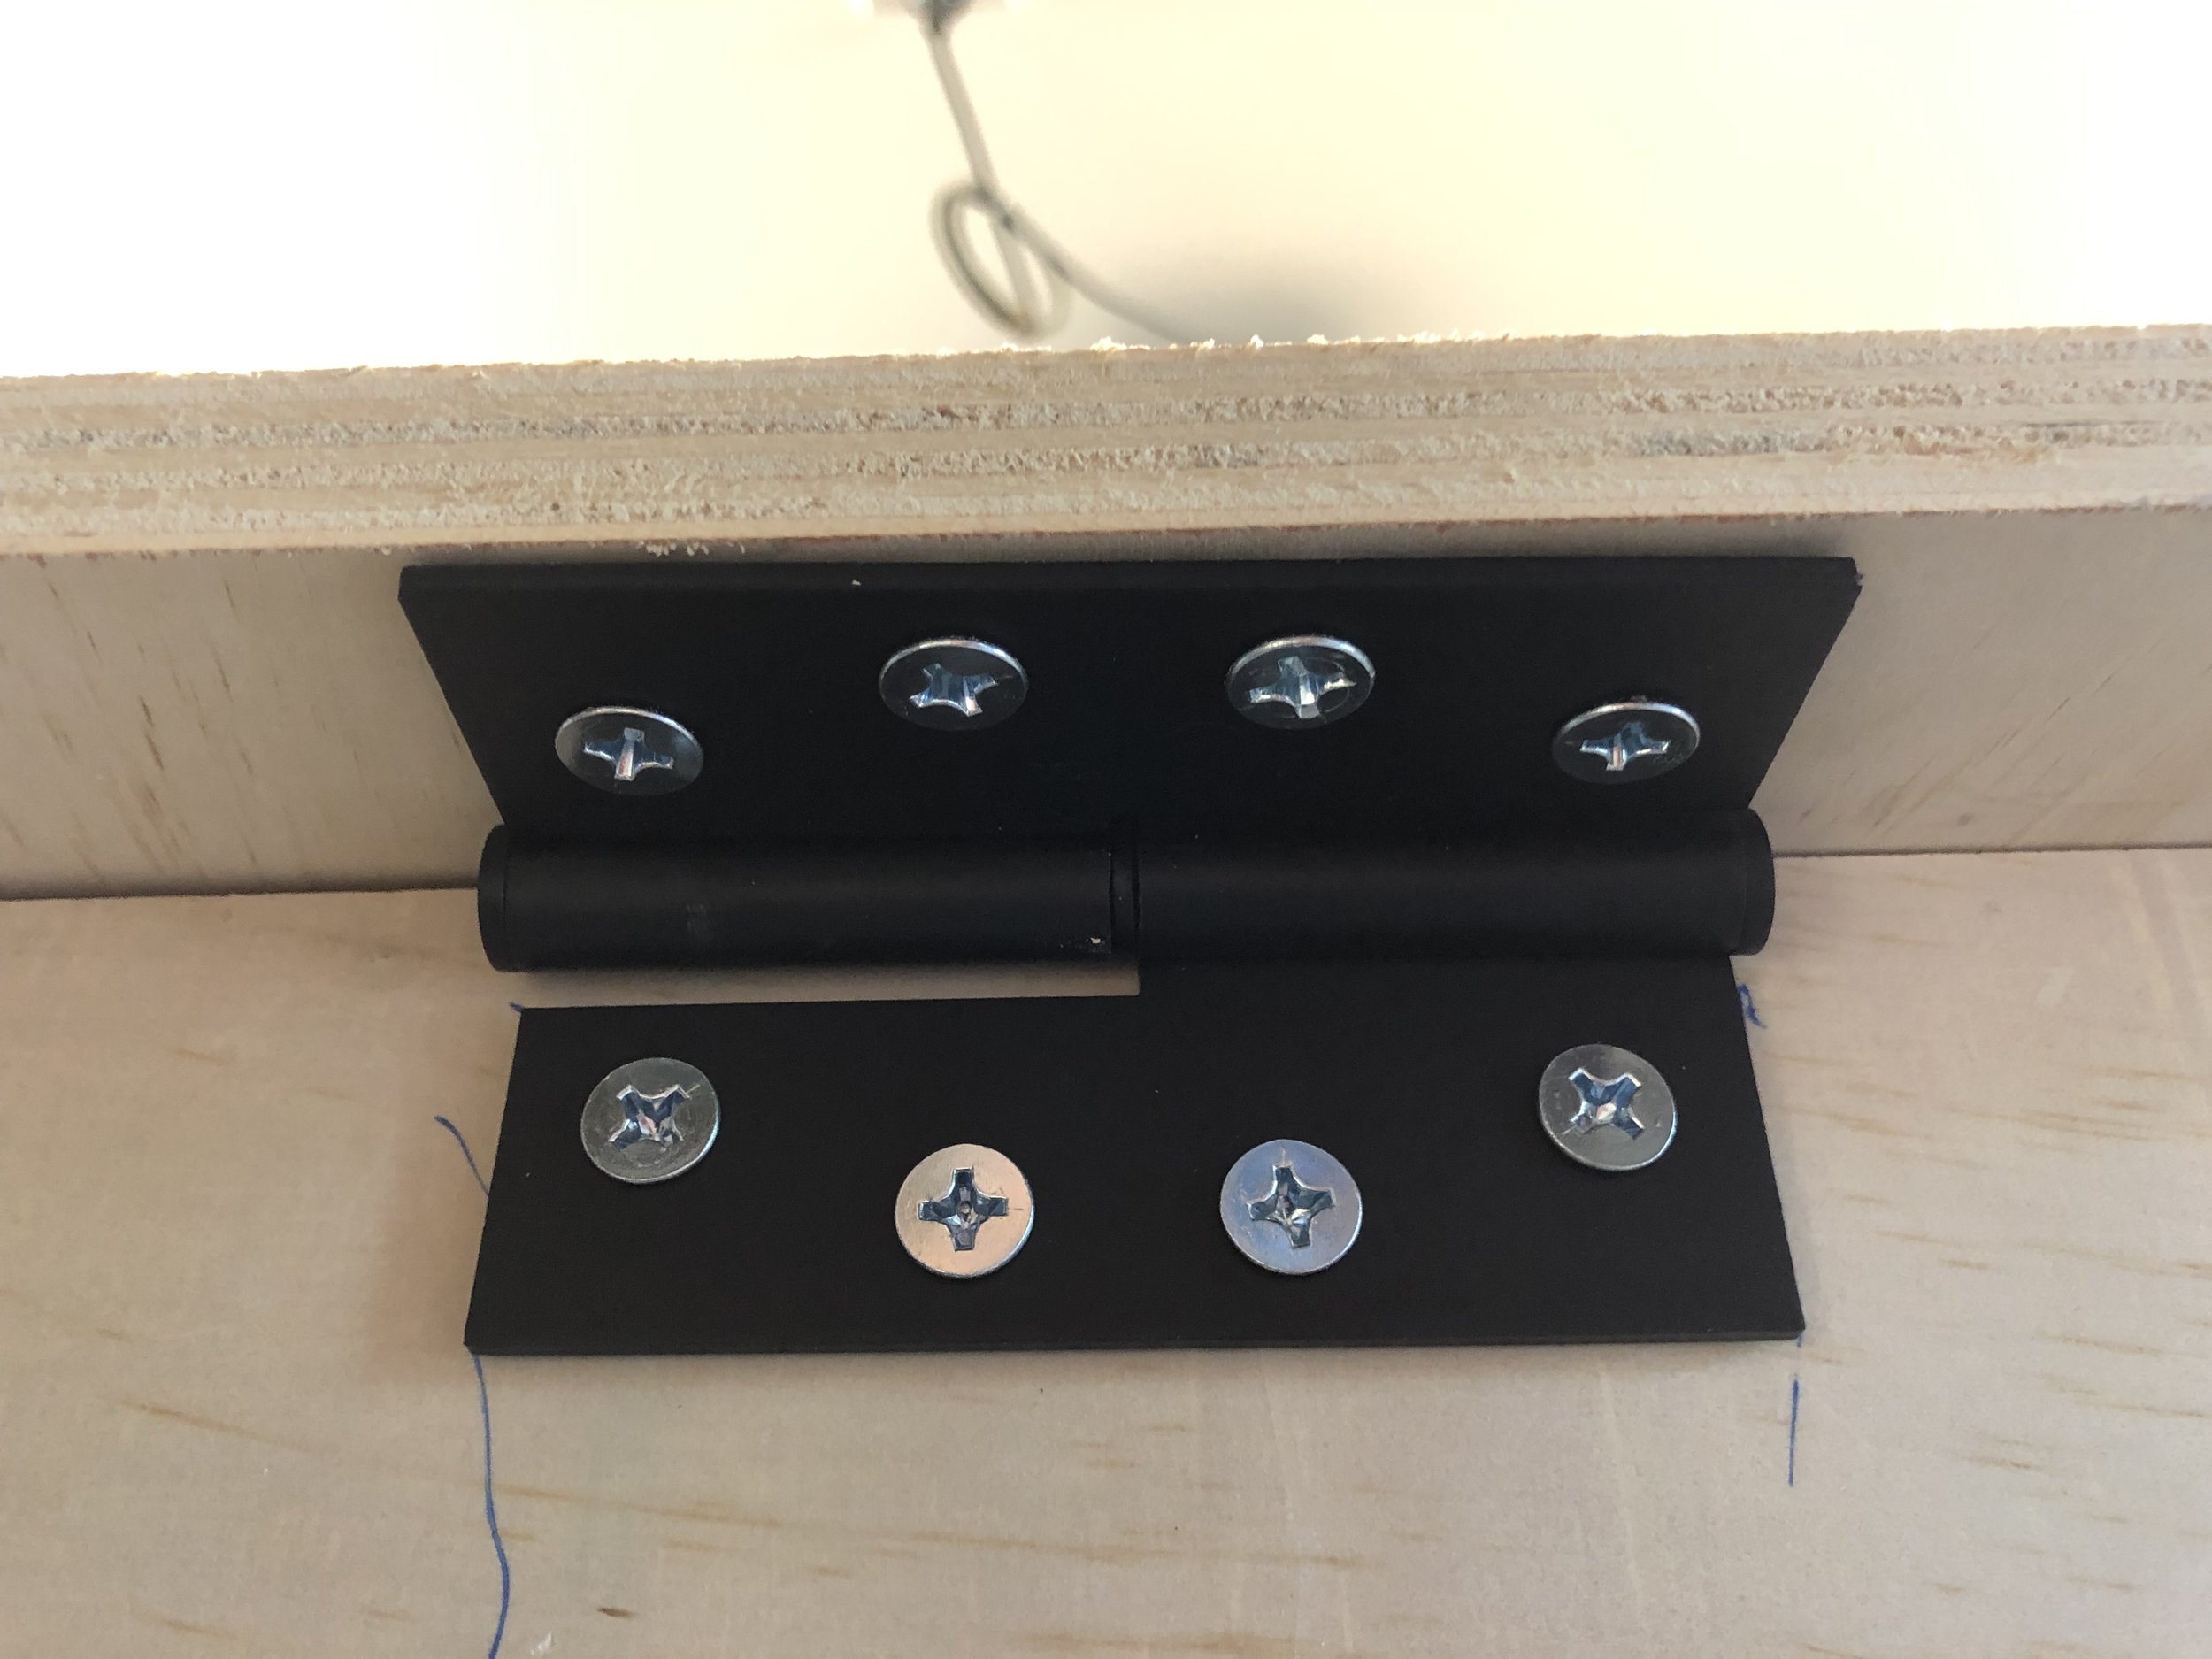
If the front will butt up against a run it is best to hinge at the front with no front overhang. Use strap hinges and have overhang at the back.
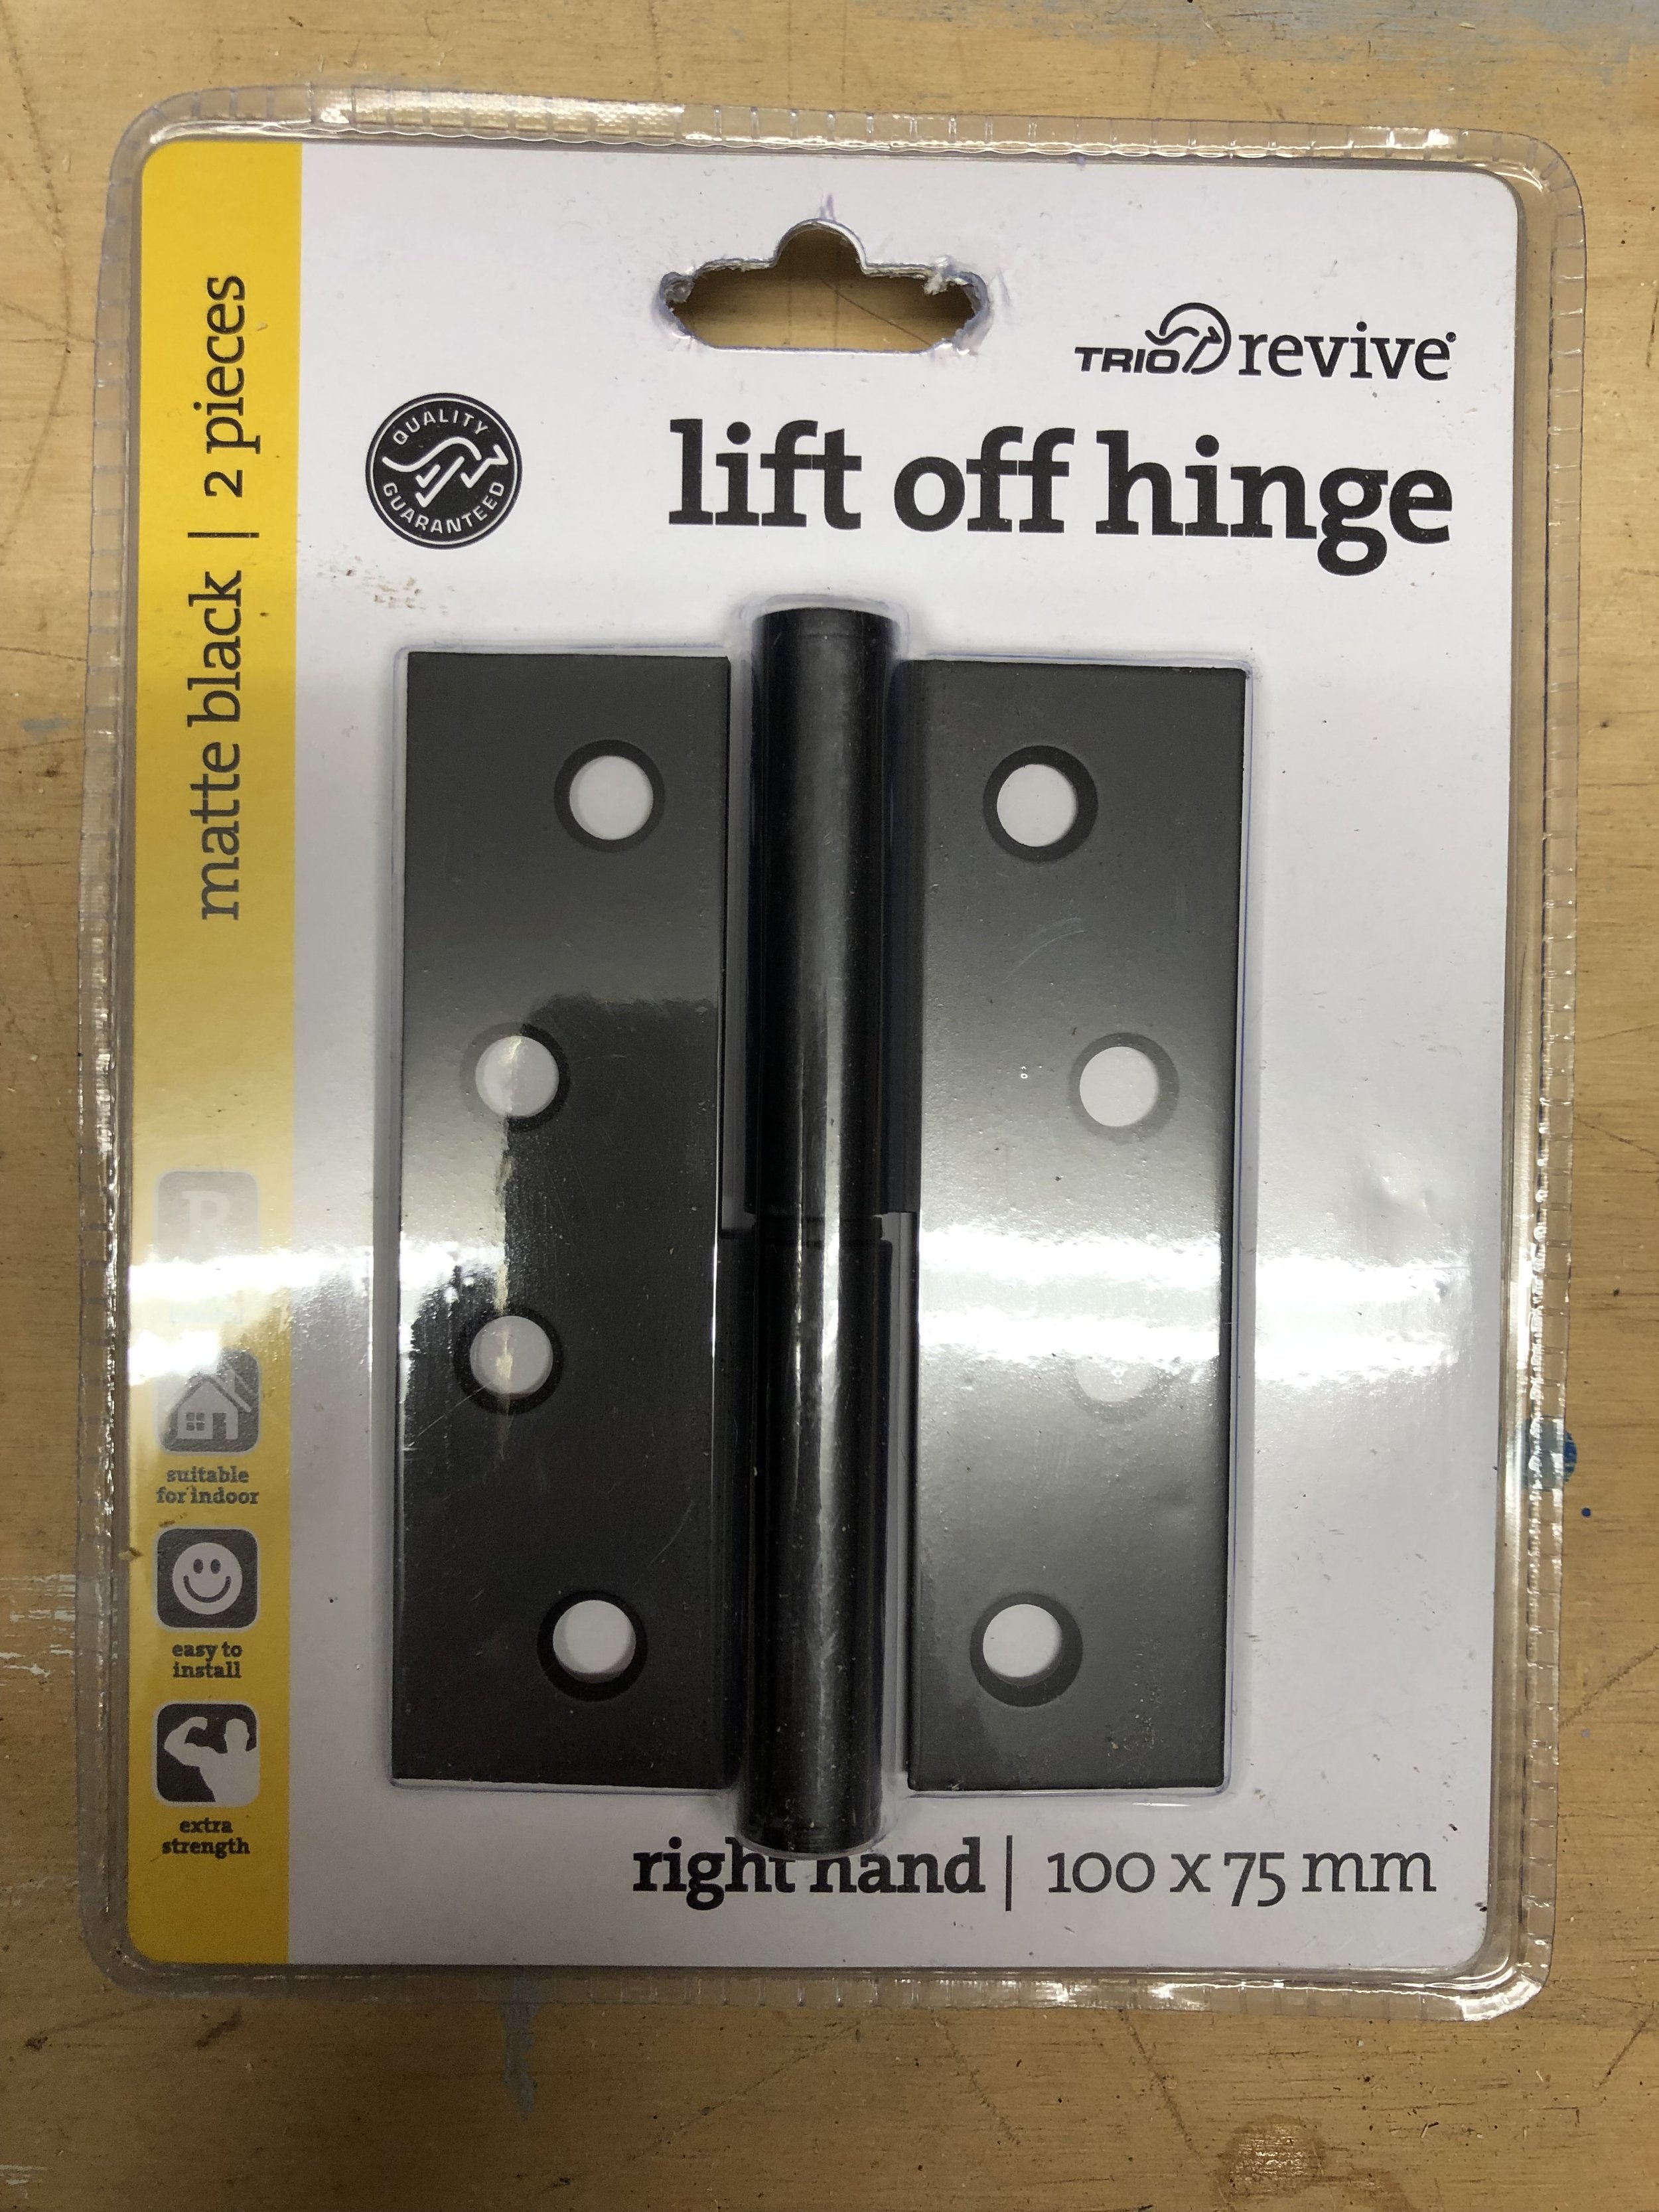
If hinging at the back you can use butt hinges (we like Lift Off hinges so we can slide the roof off) or a Butt/Strap combo.
Have a 5cm overhang at the back to allow water to run off properly.

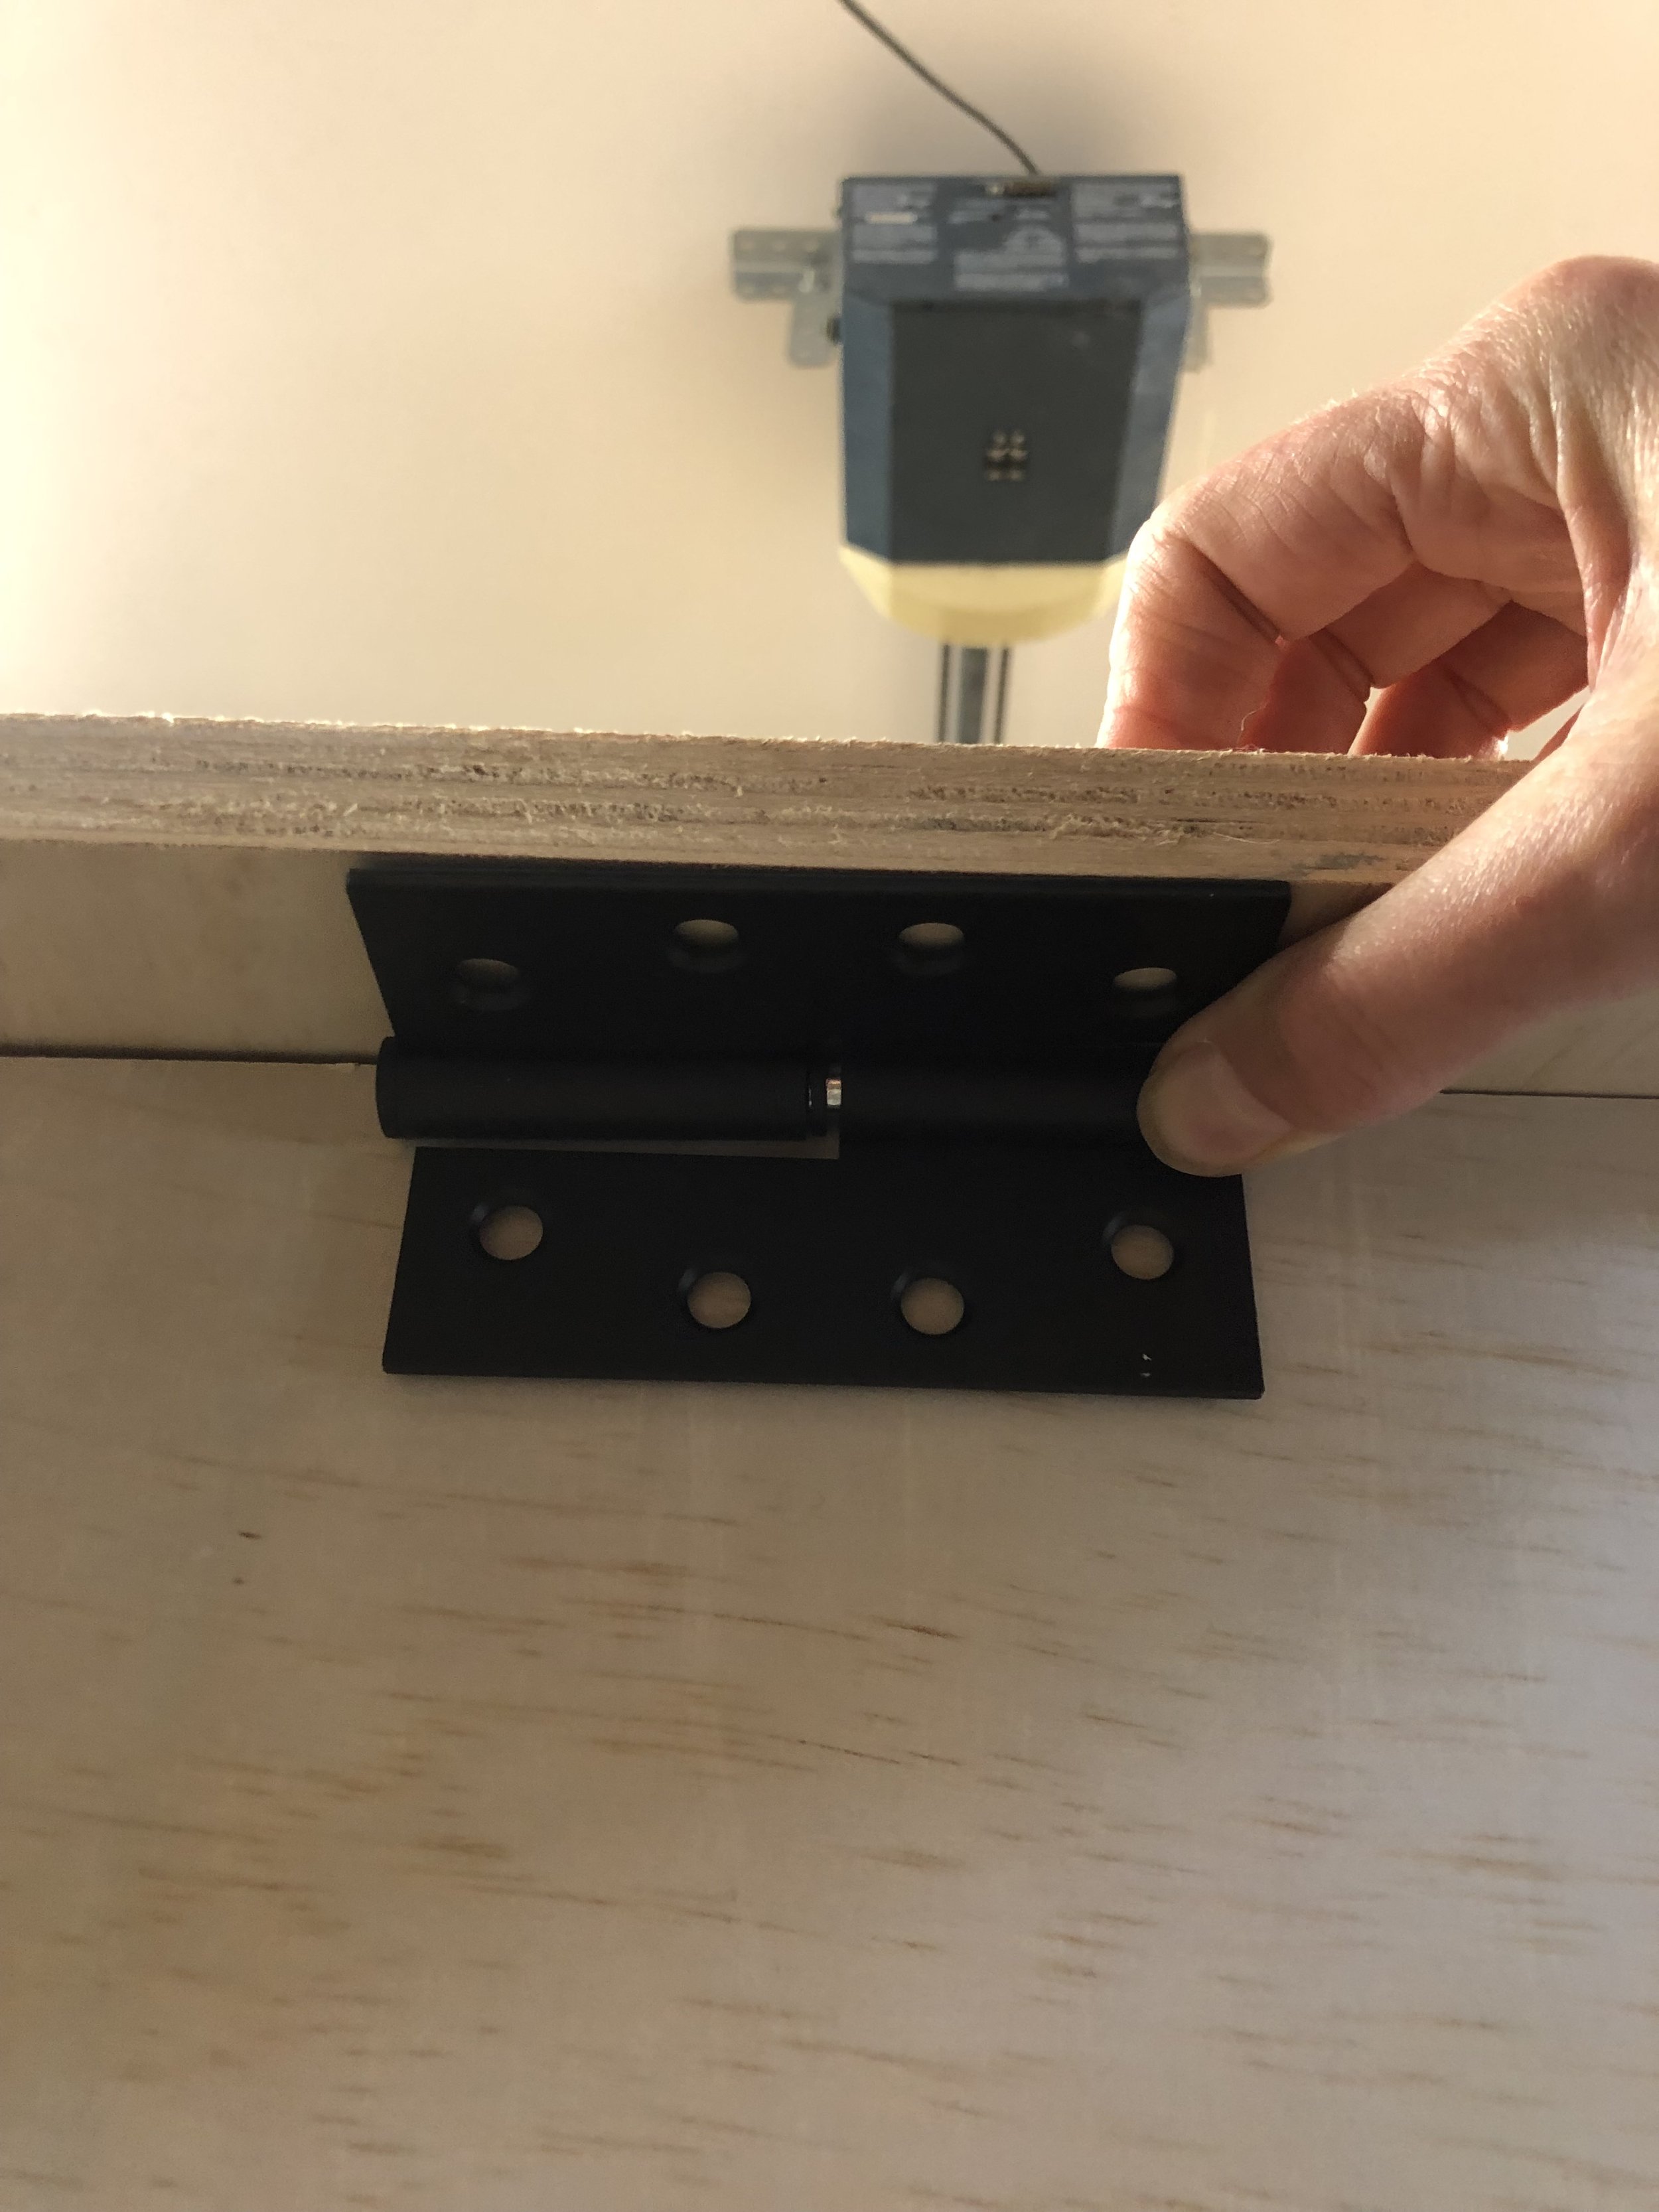

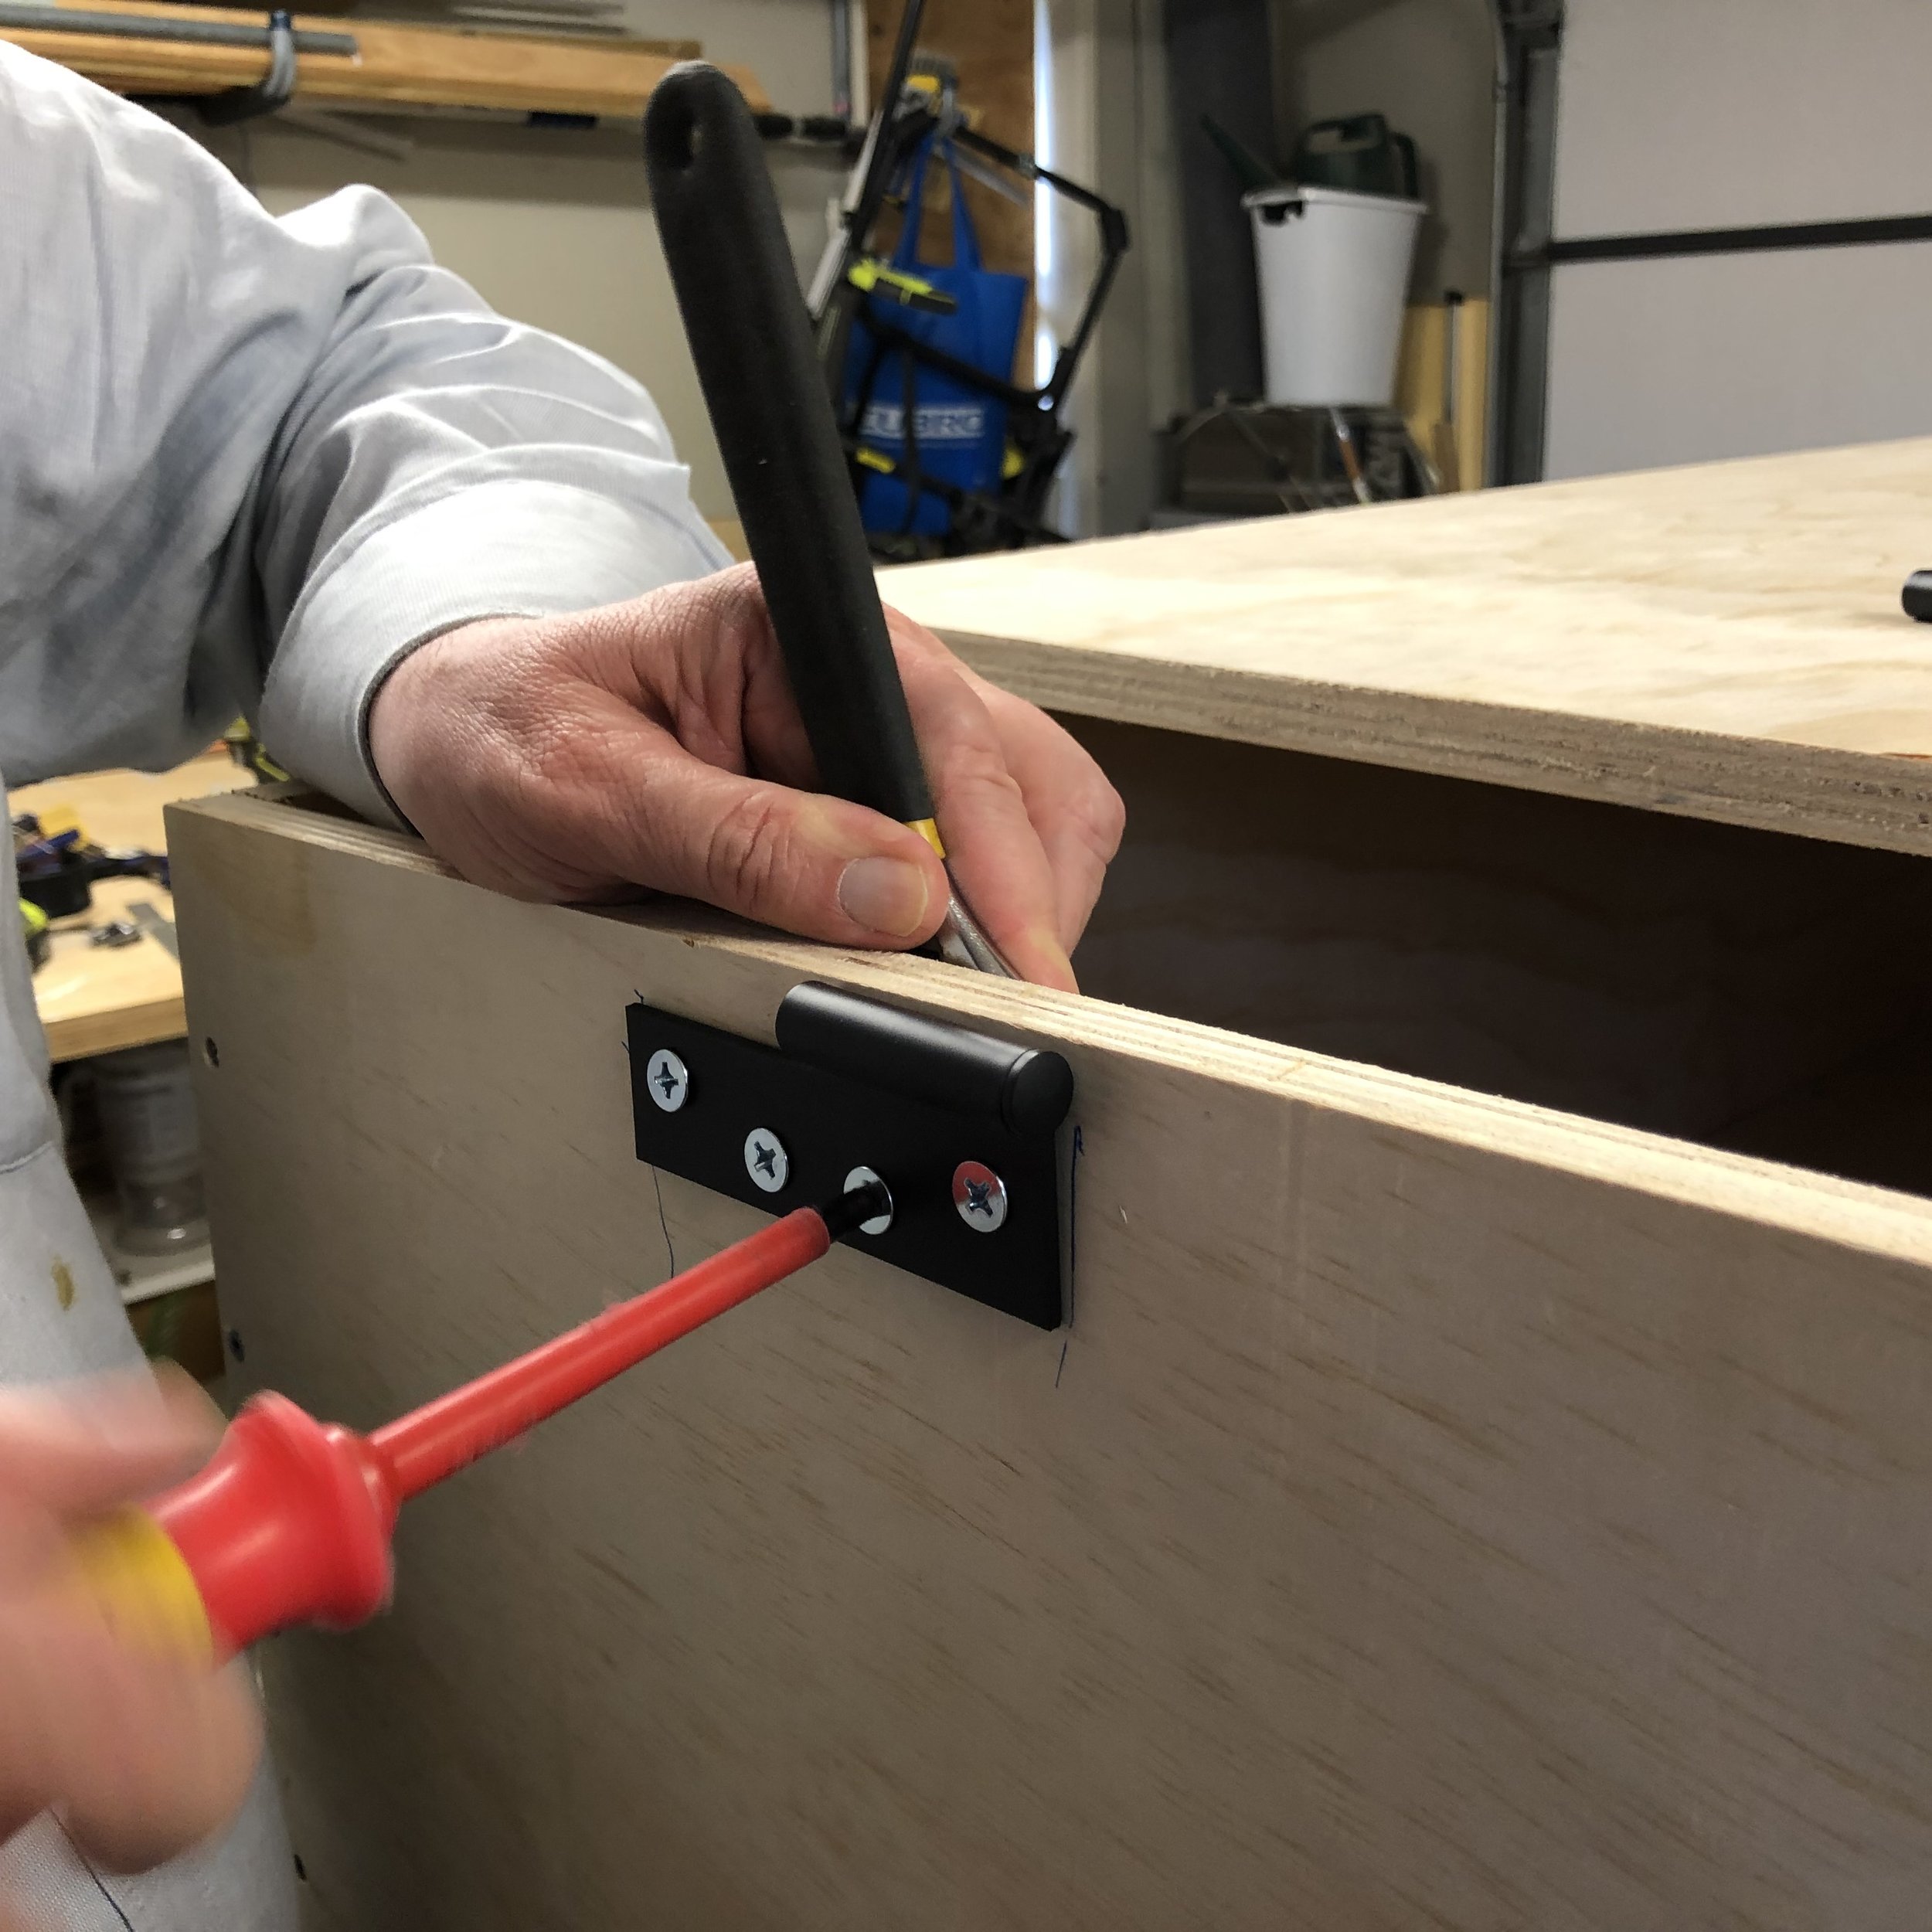
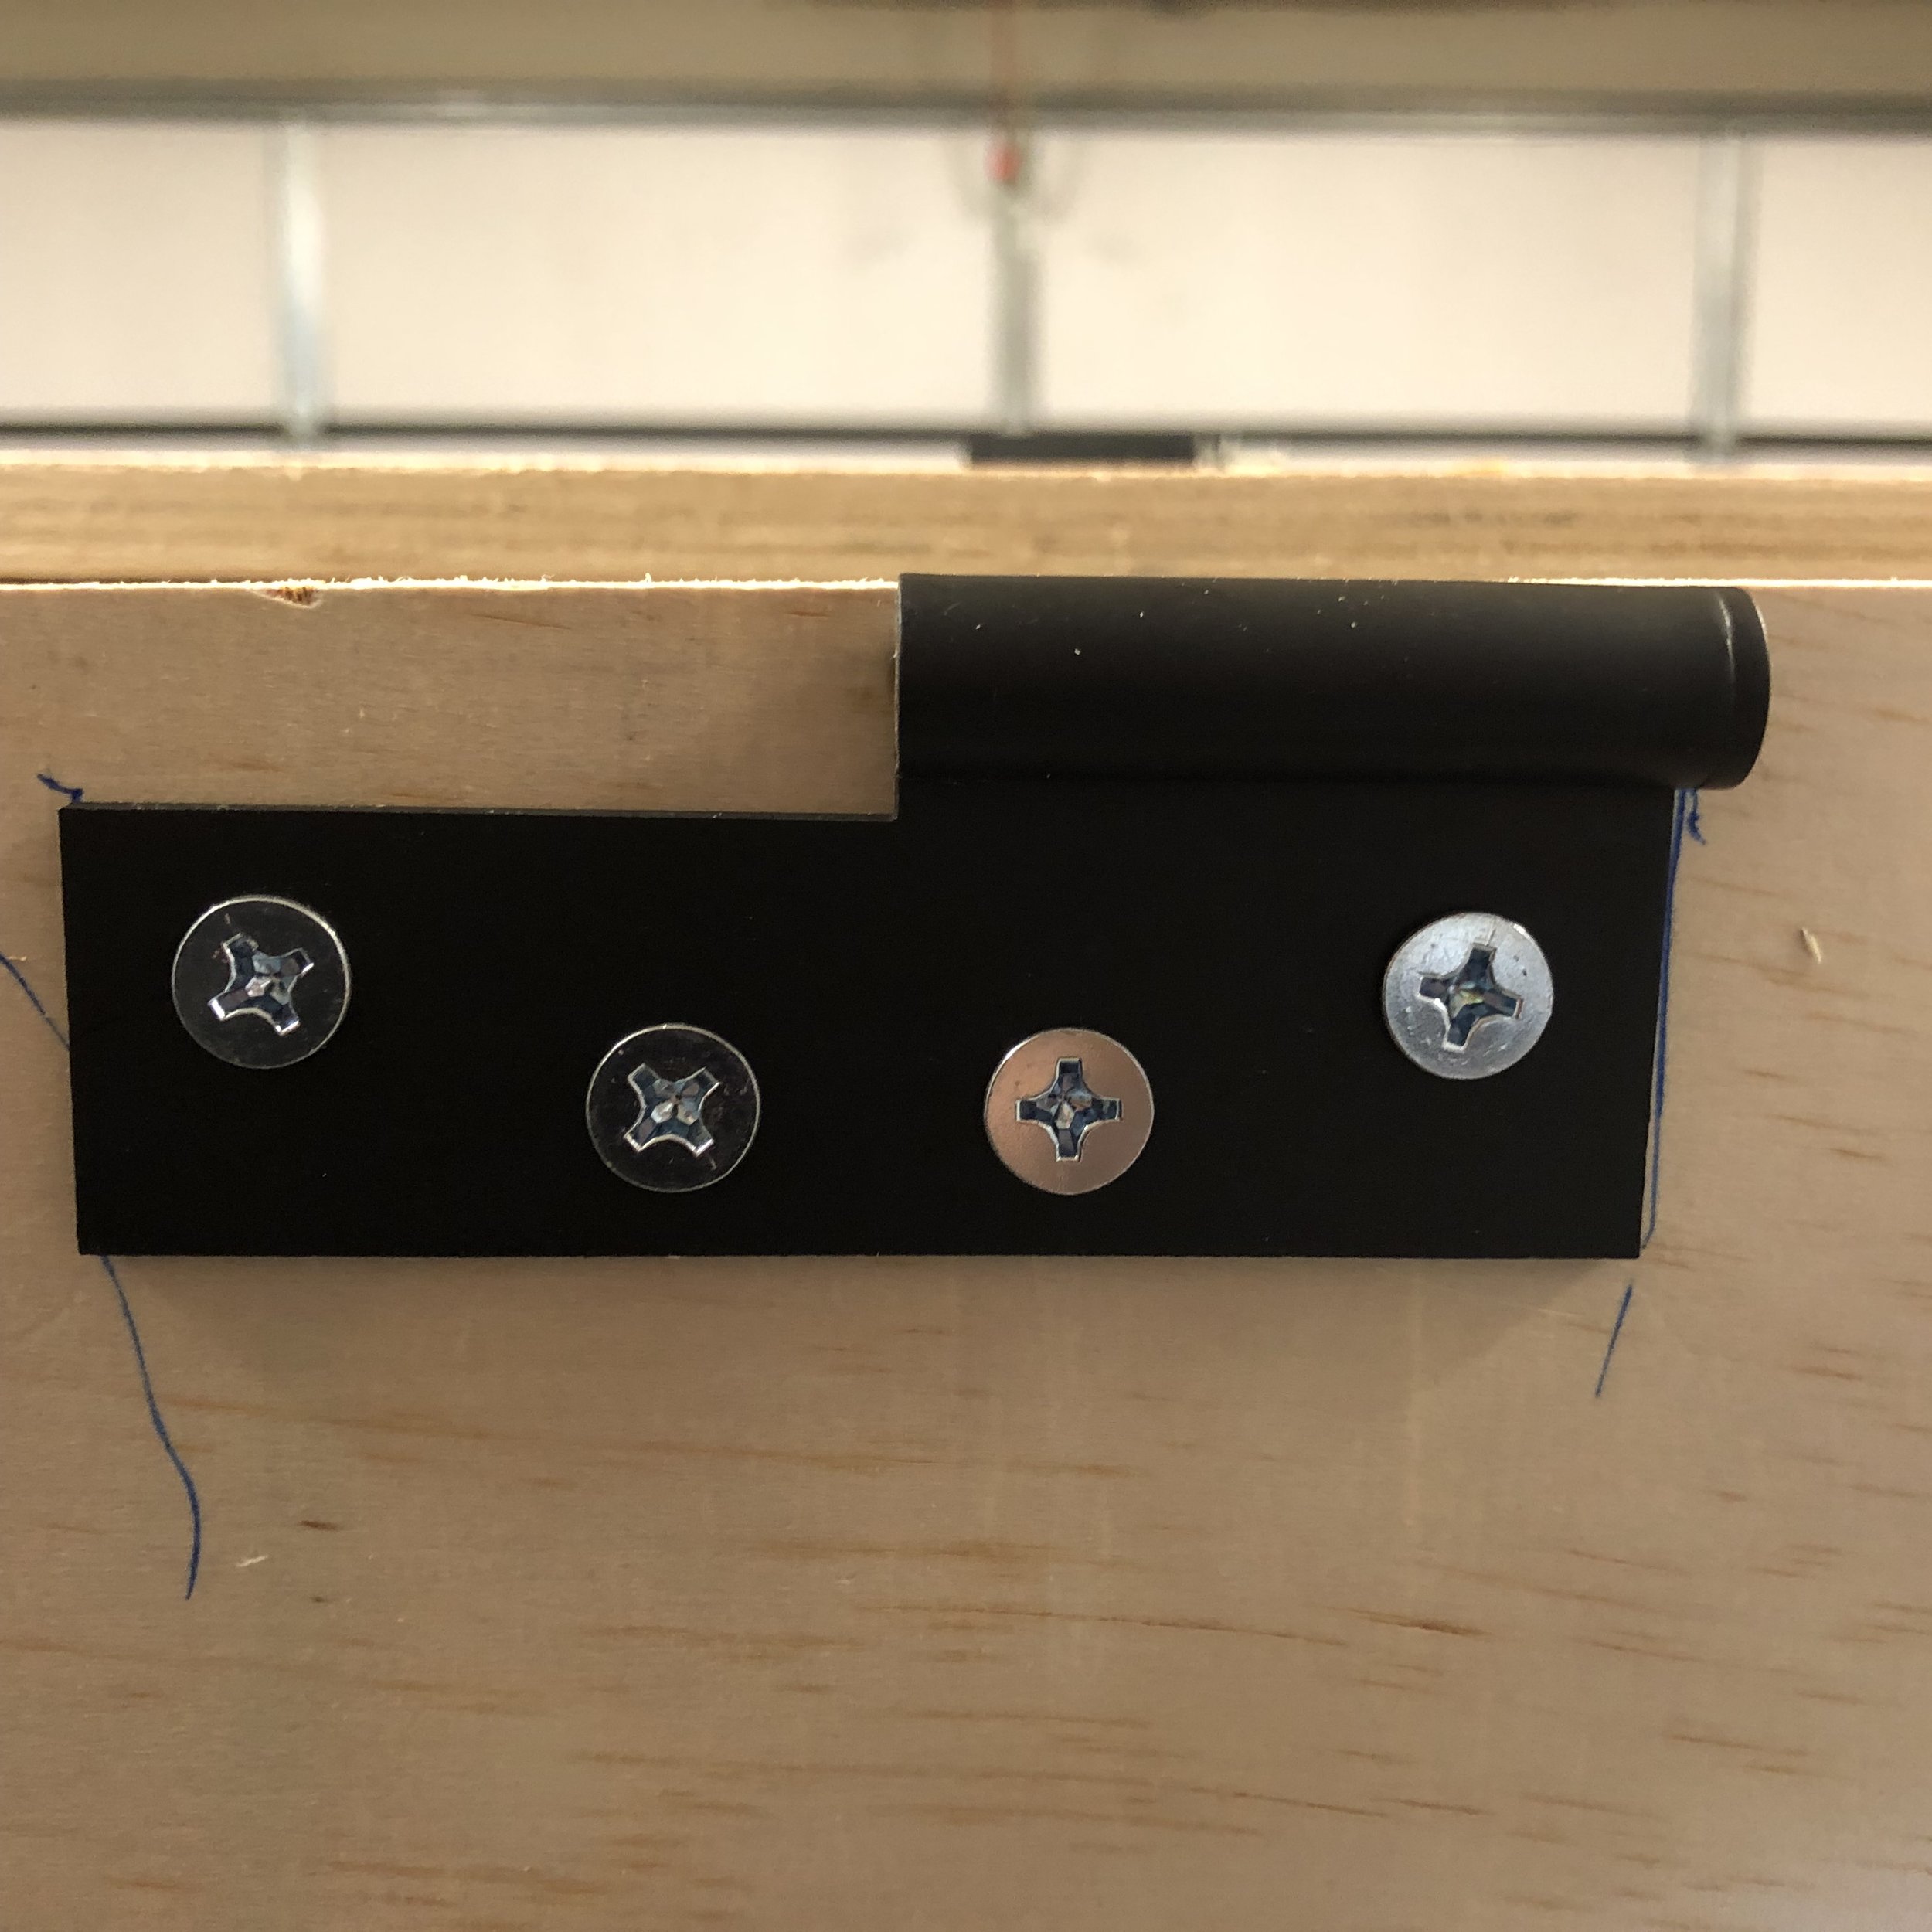
Fitting the Hinges
Fitting hinges can be tricky and there are various ways to do them.
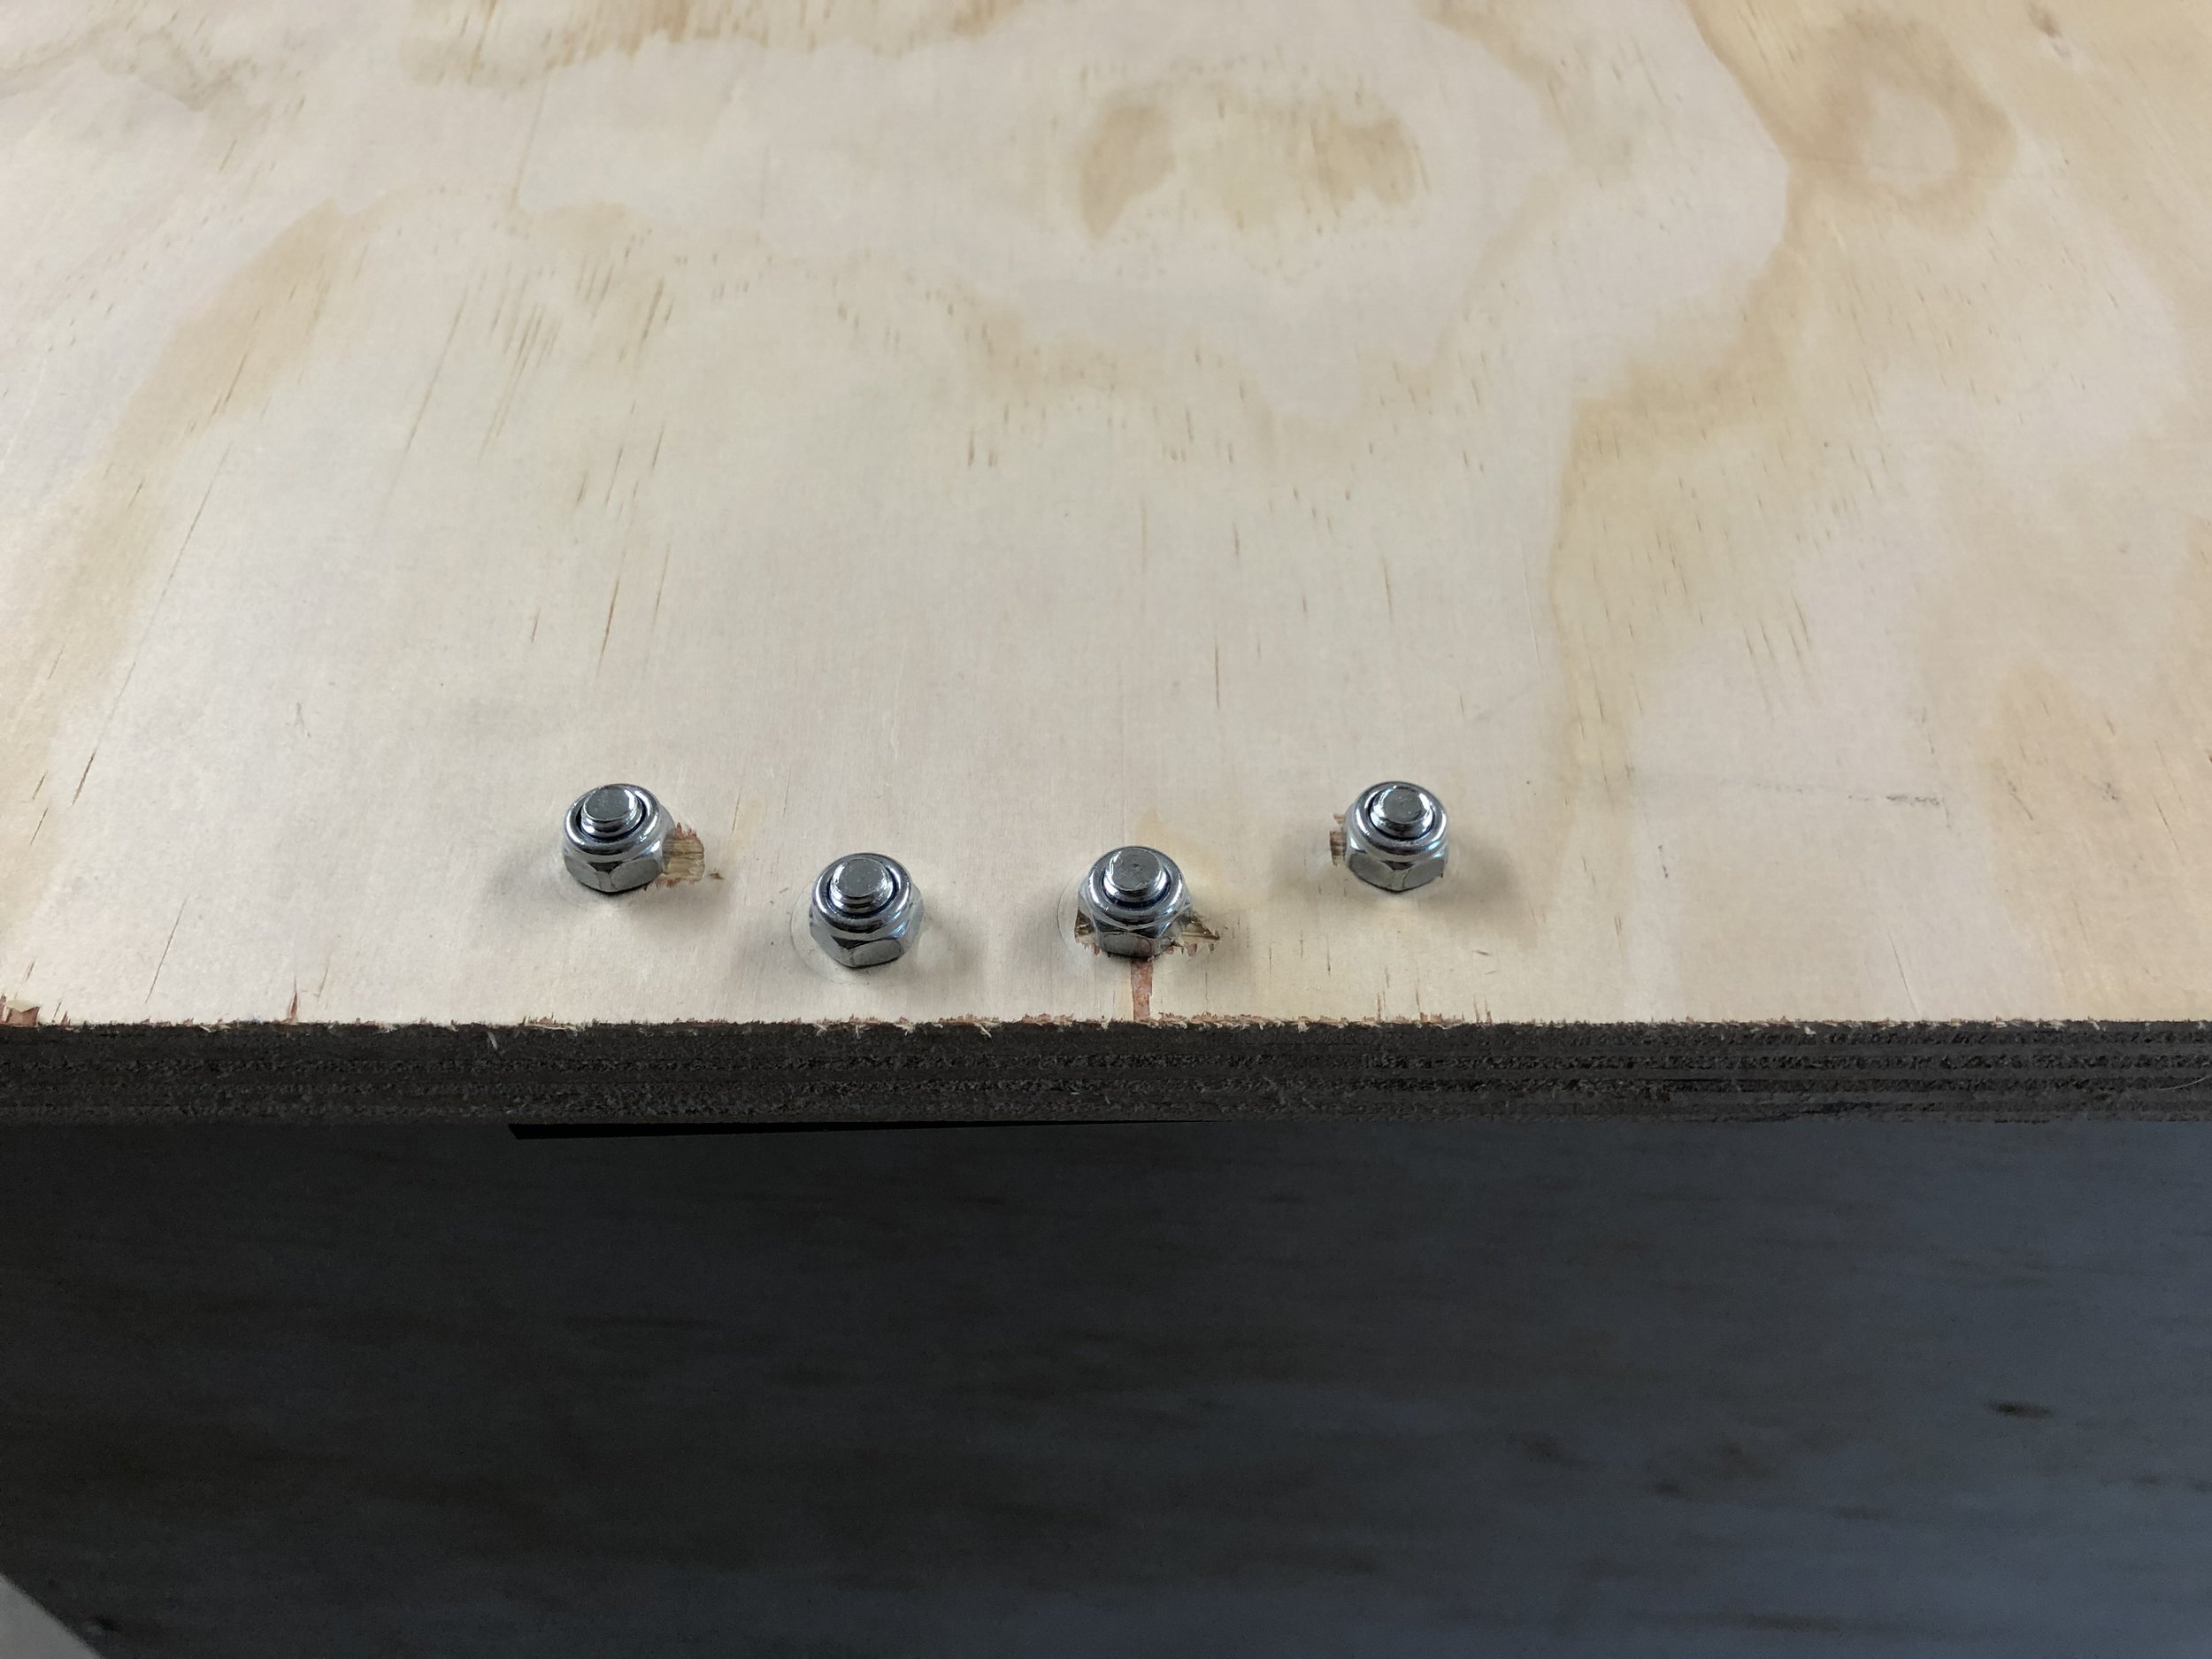
We always use 6mm countersunk bolts, washers and Nylock nuts to attach the hinges to the box and roof because this is stronger.
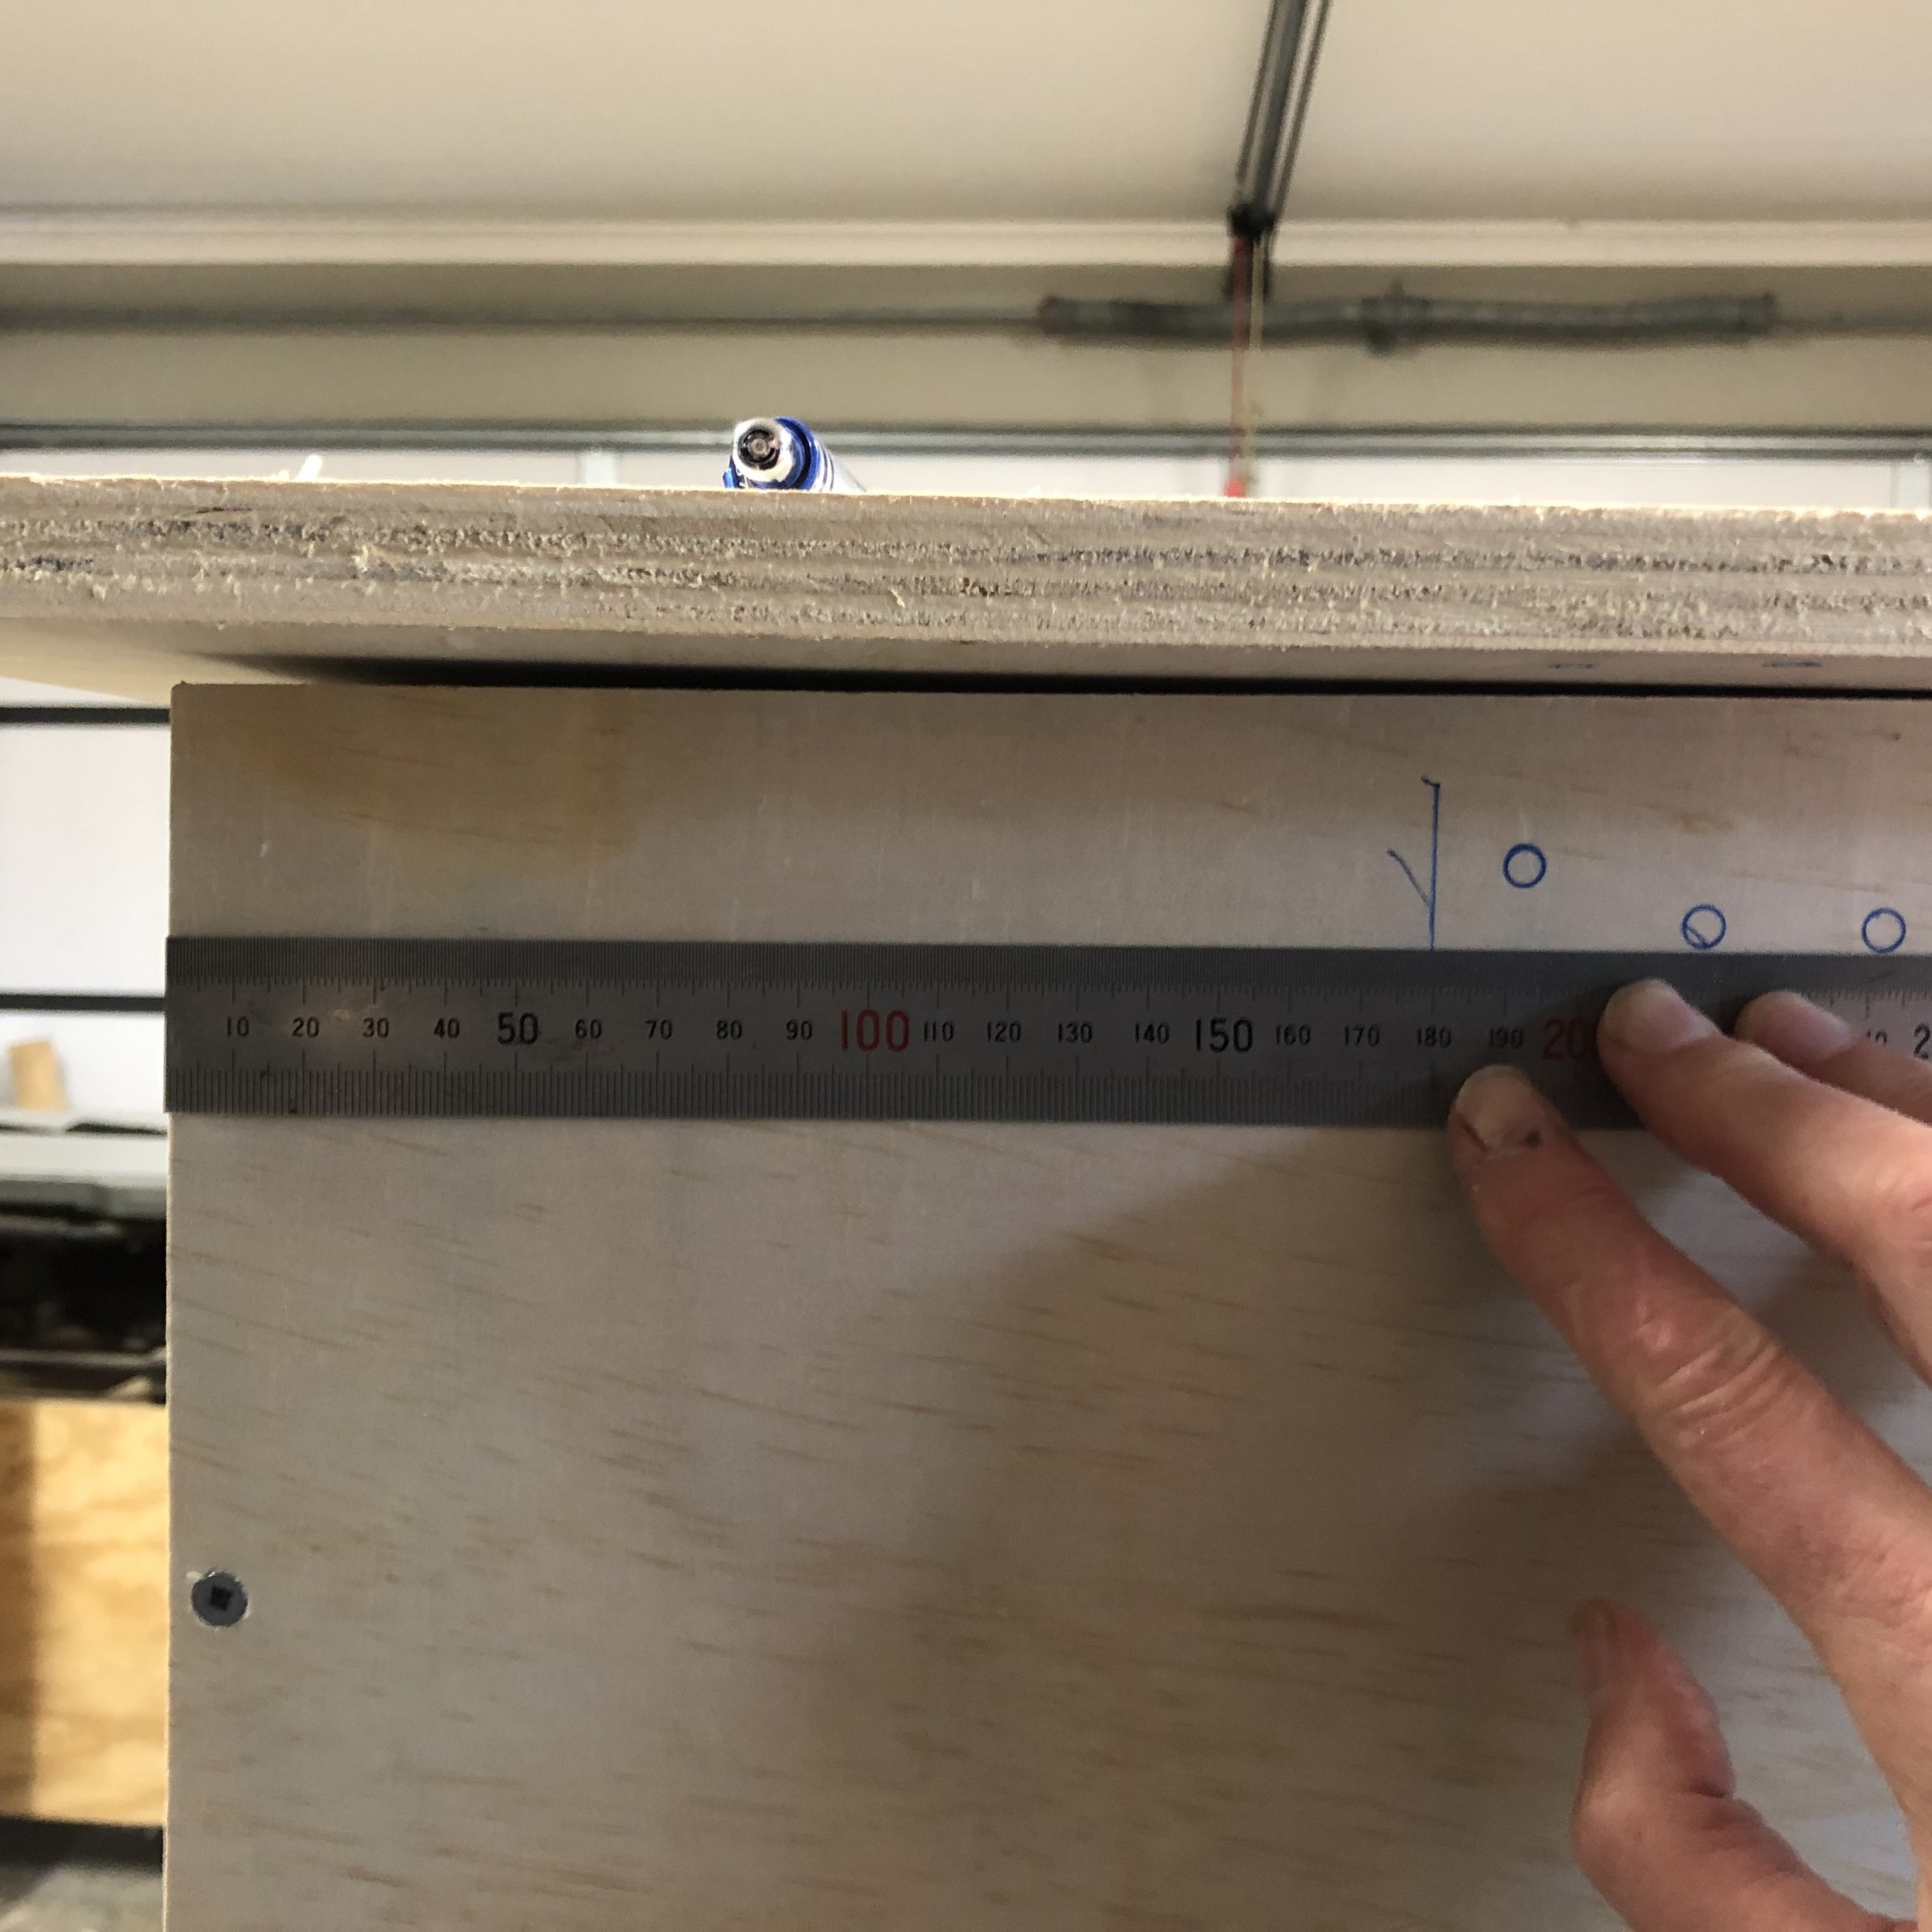
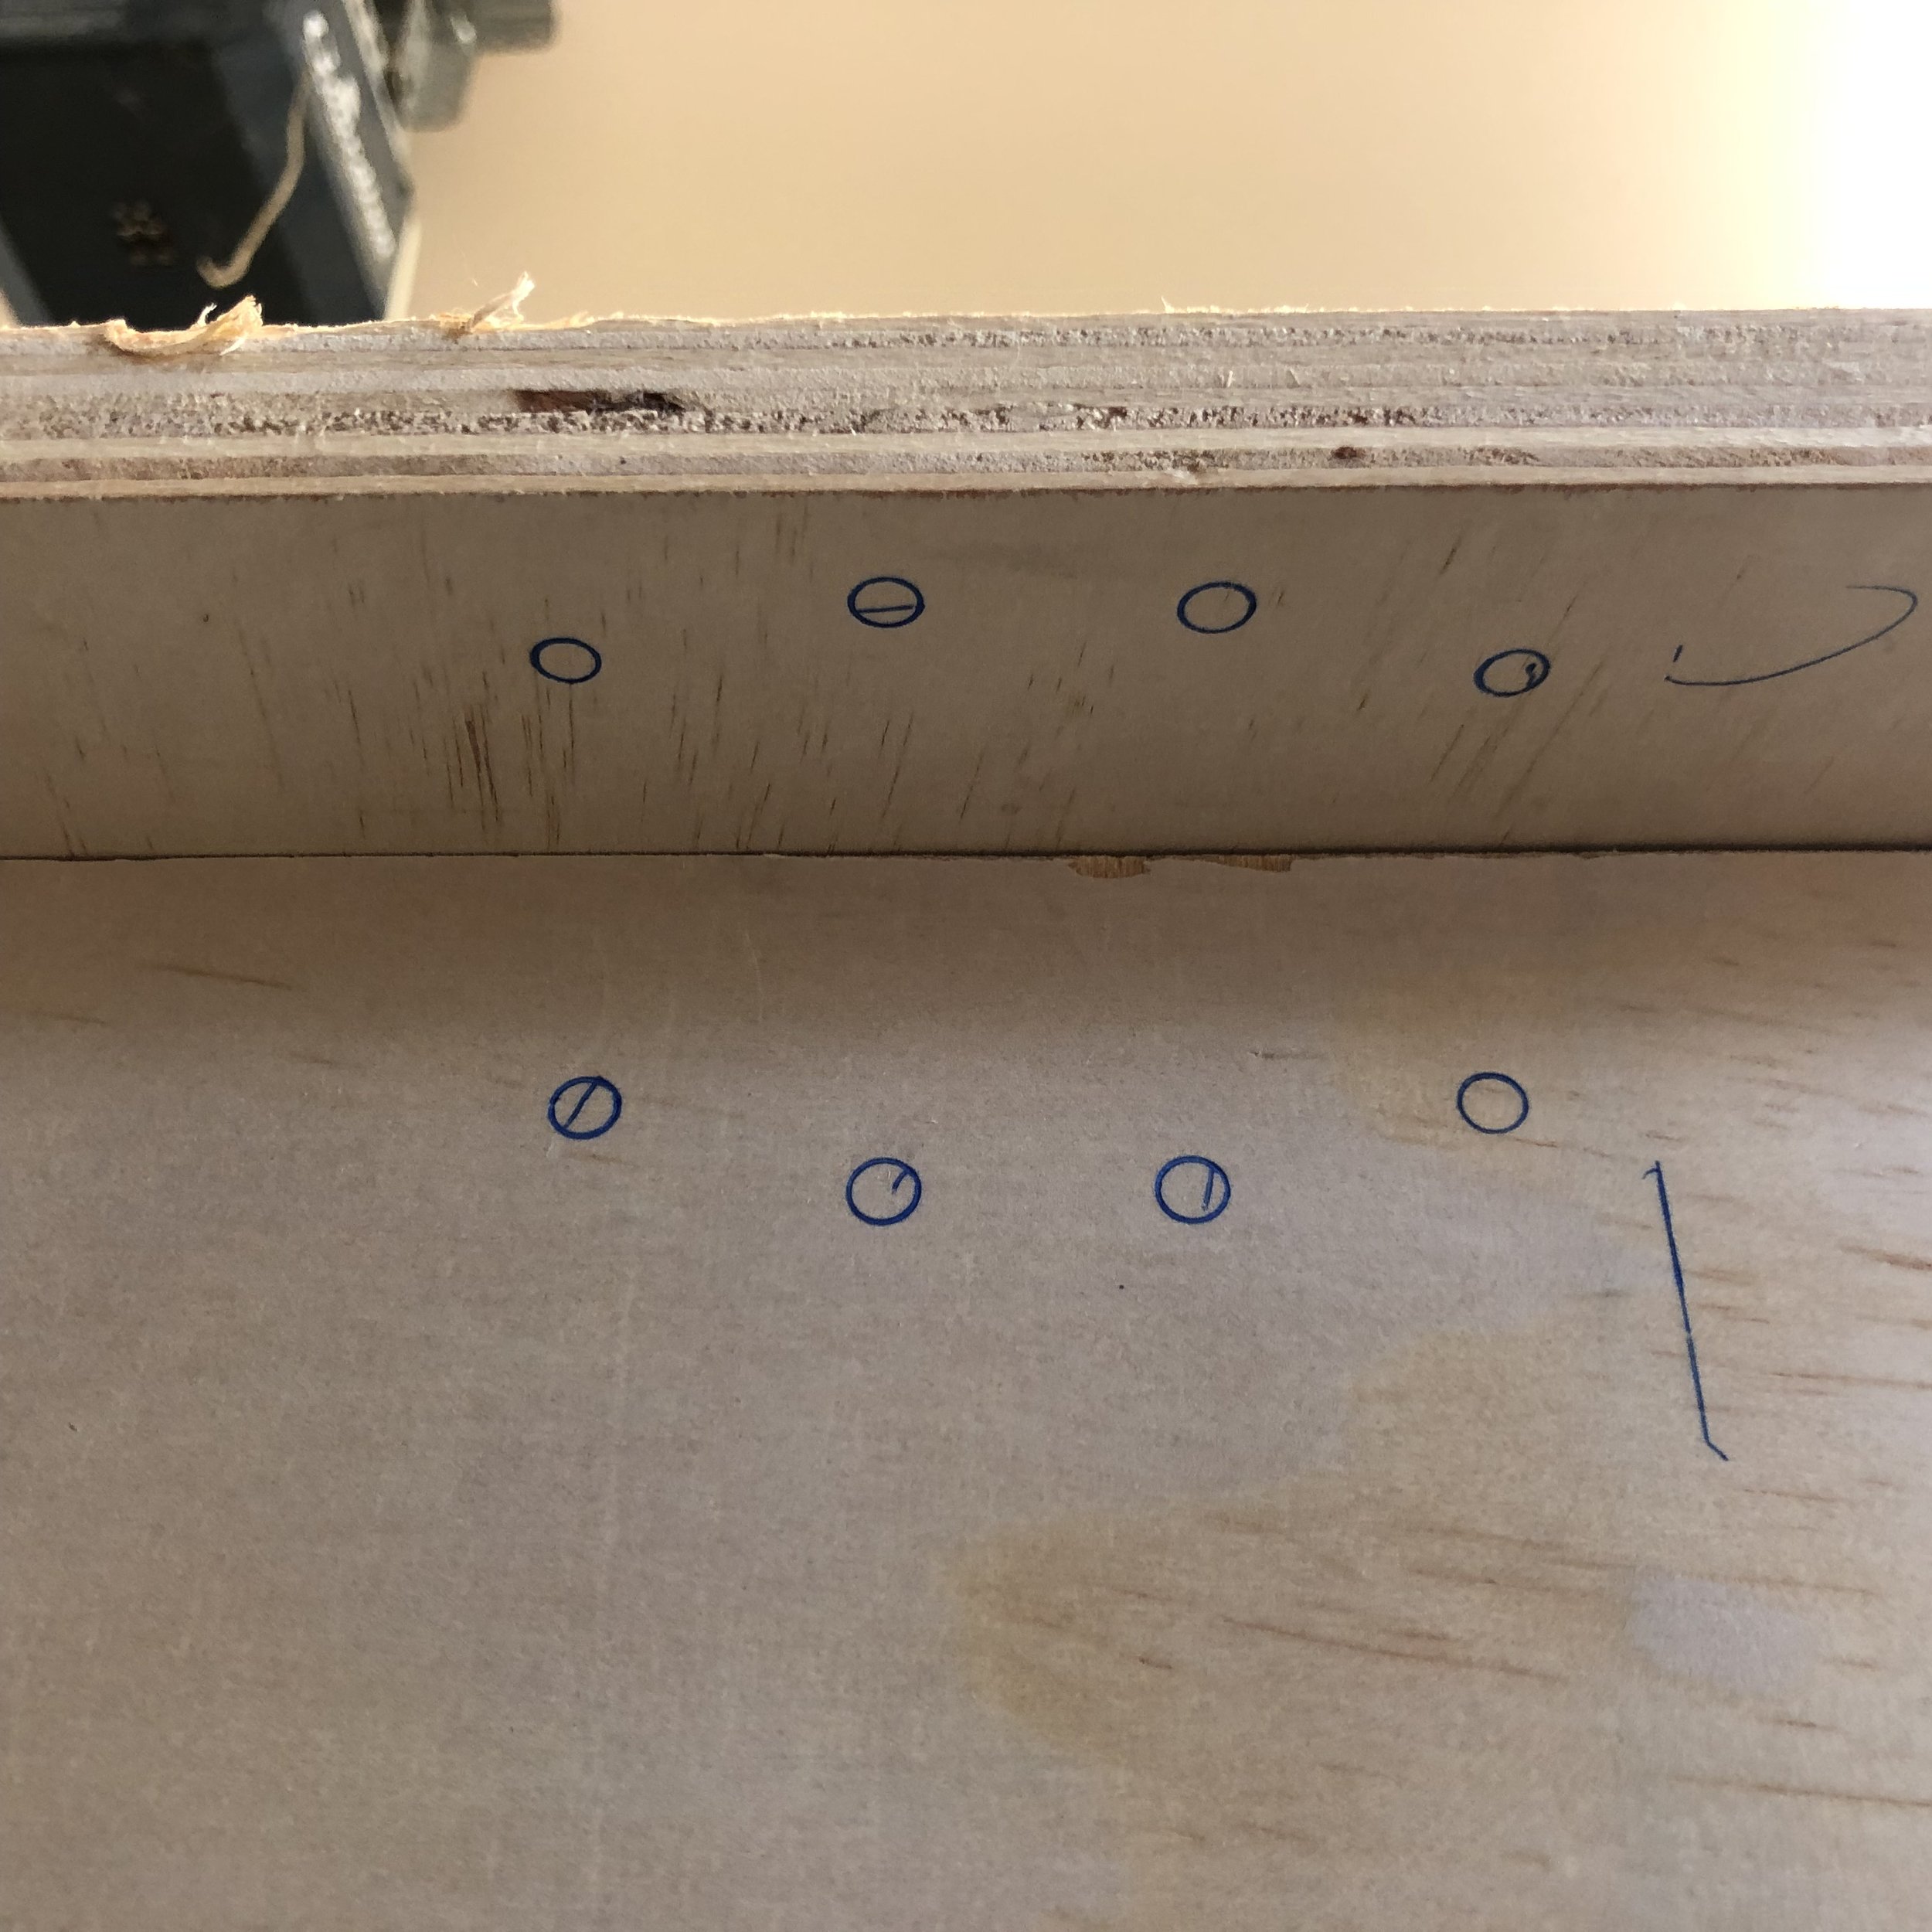
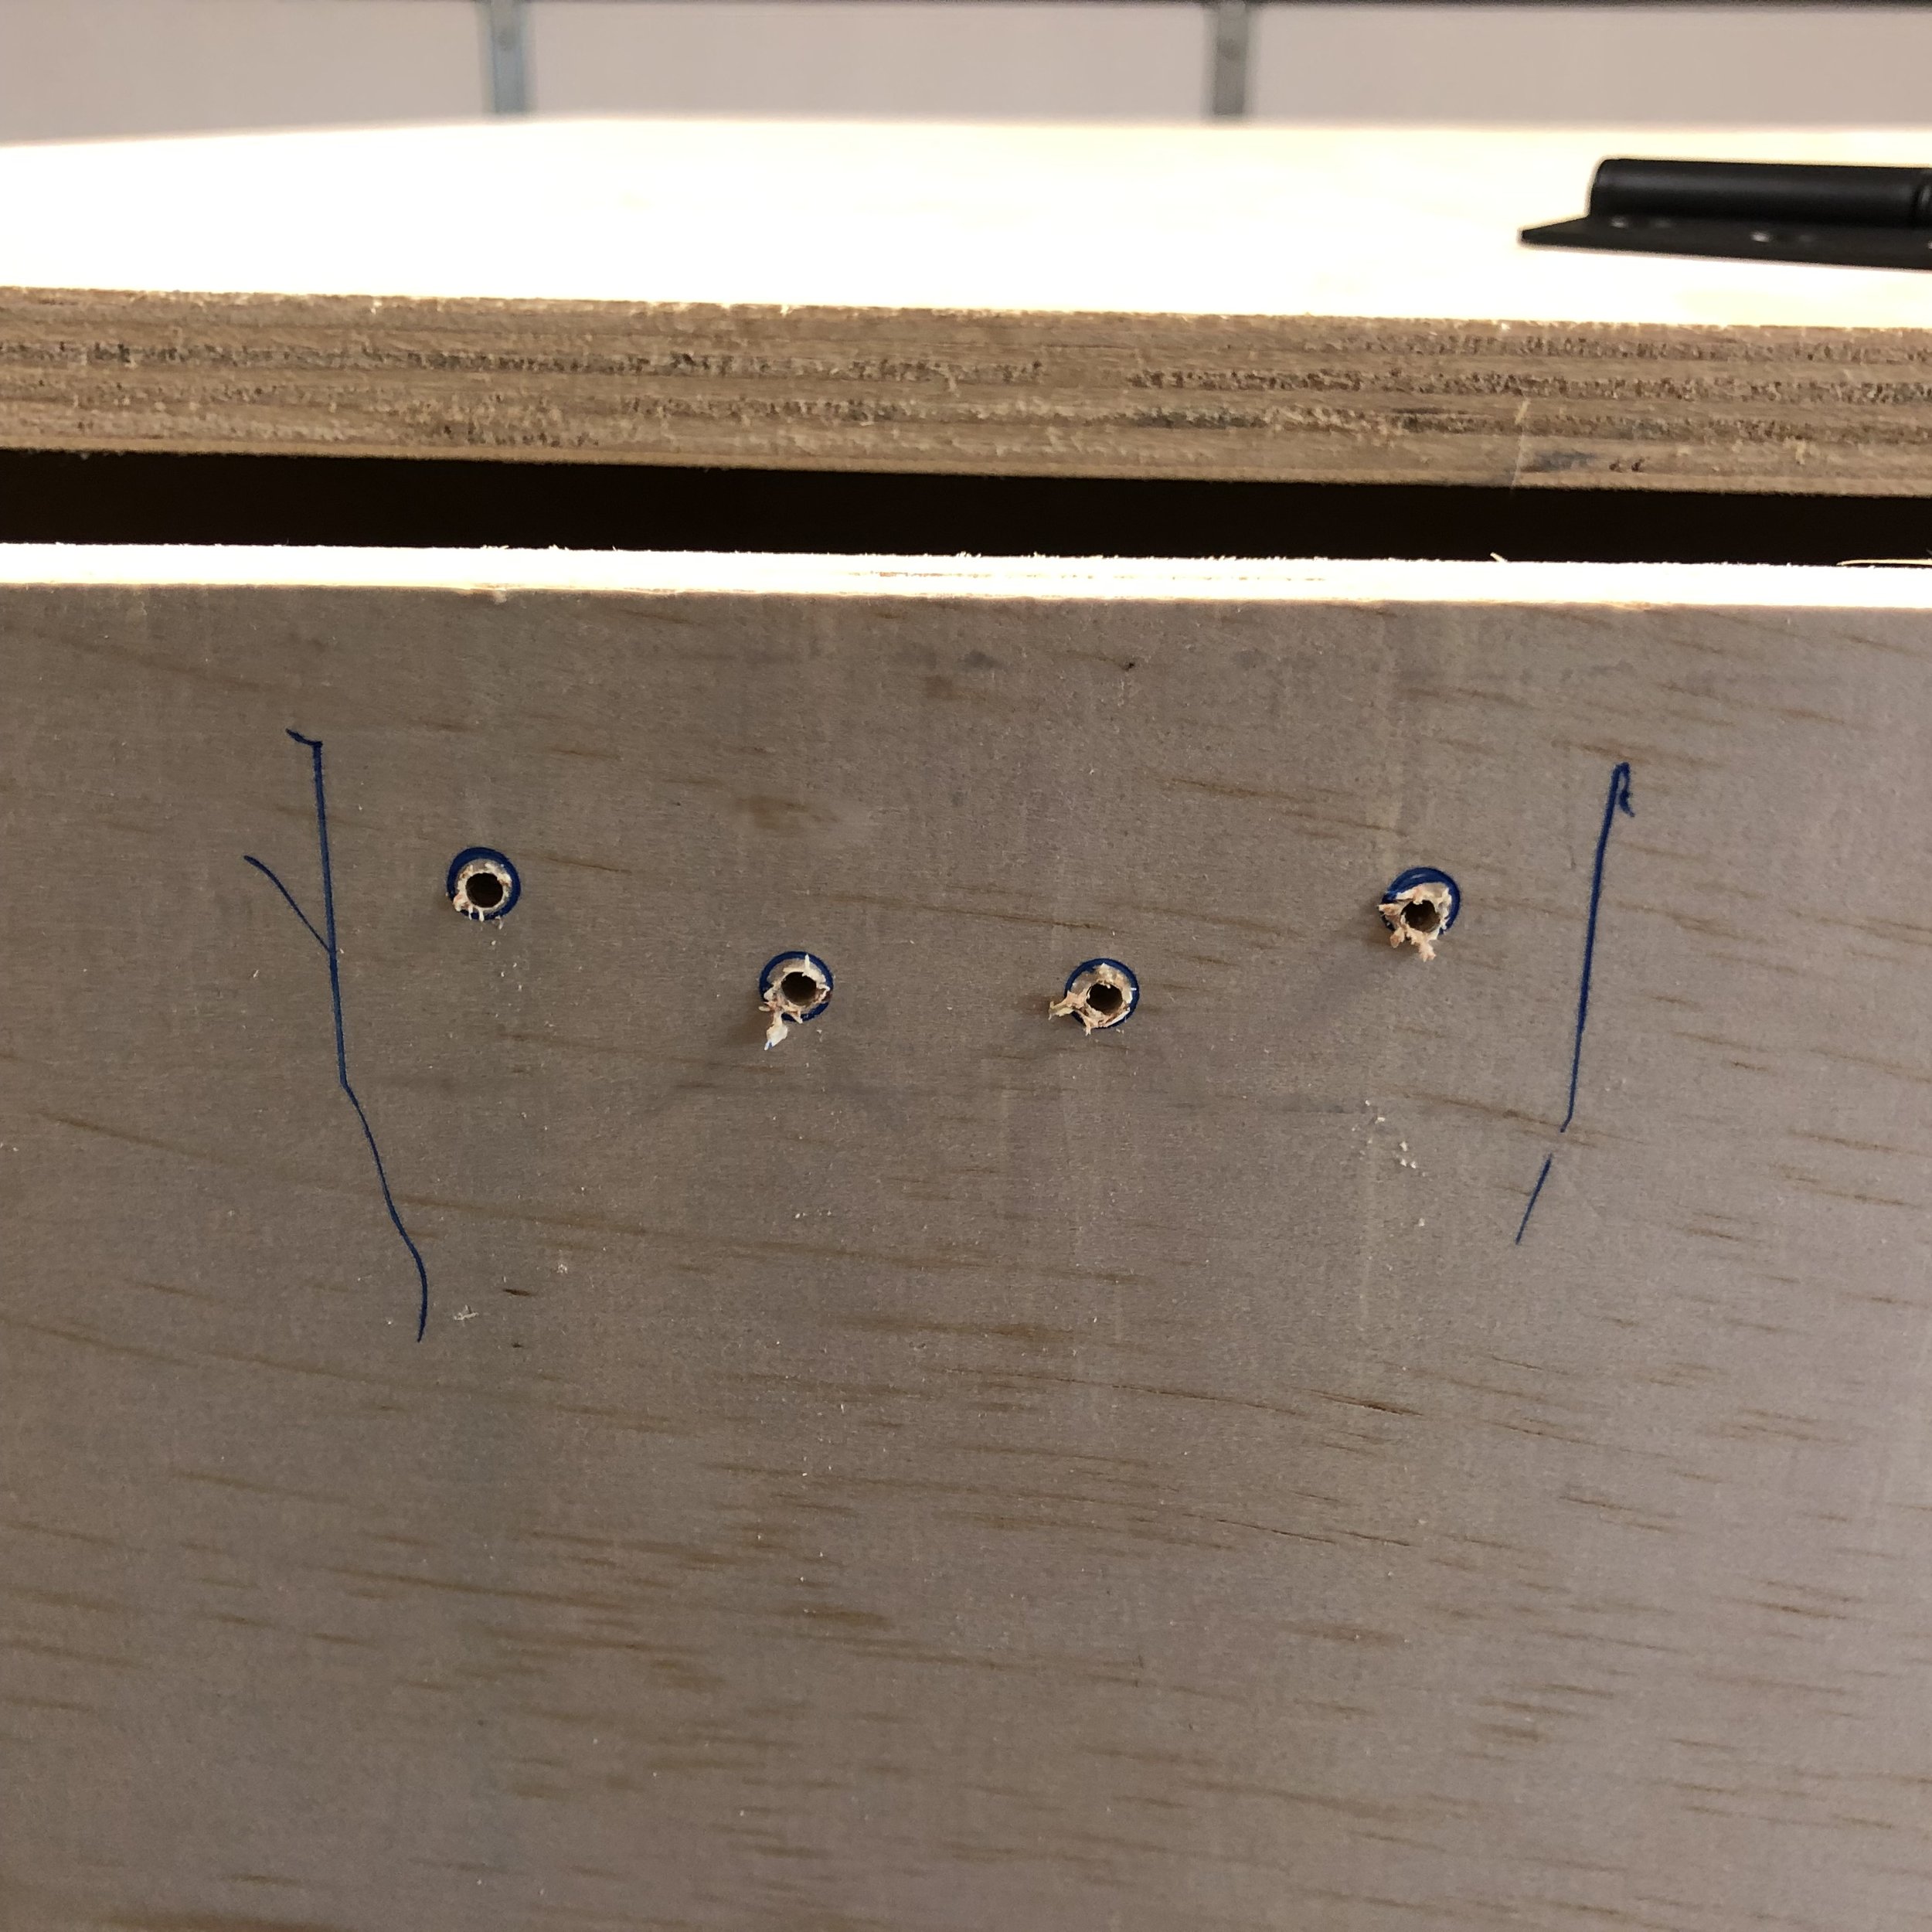
Once you’ve decided on the type and placement of the hinges, mark where the hinges go on the box and mark where their holes are.
Make sure the diameter of the bolt is slightly smaller than the diameter of the holes in the hinges.
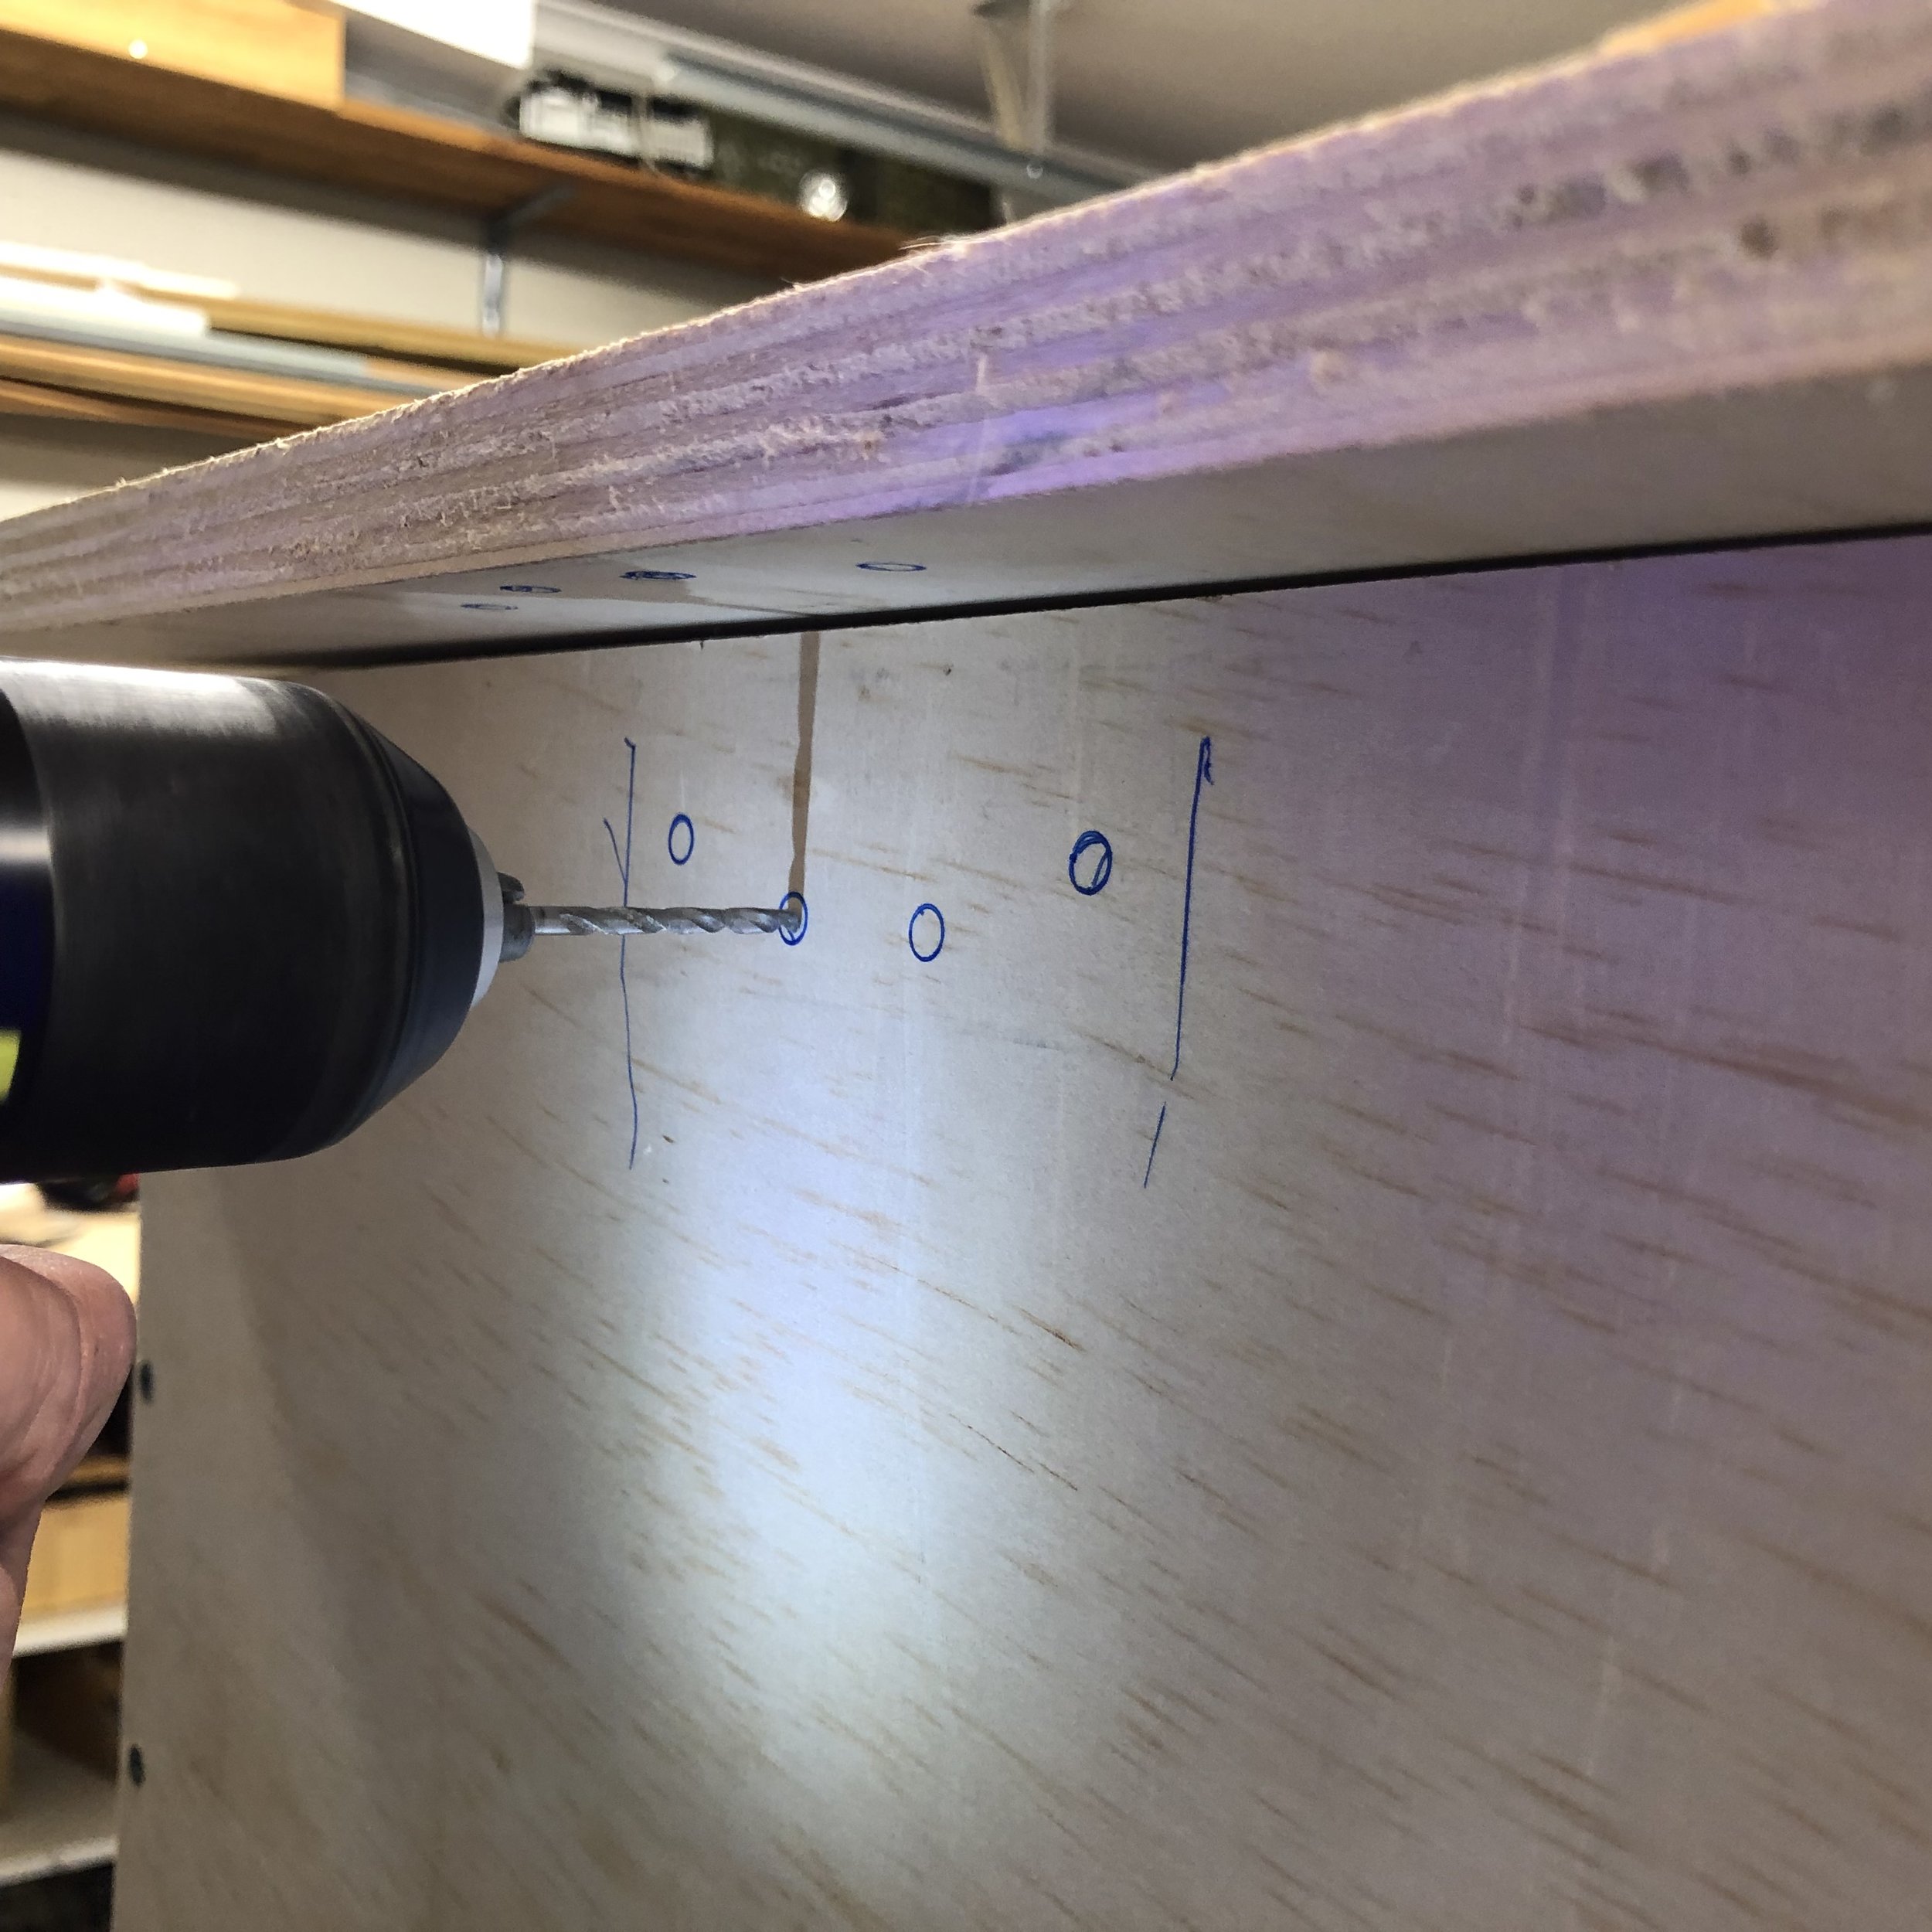
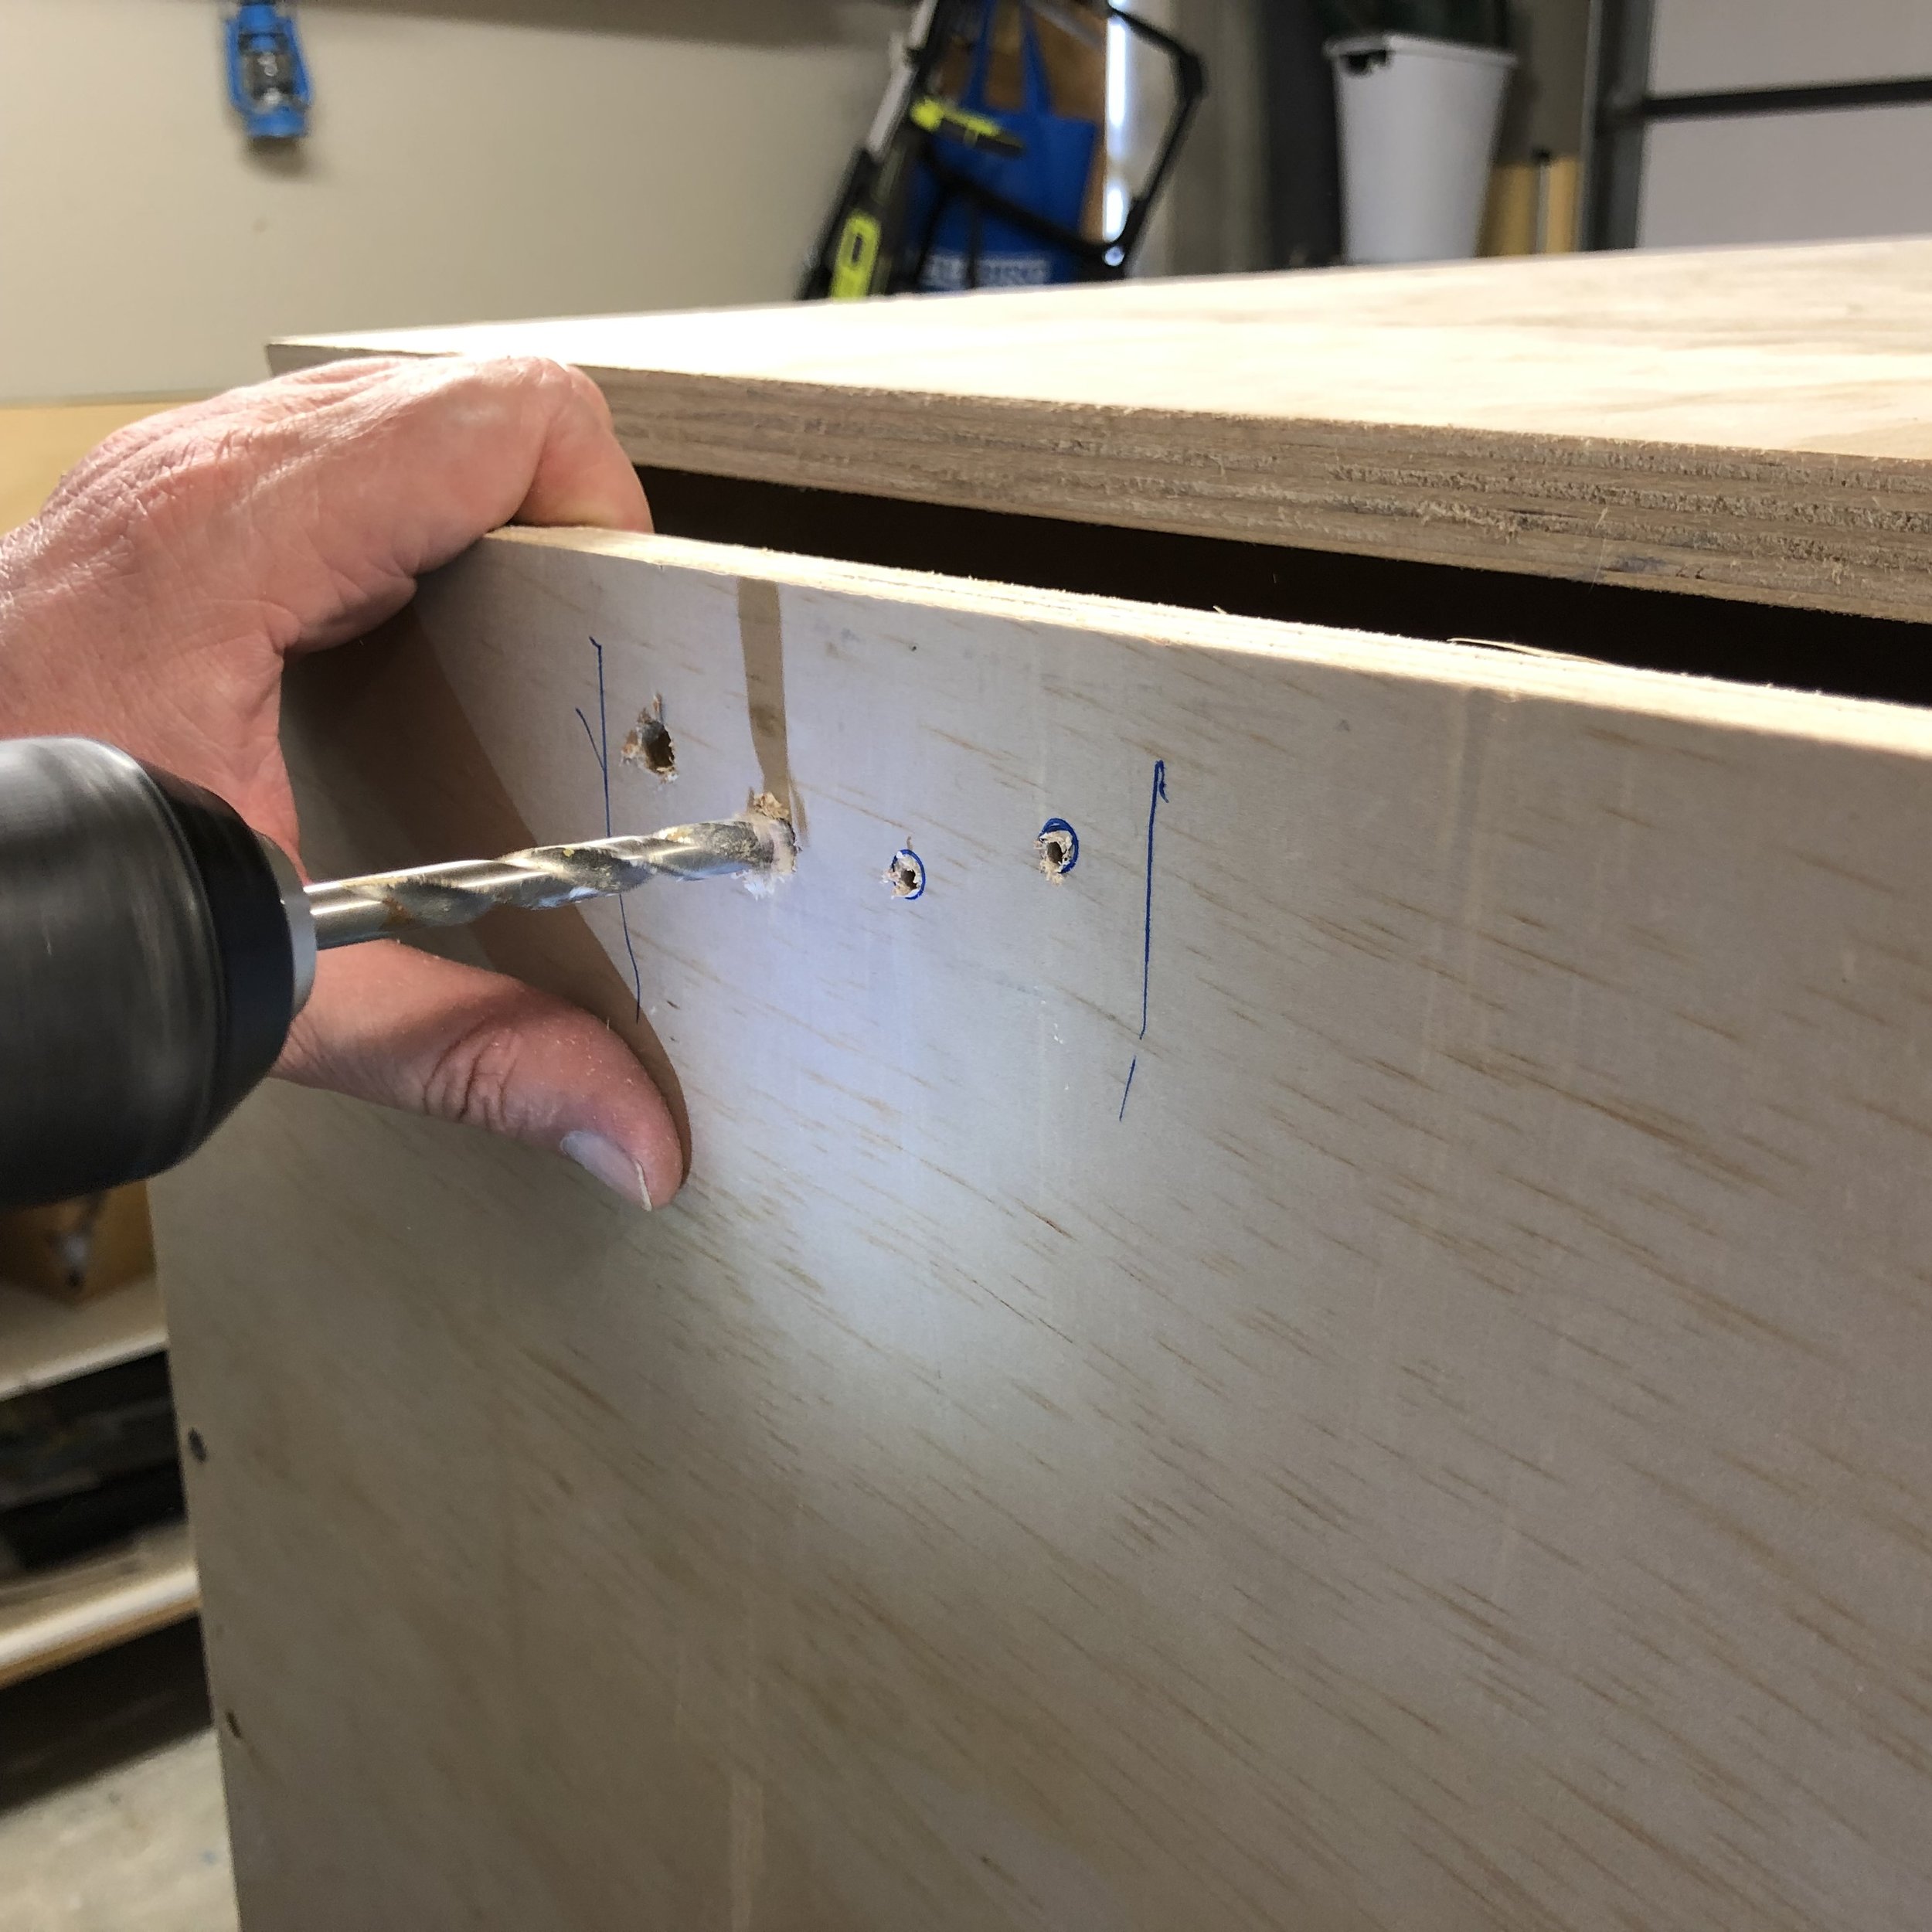
Drill pilot holes in the centre of your marks with a smaller drill bit.
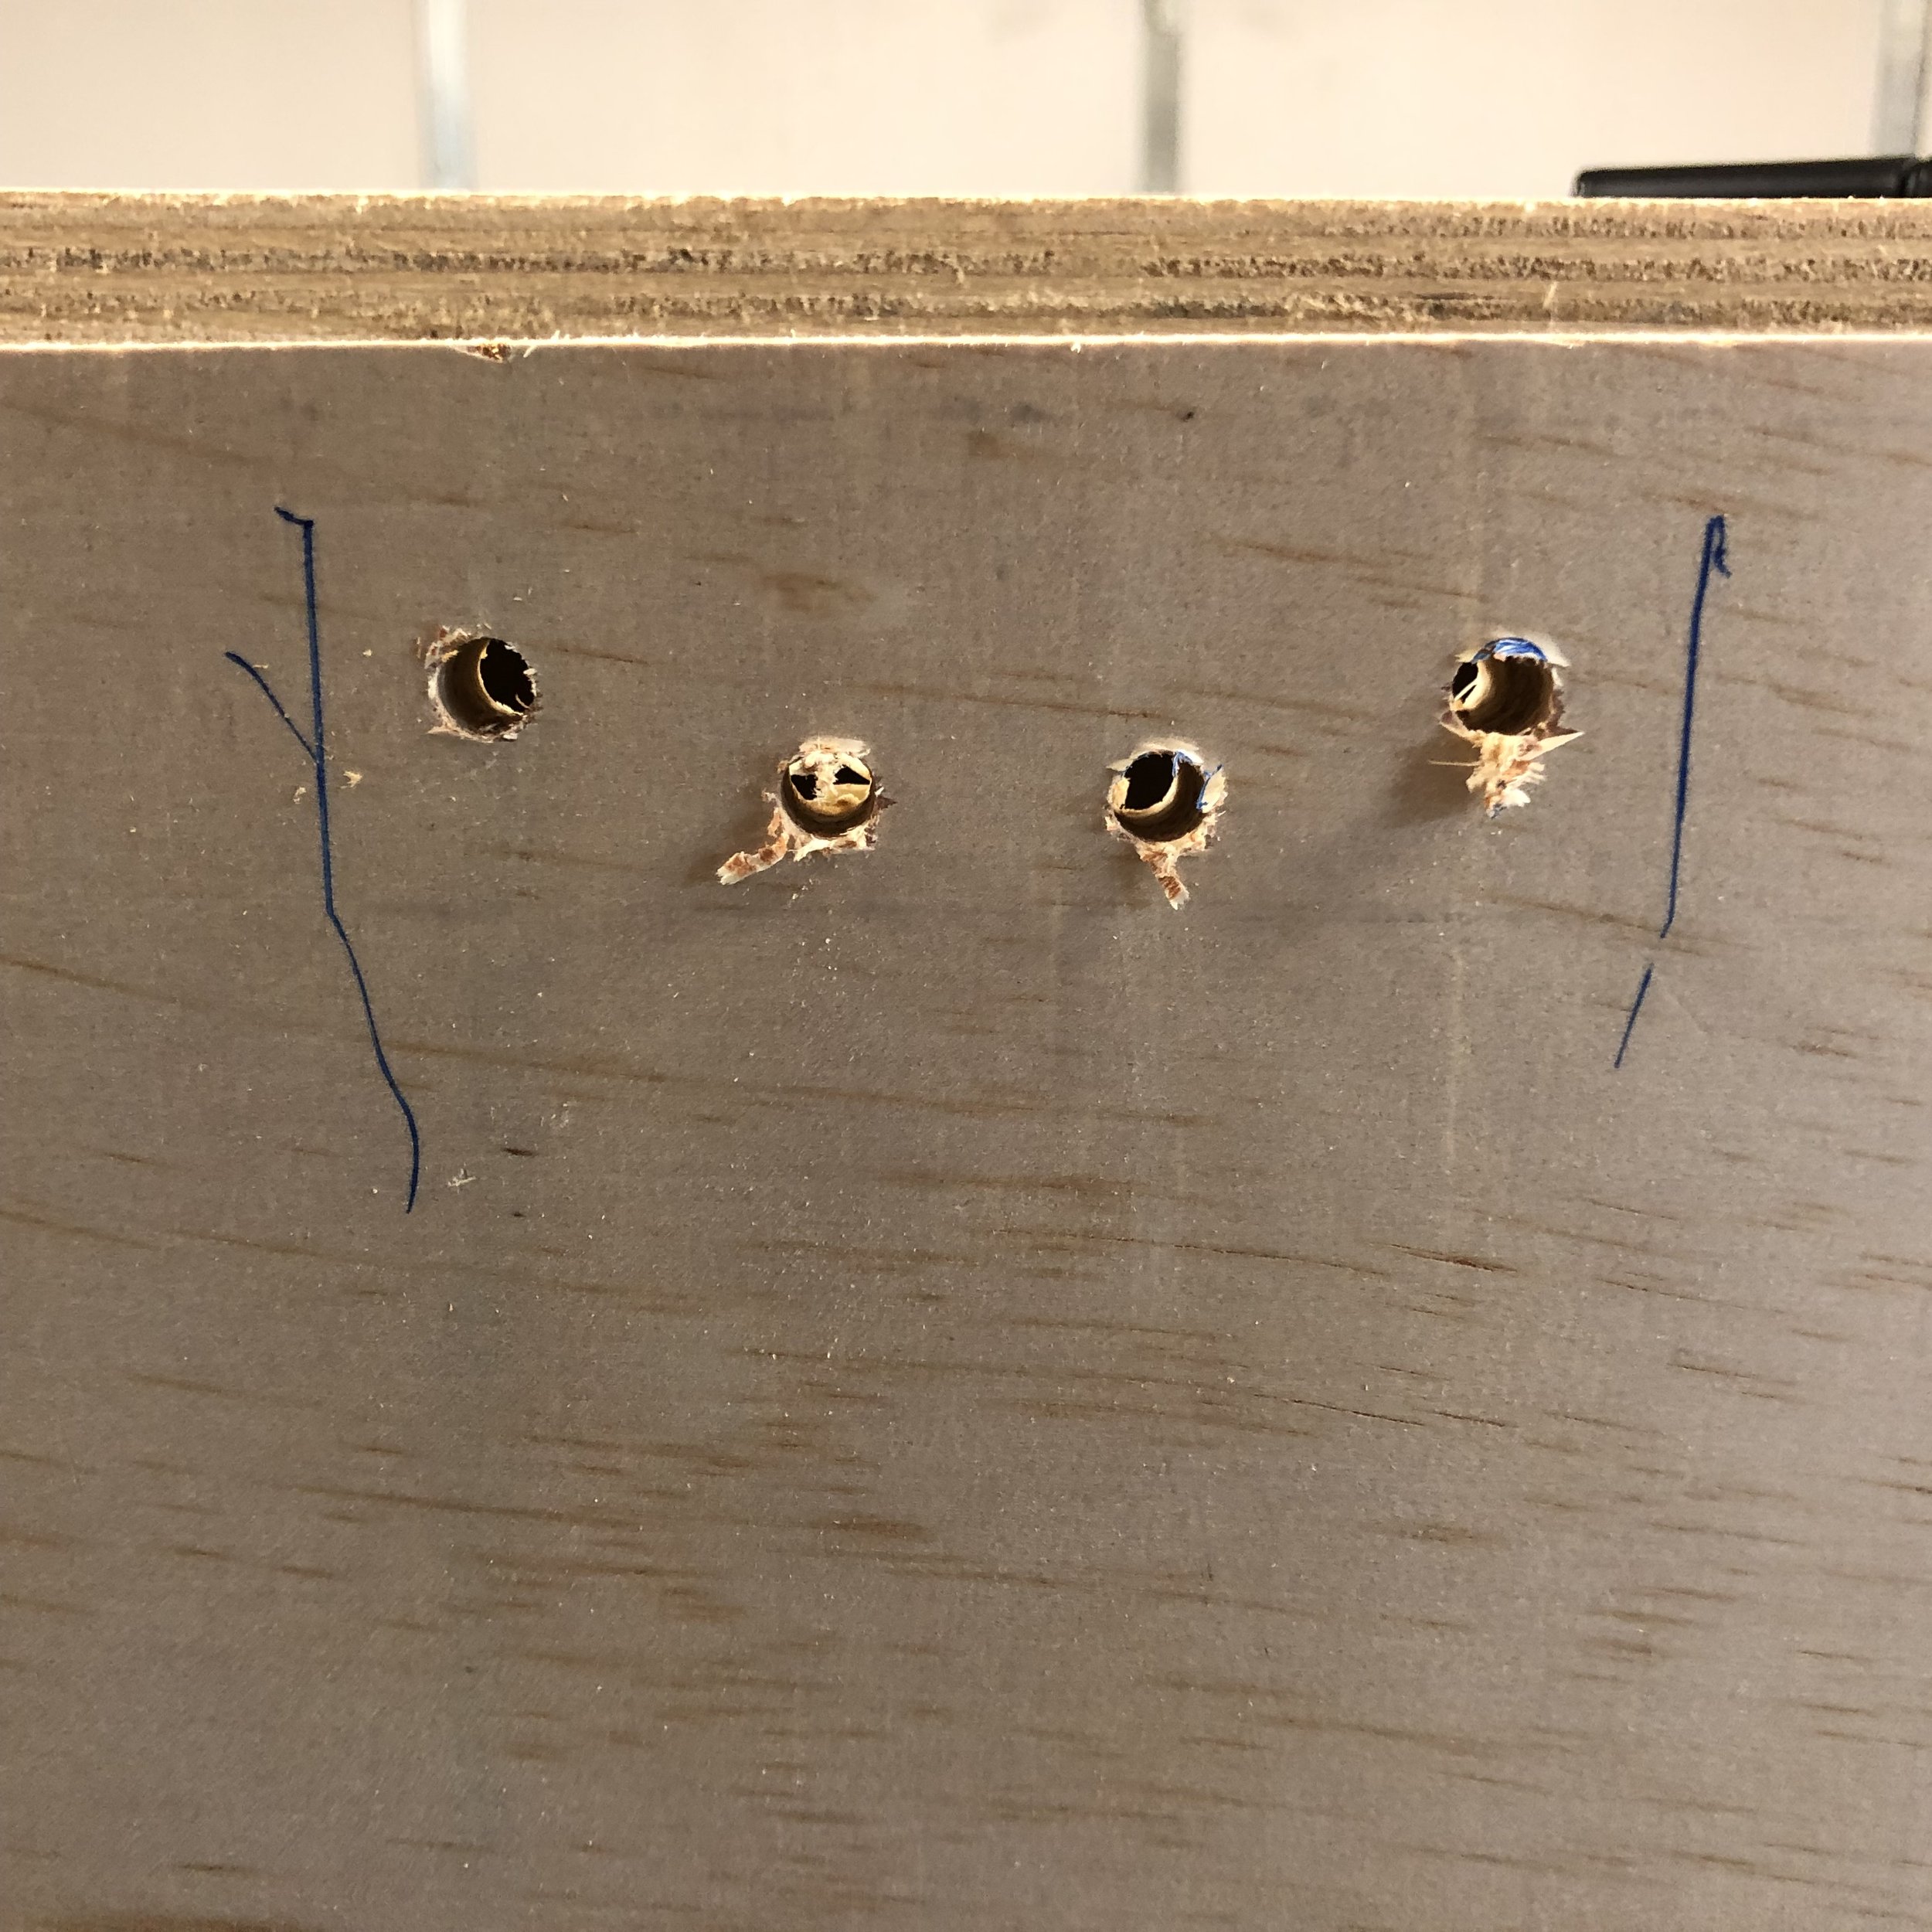
Then drill 7mm holes (if using 6mm bolts) using the pilot hole to guide your drill bit accurately.
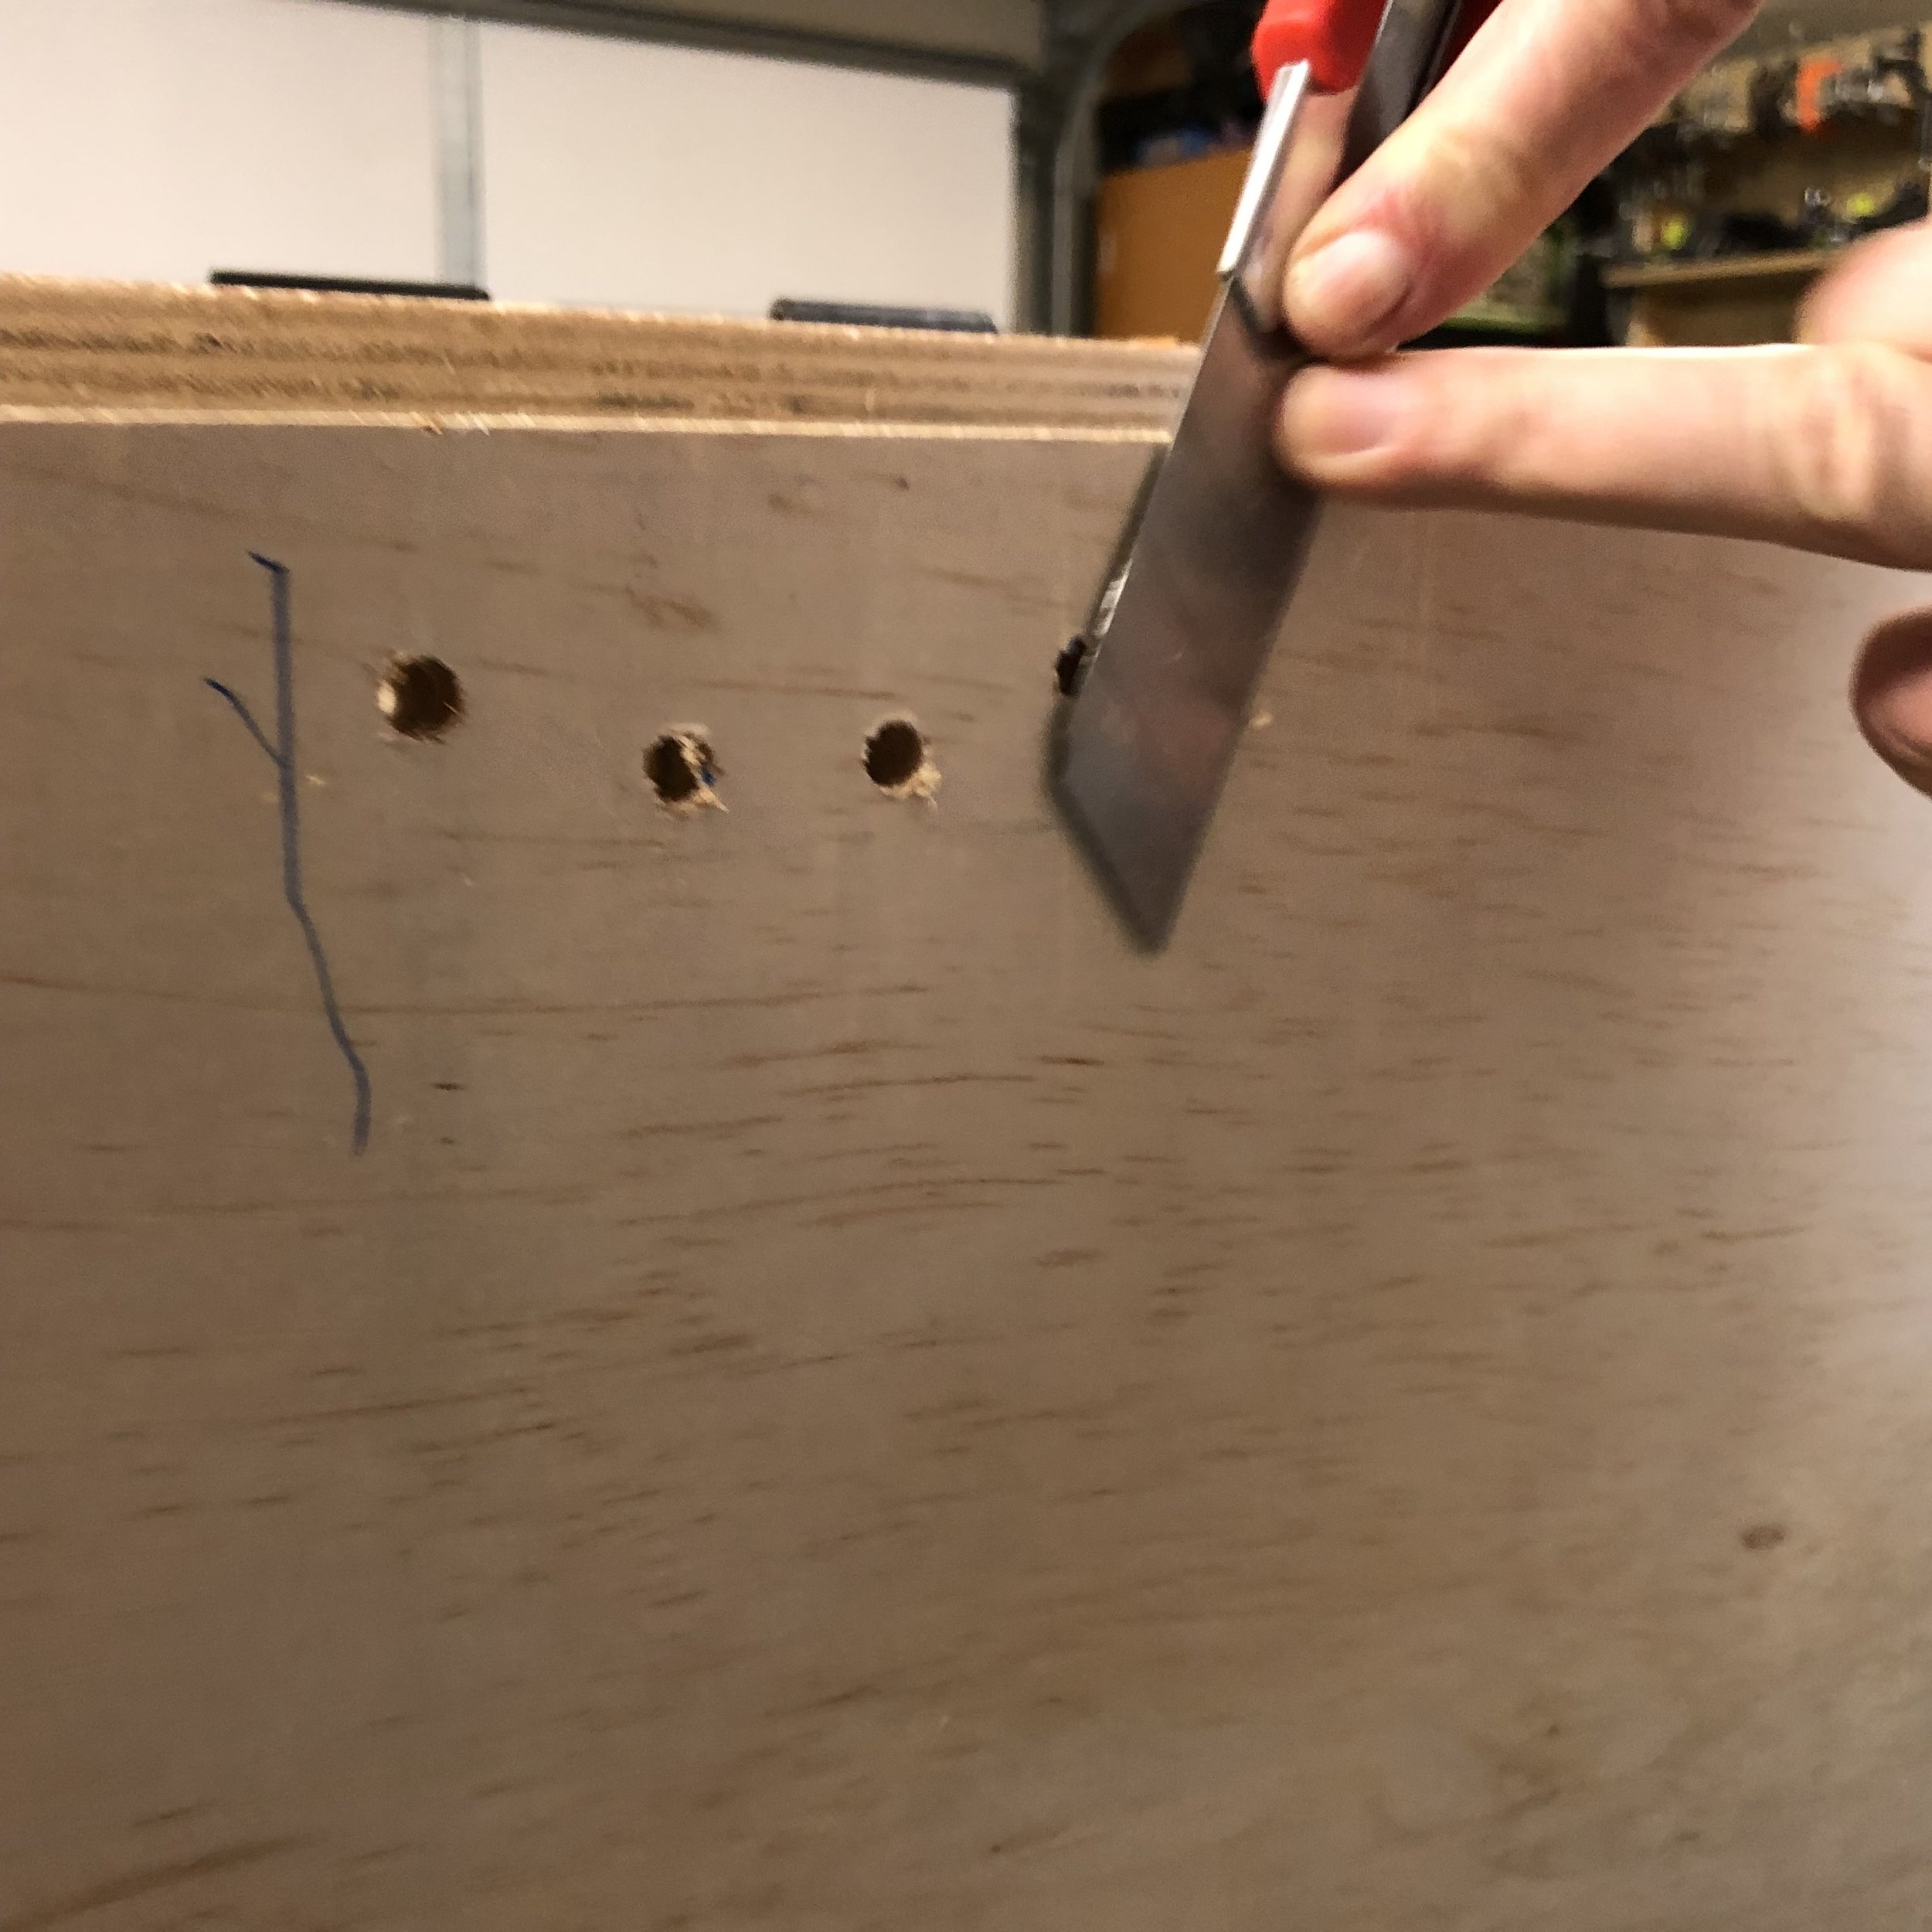
Tidy up the holes with a box cutter blade or similar.
Fit washers between the nut and the ply to make the fitting stronger.


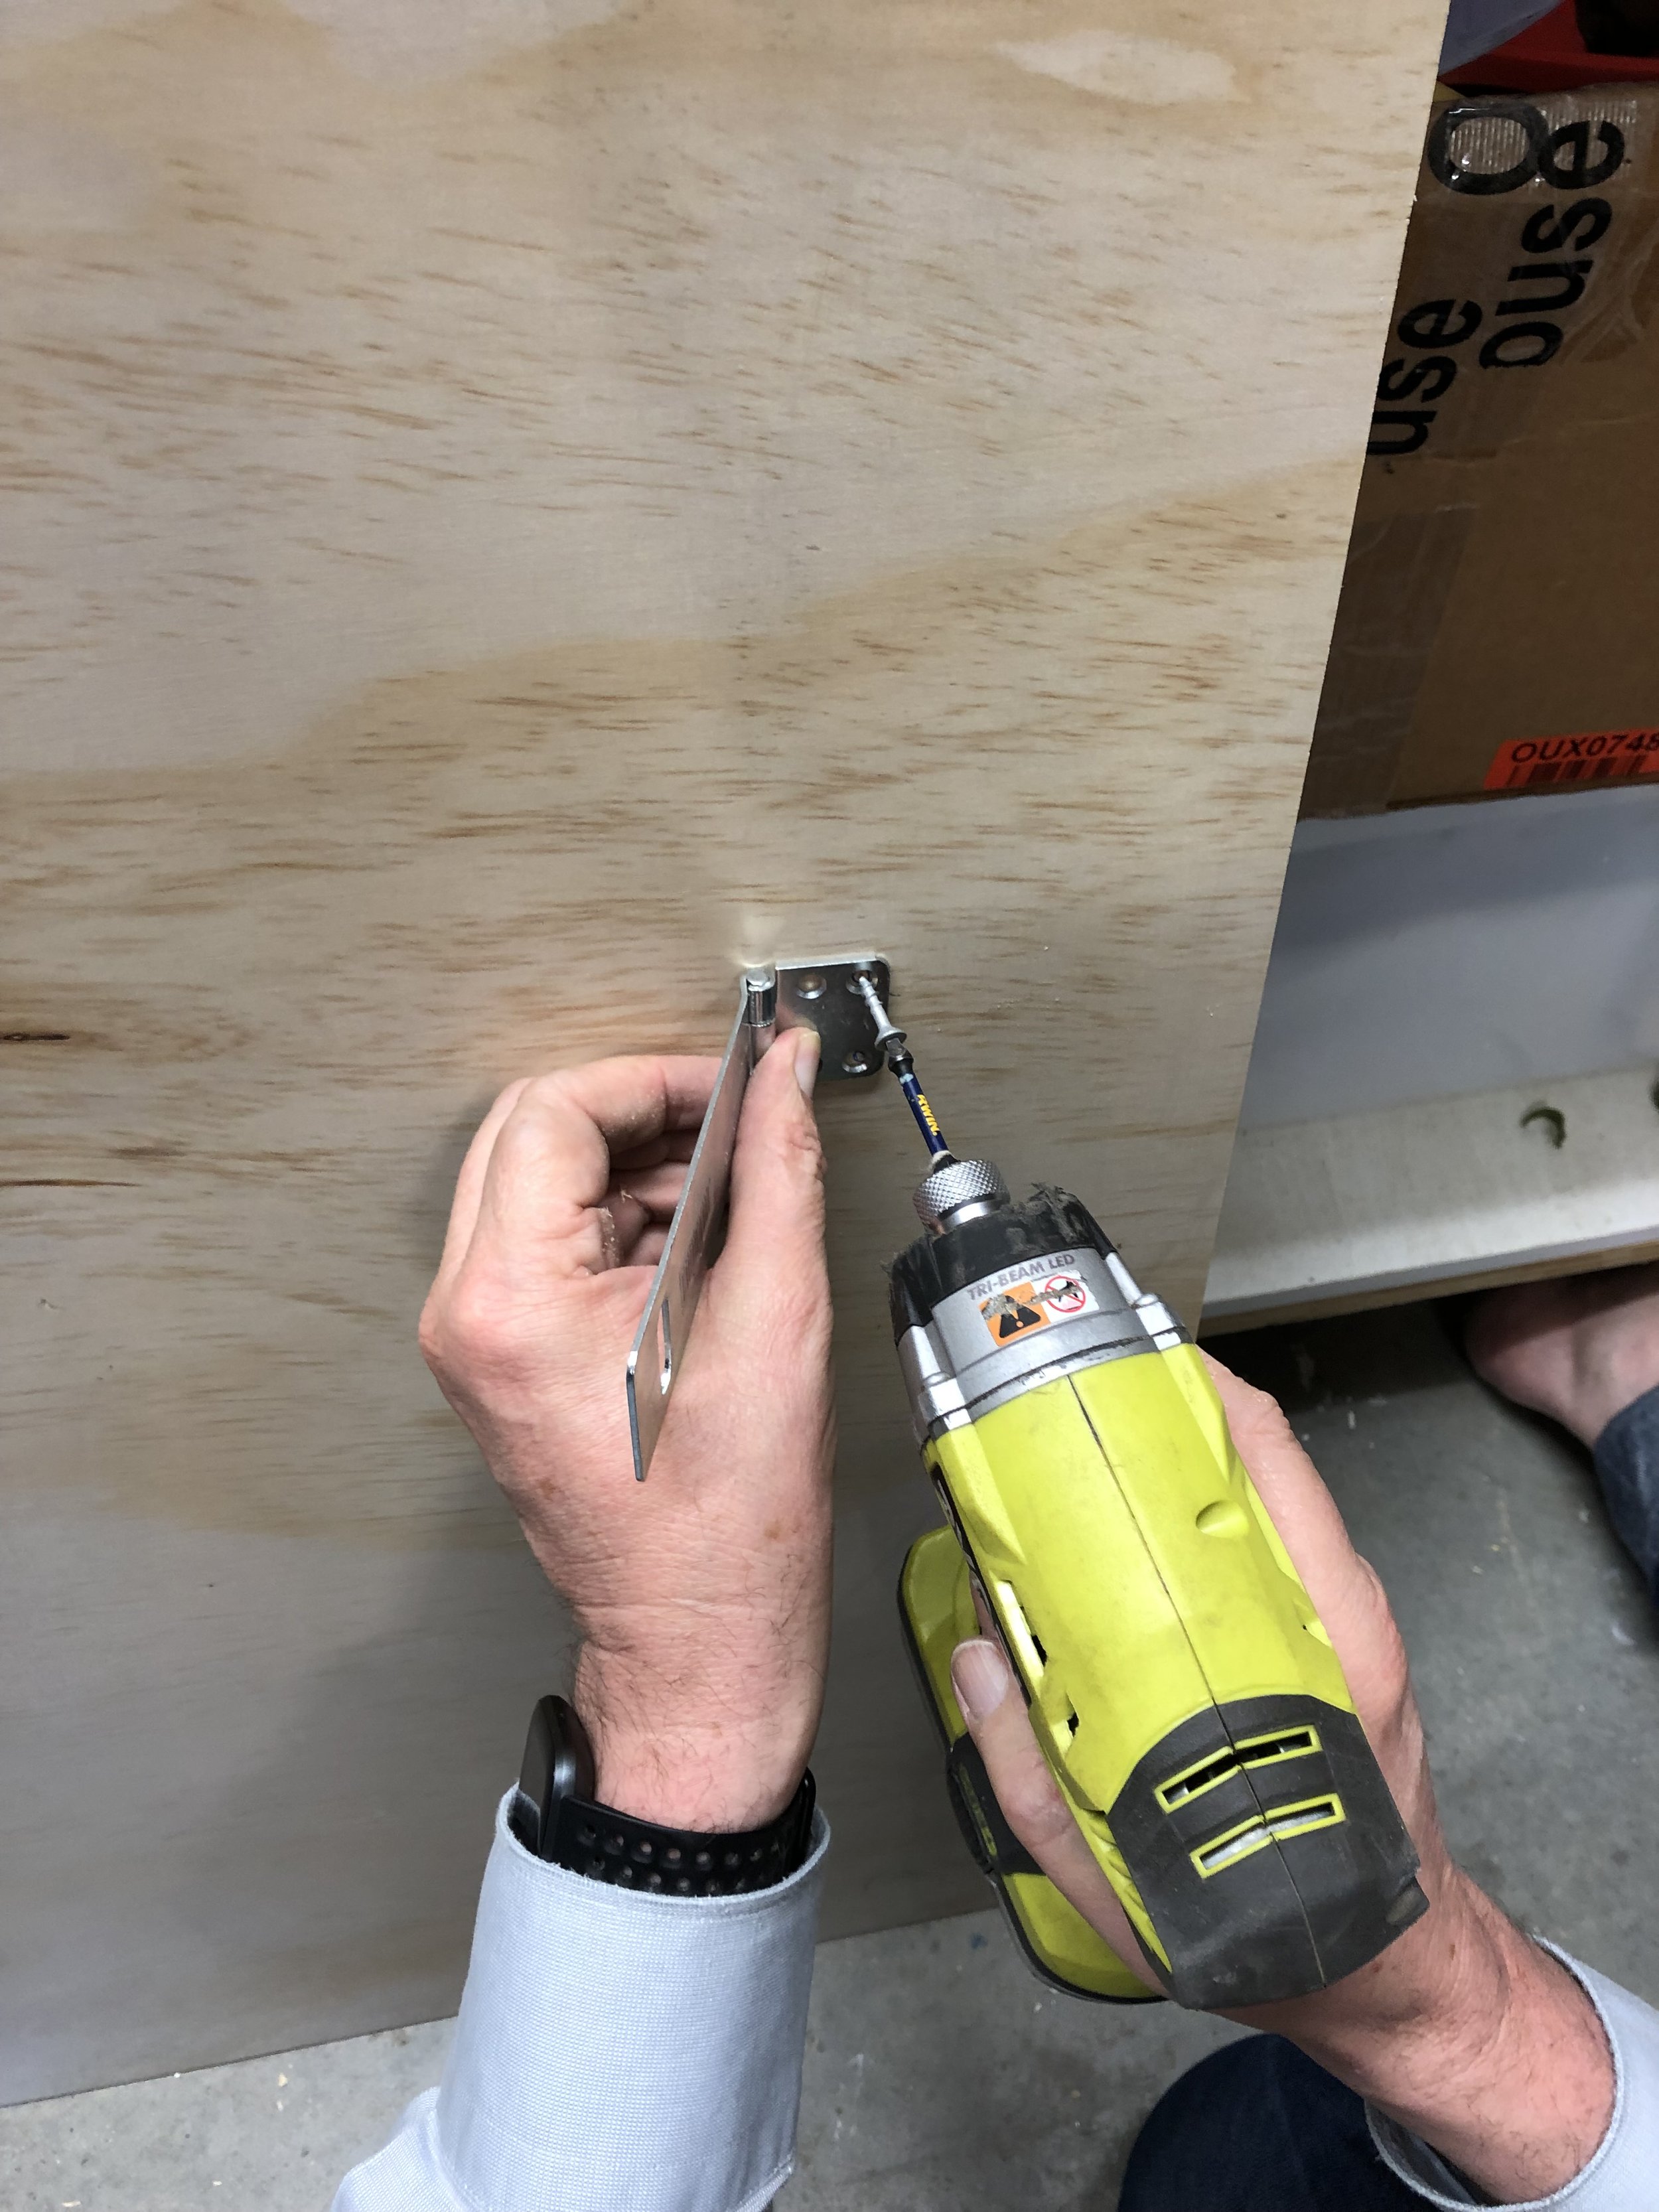
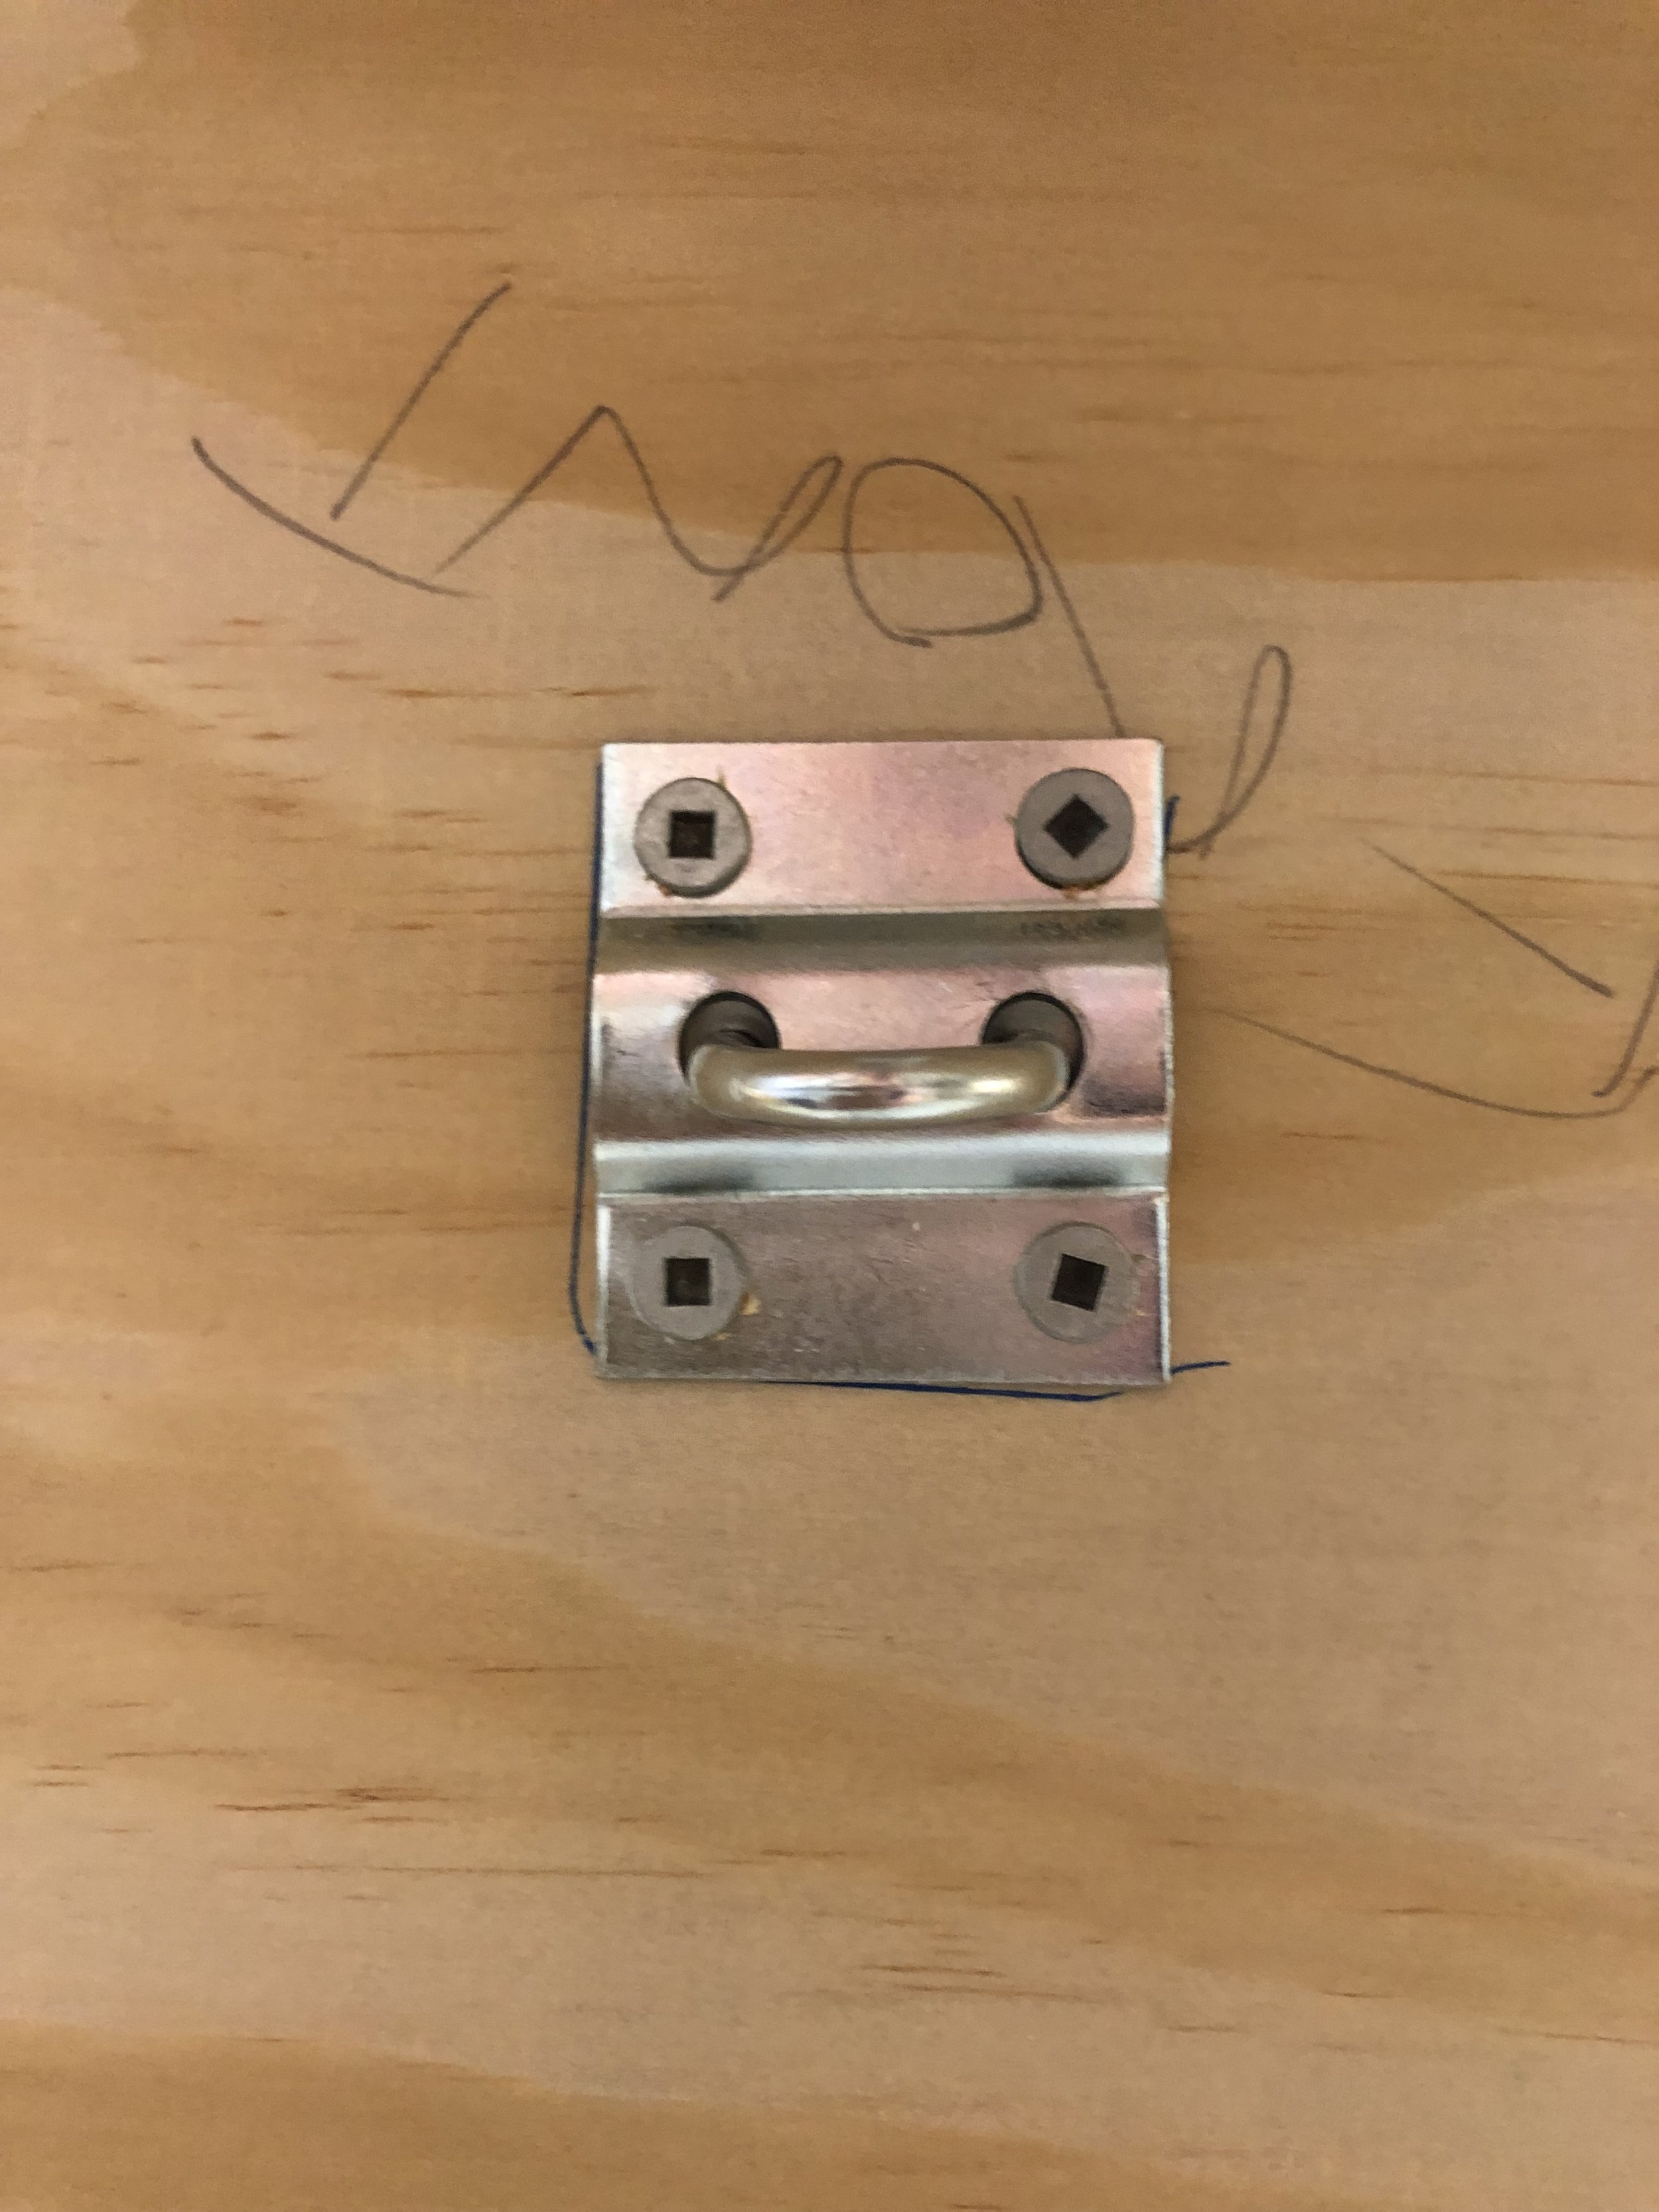
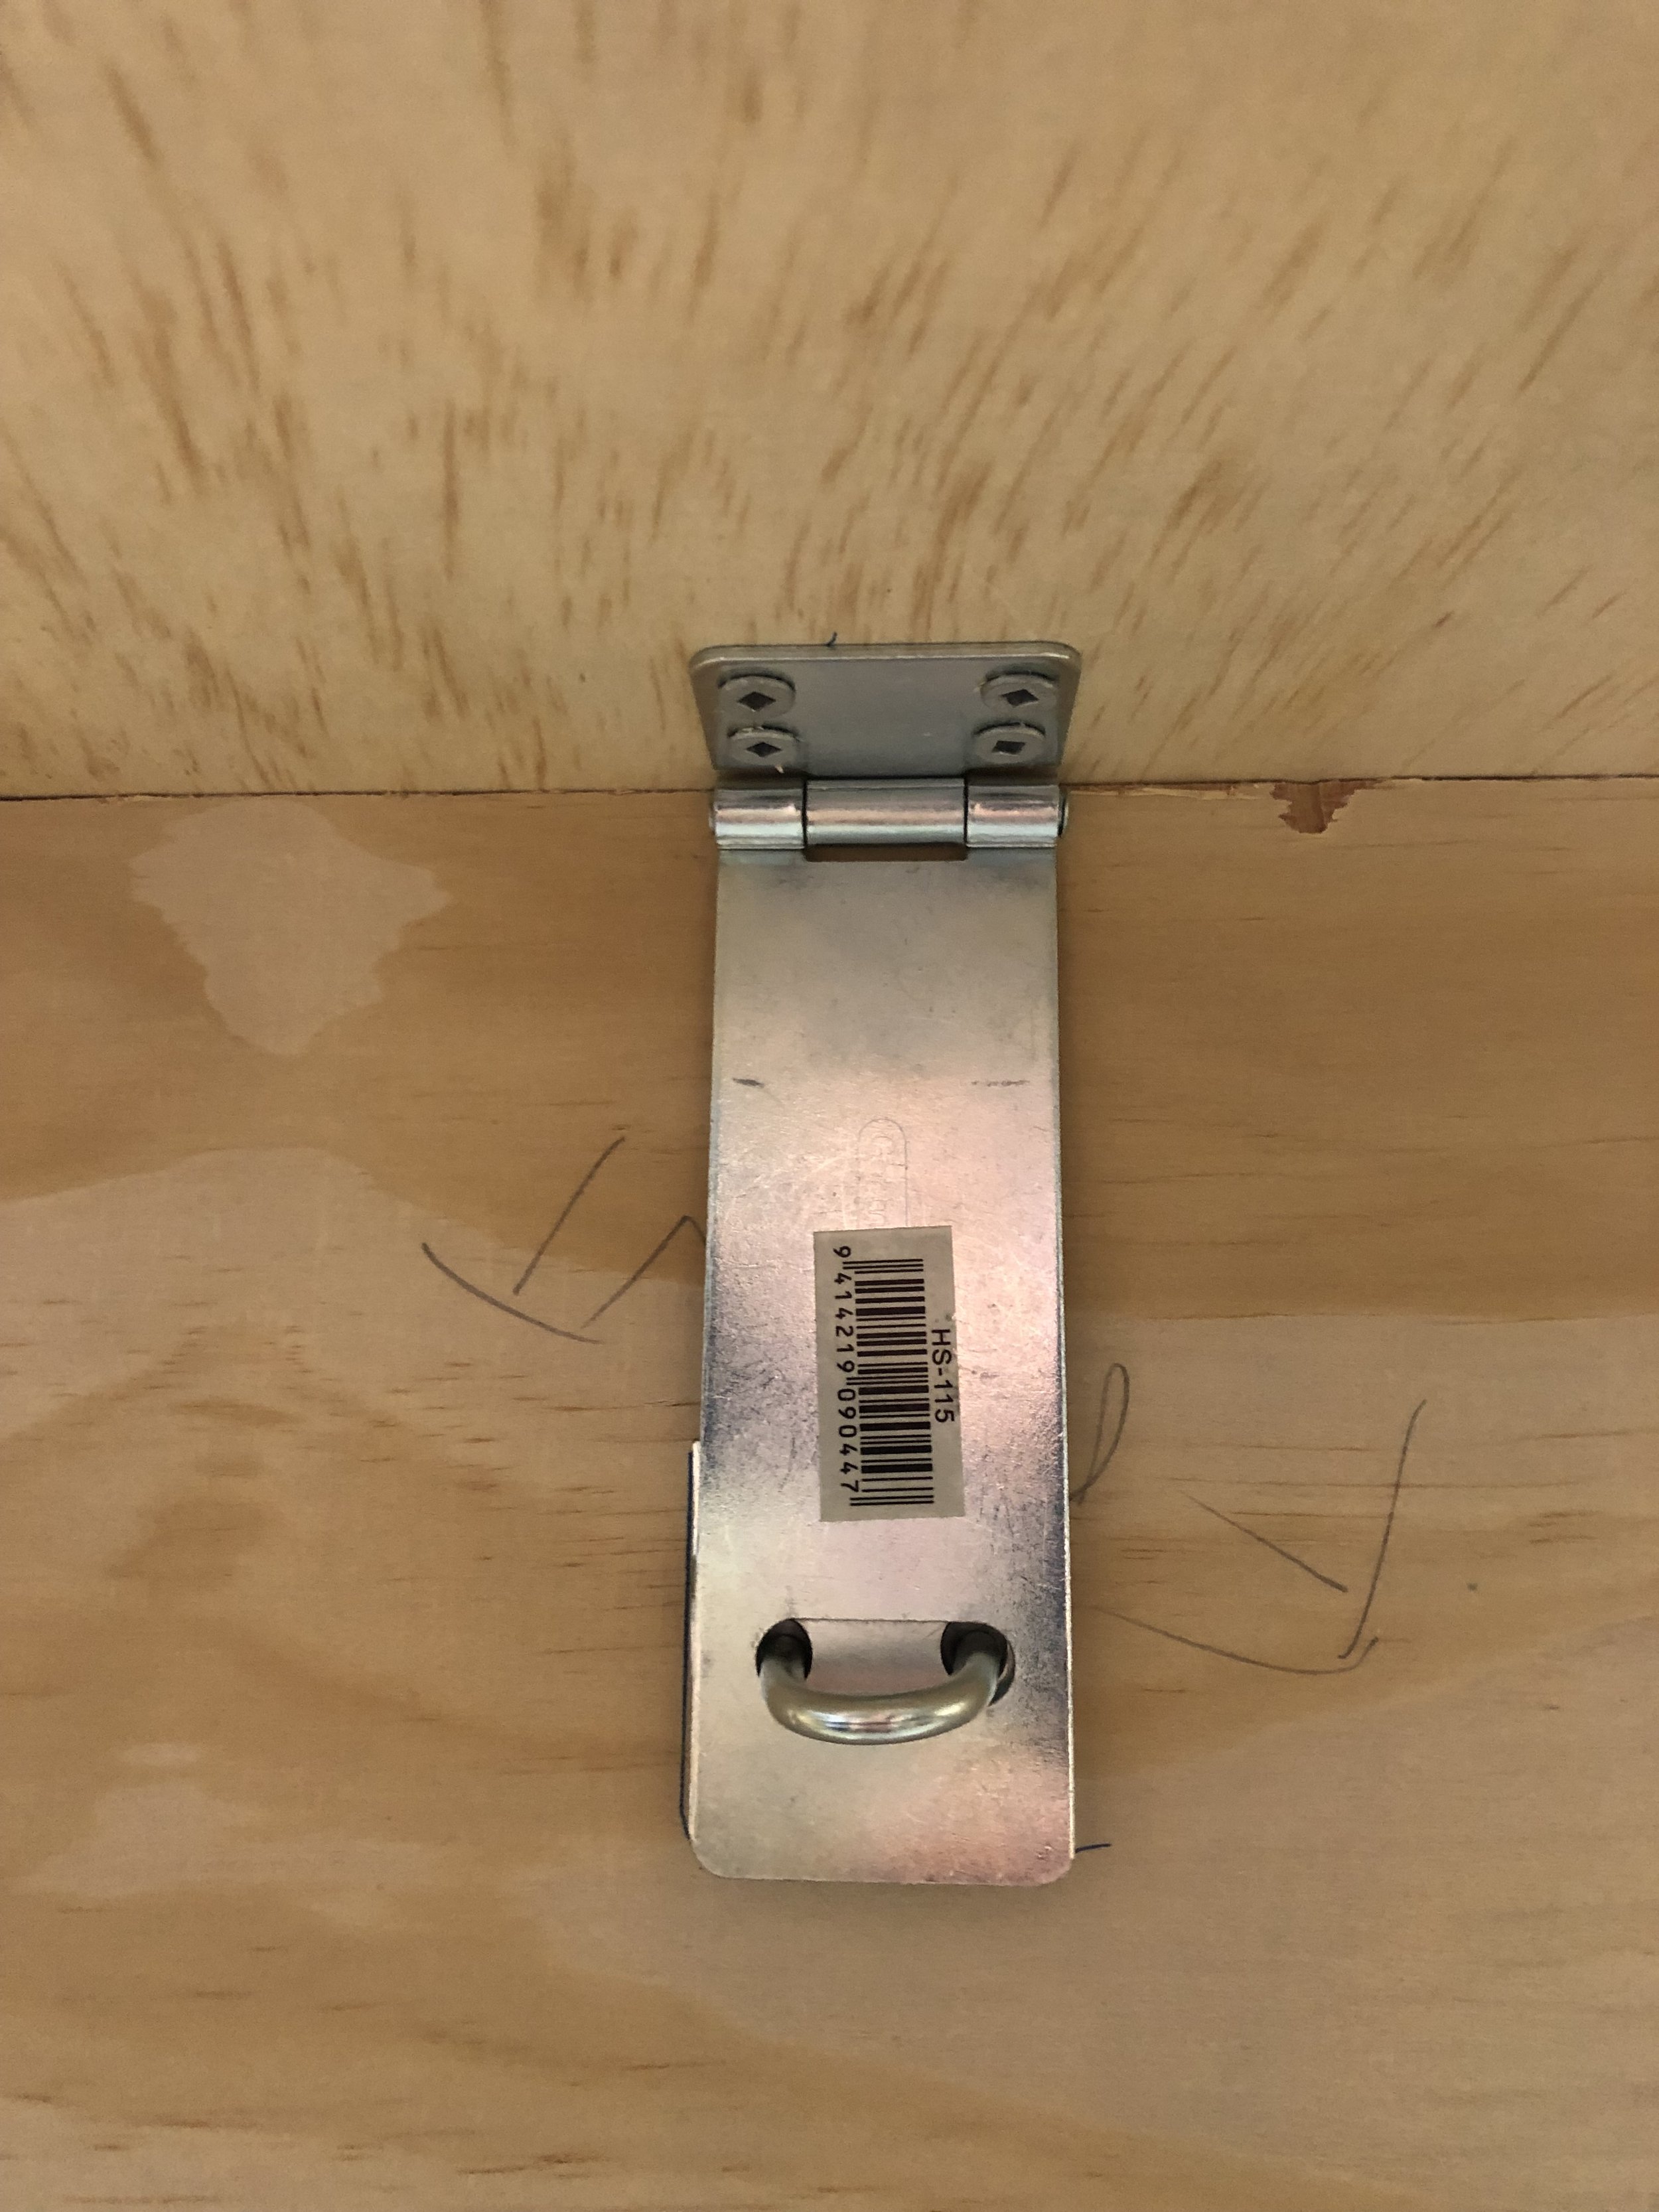
Fitting the Catch for the Roof
Decide on the type of catch you’d like to use. A Hasp and Staple Catch works well.
Hold the catch in place.
Mark holes to drill.
Drill pilot holes.
Place the Catch in position and use short screws to mount it.
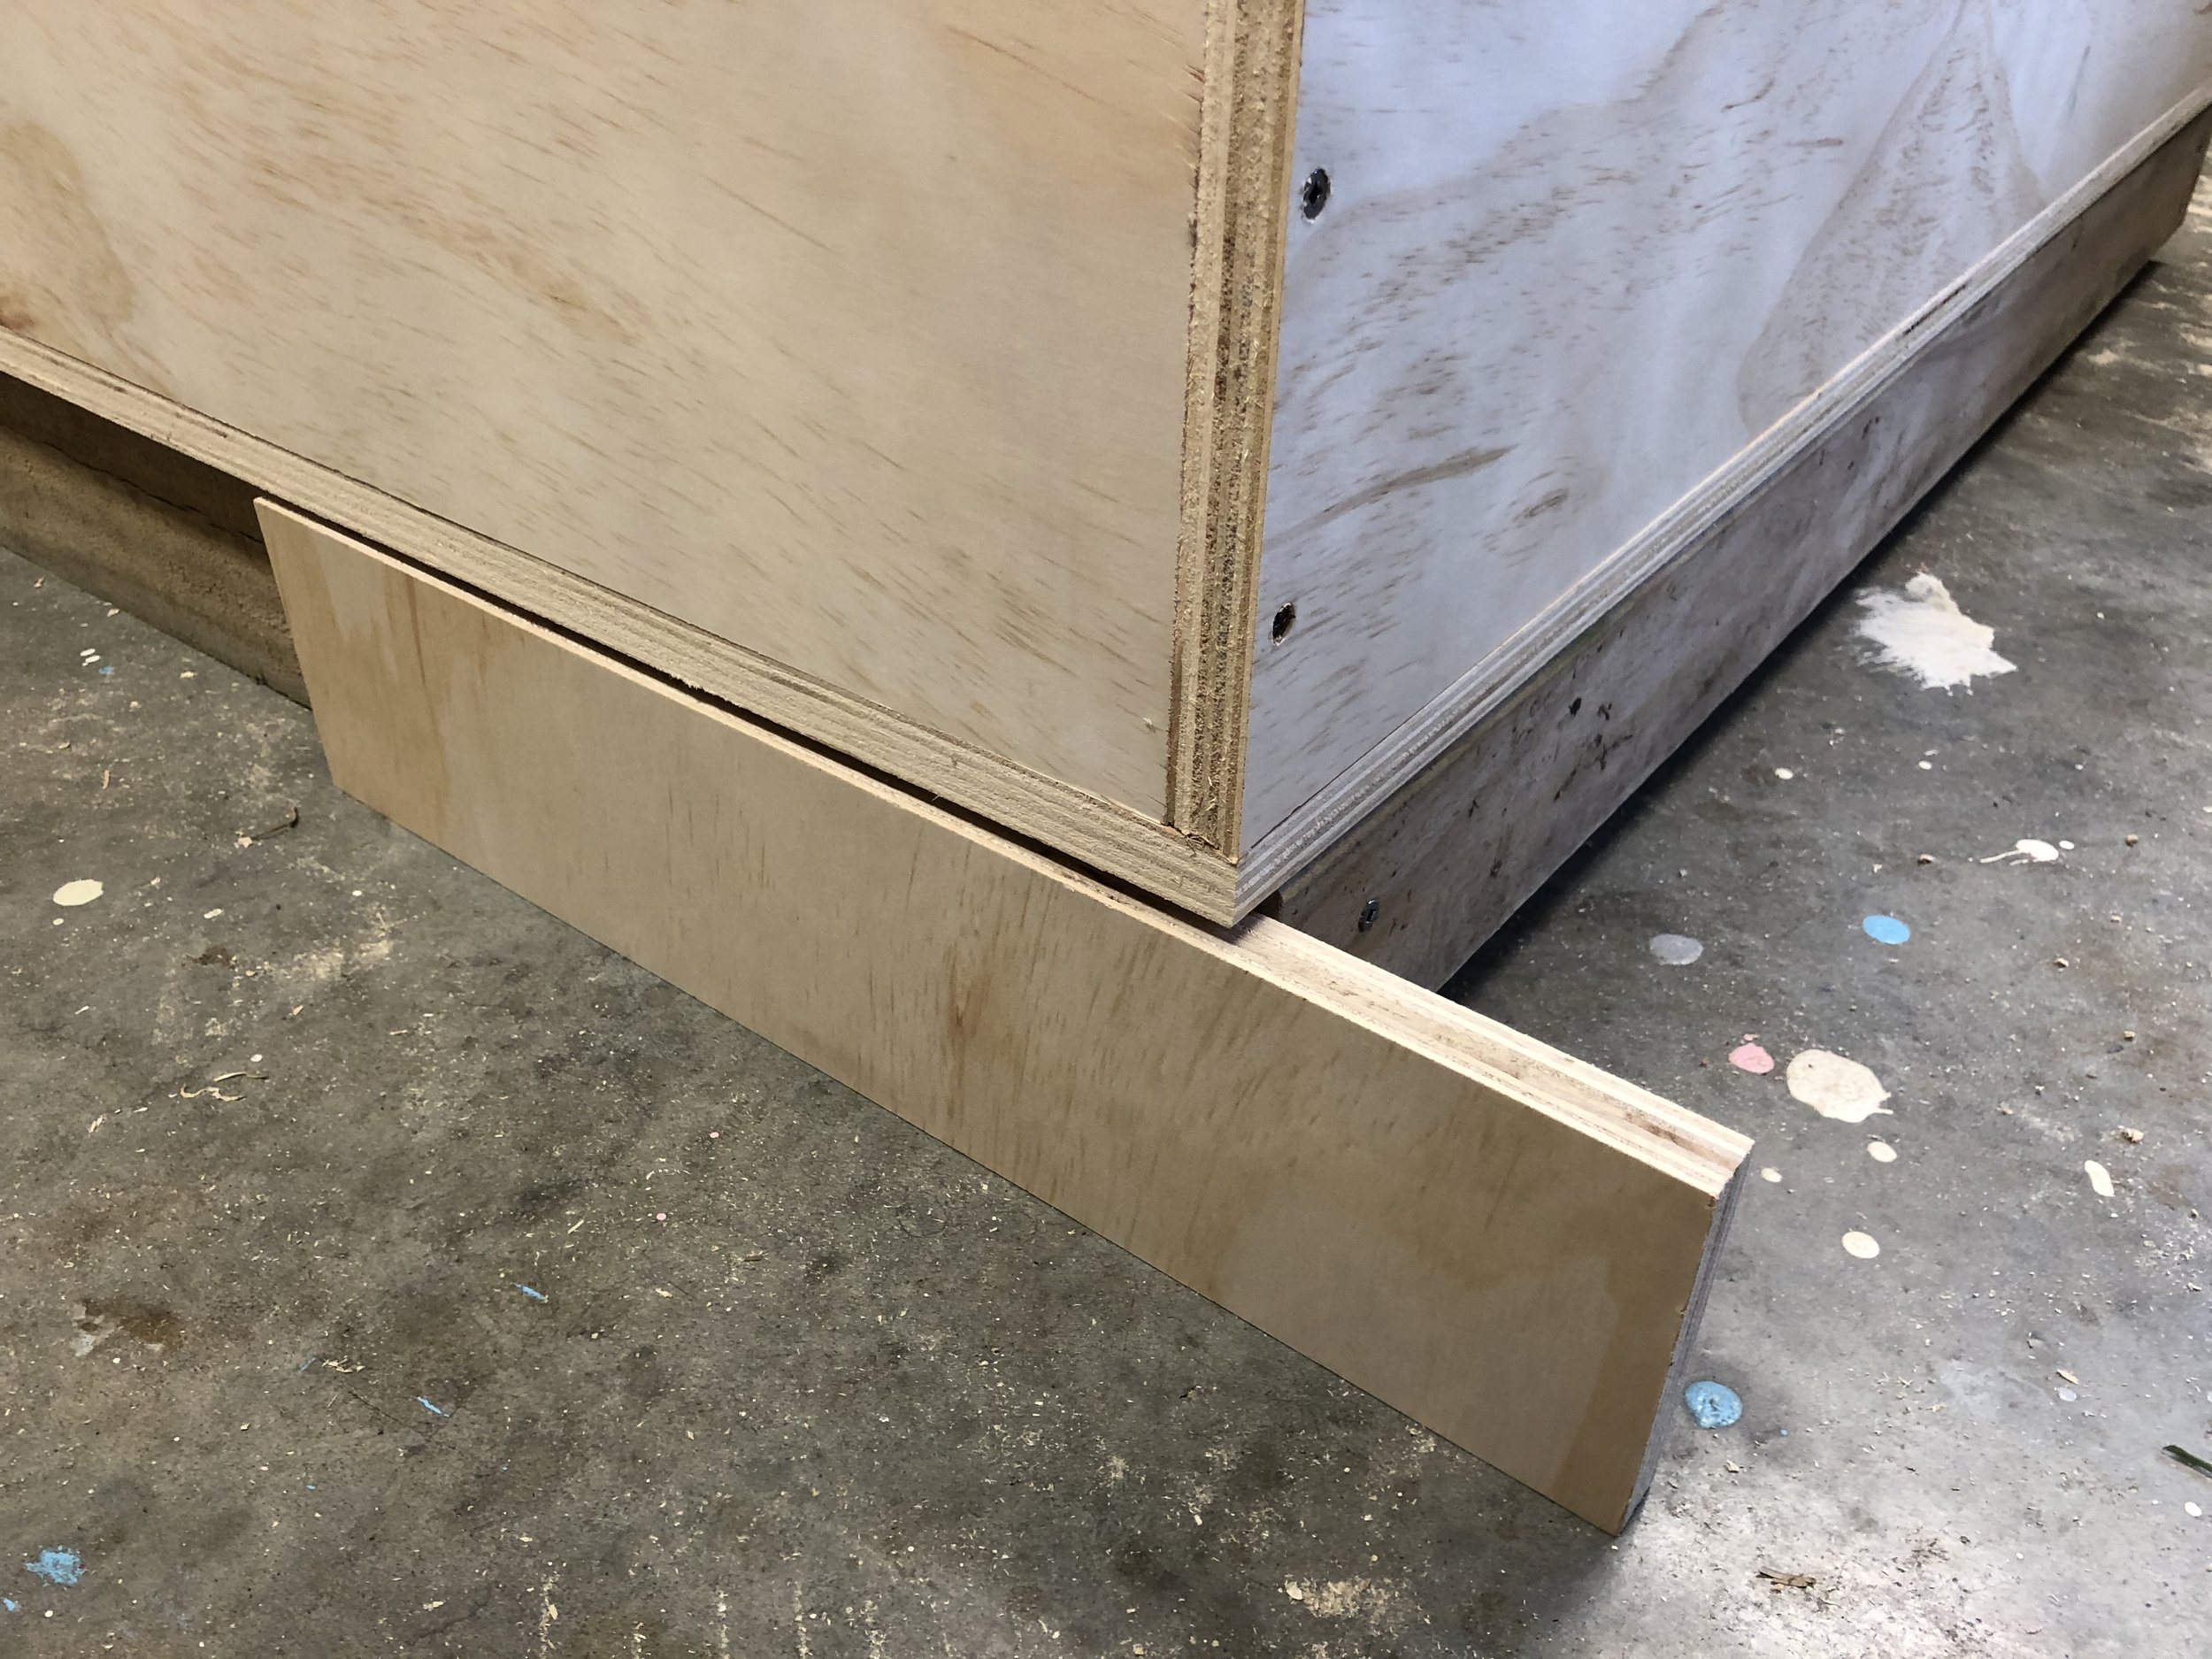
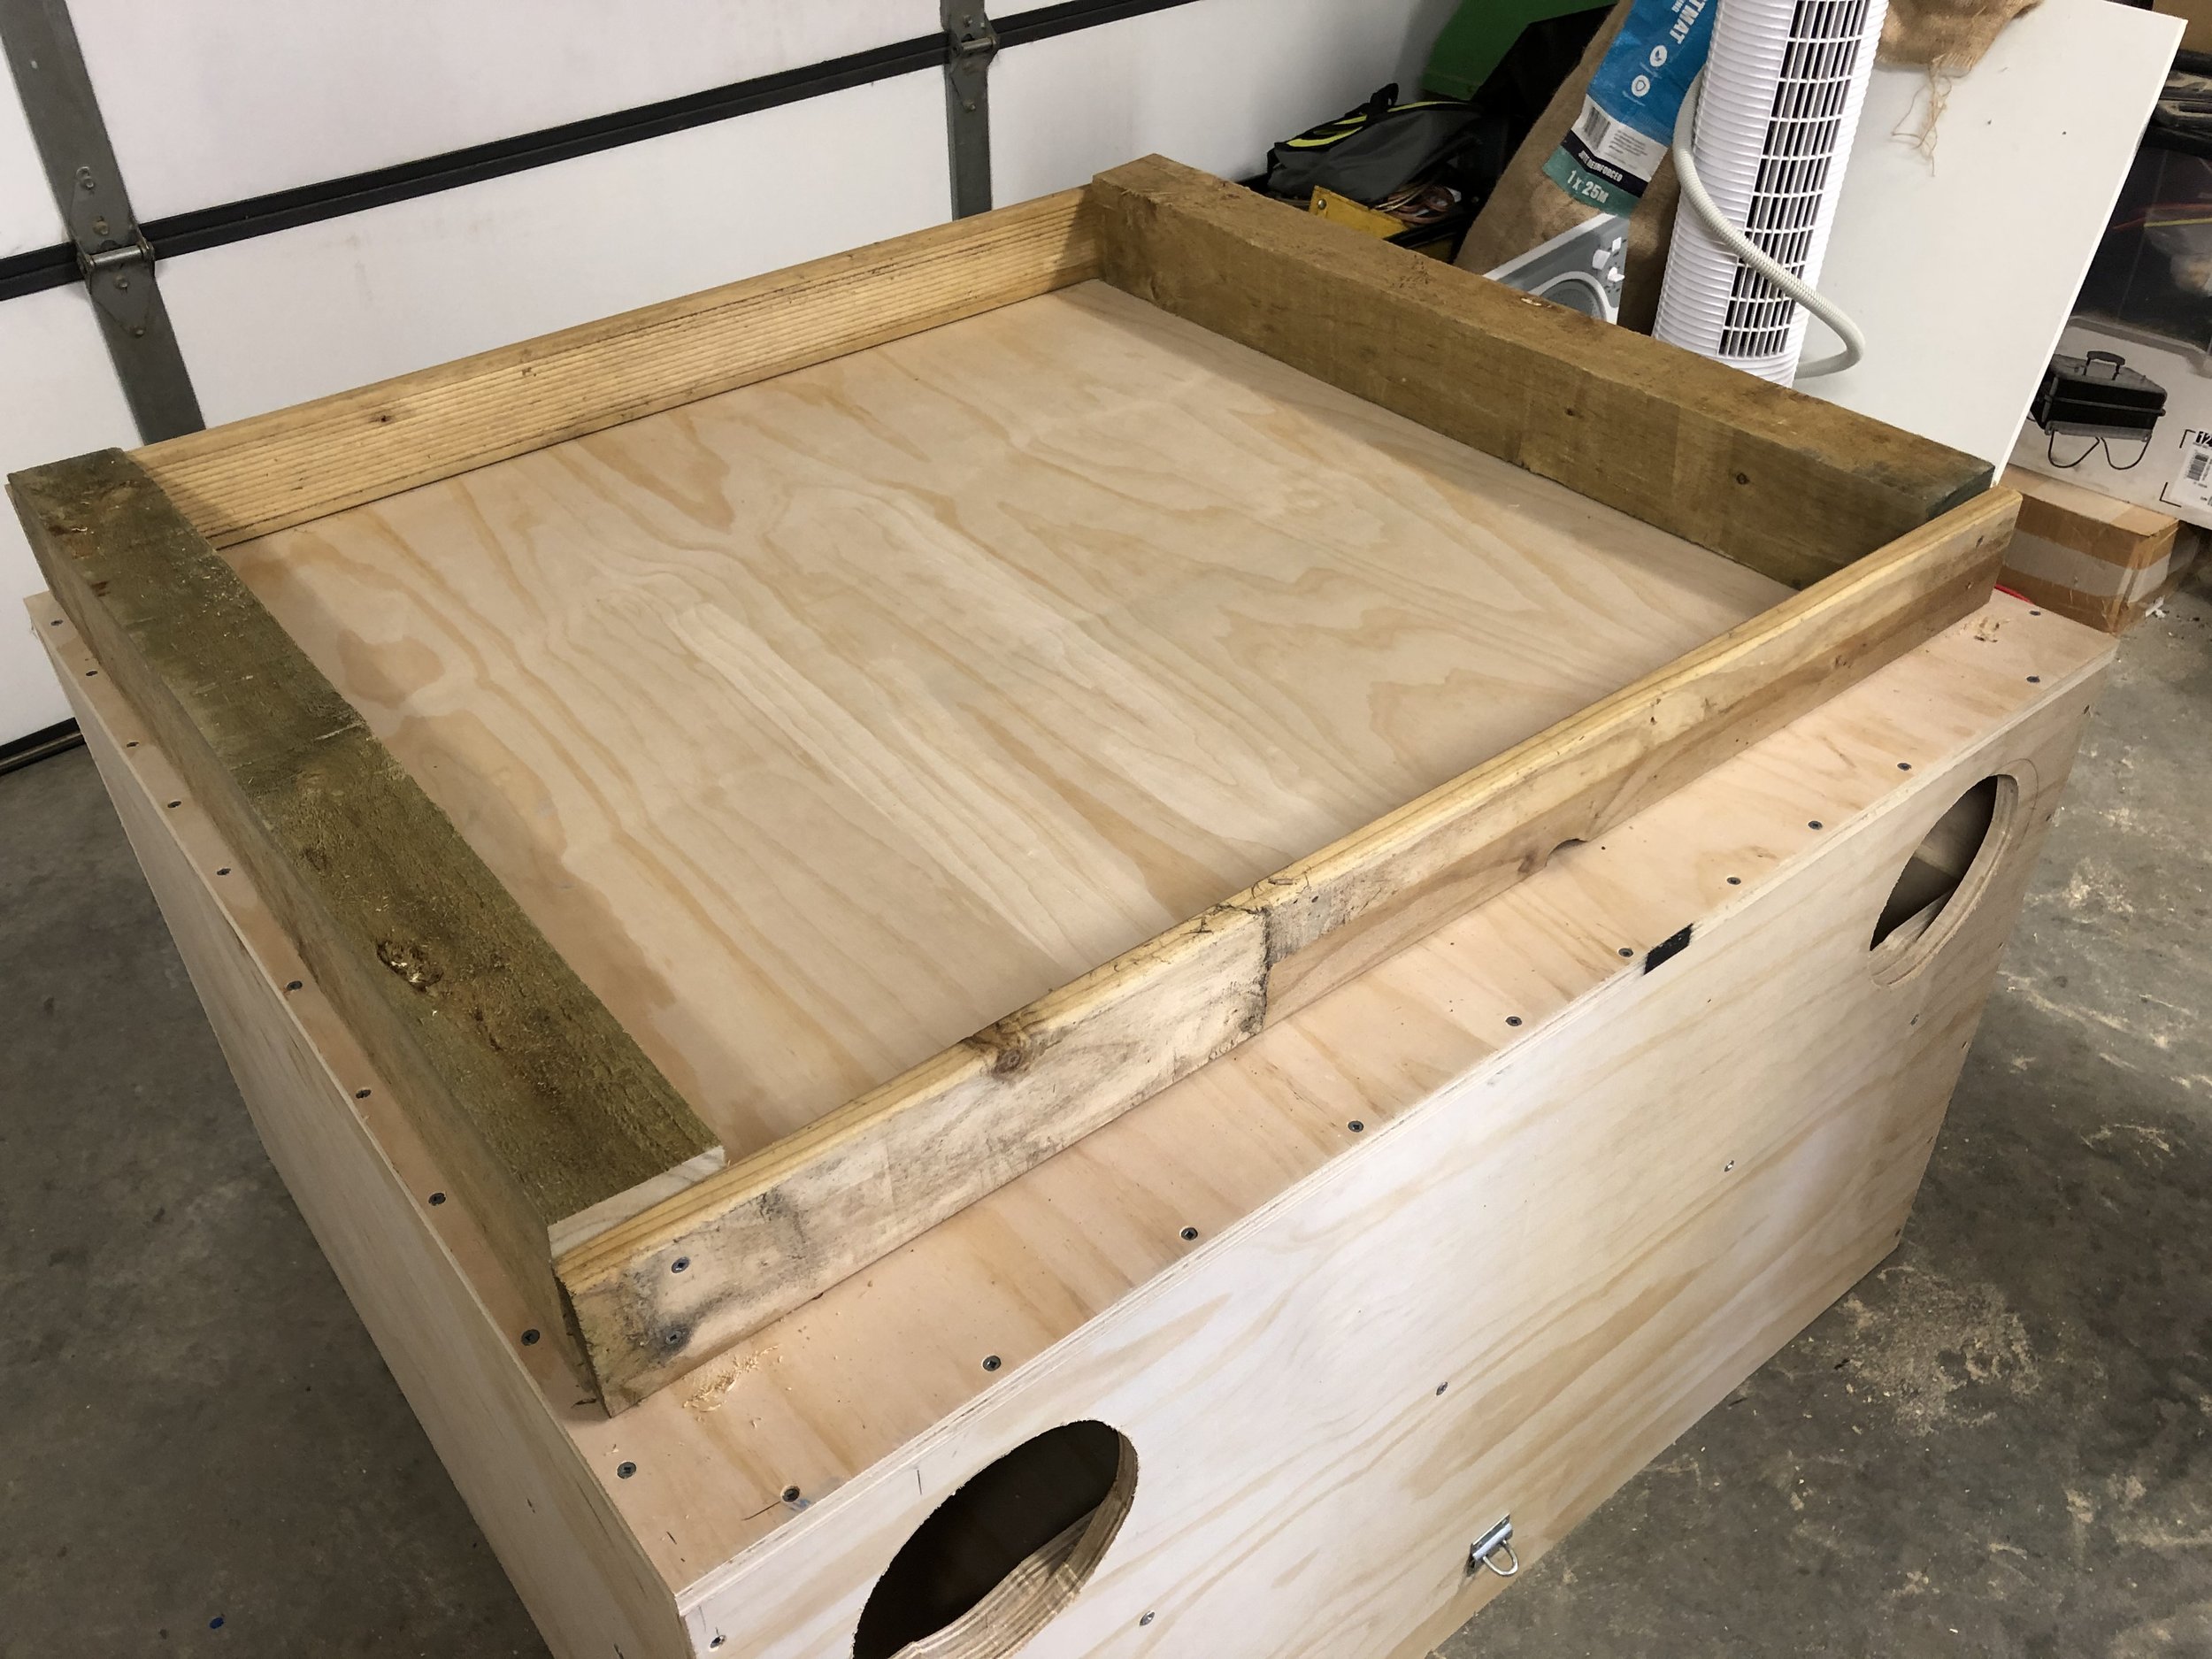
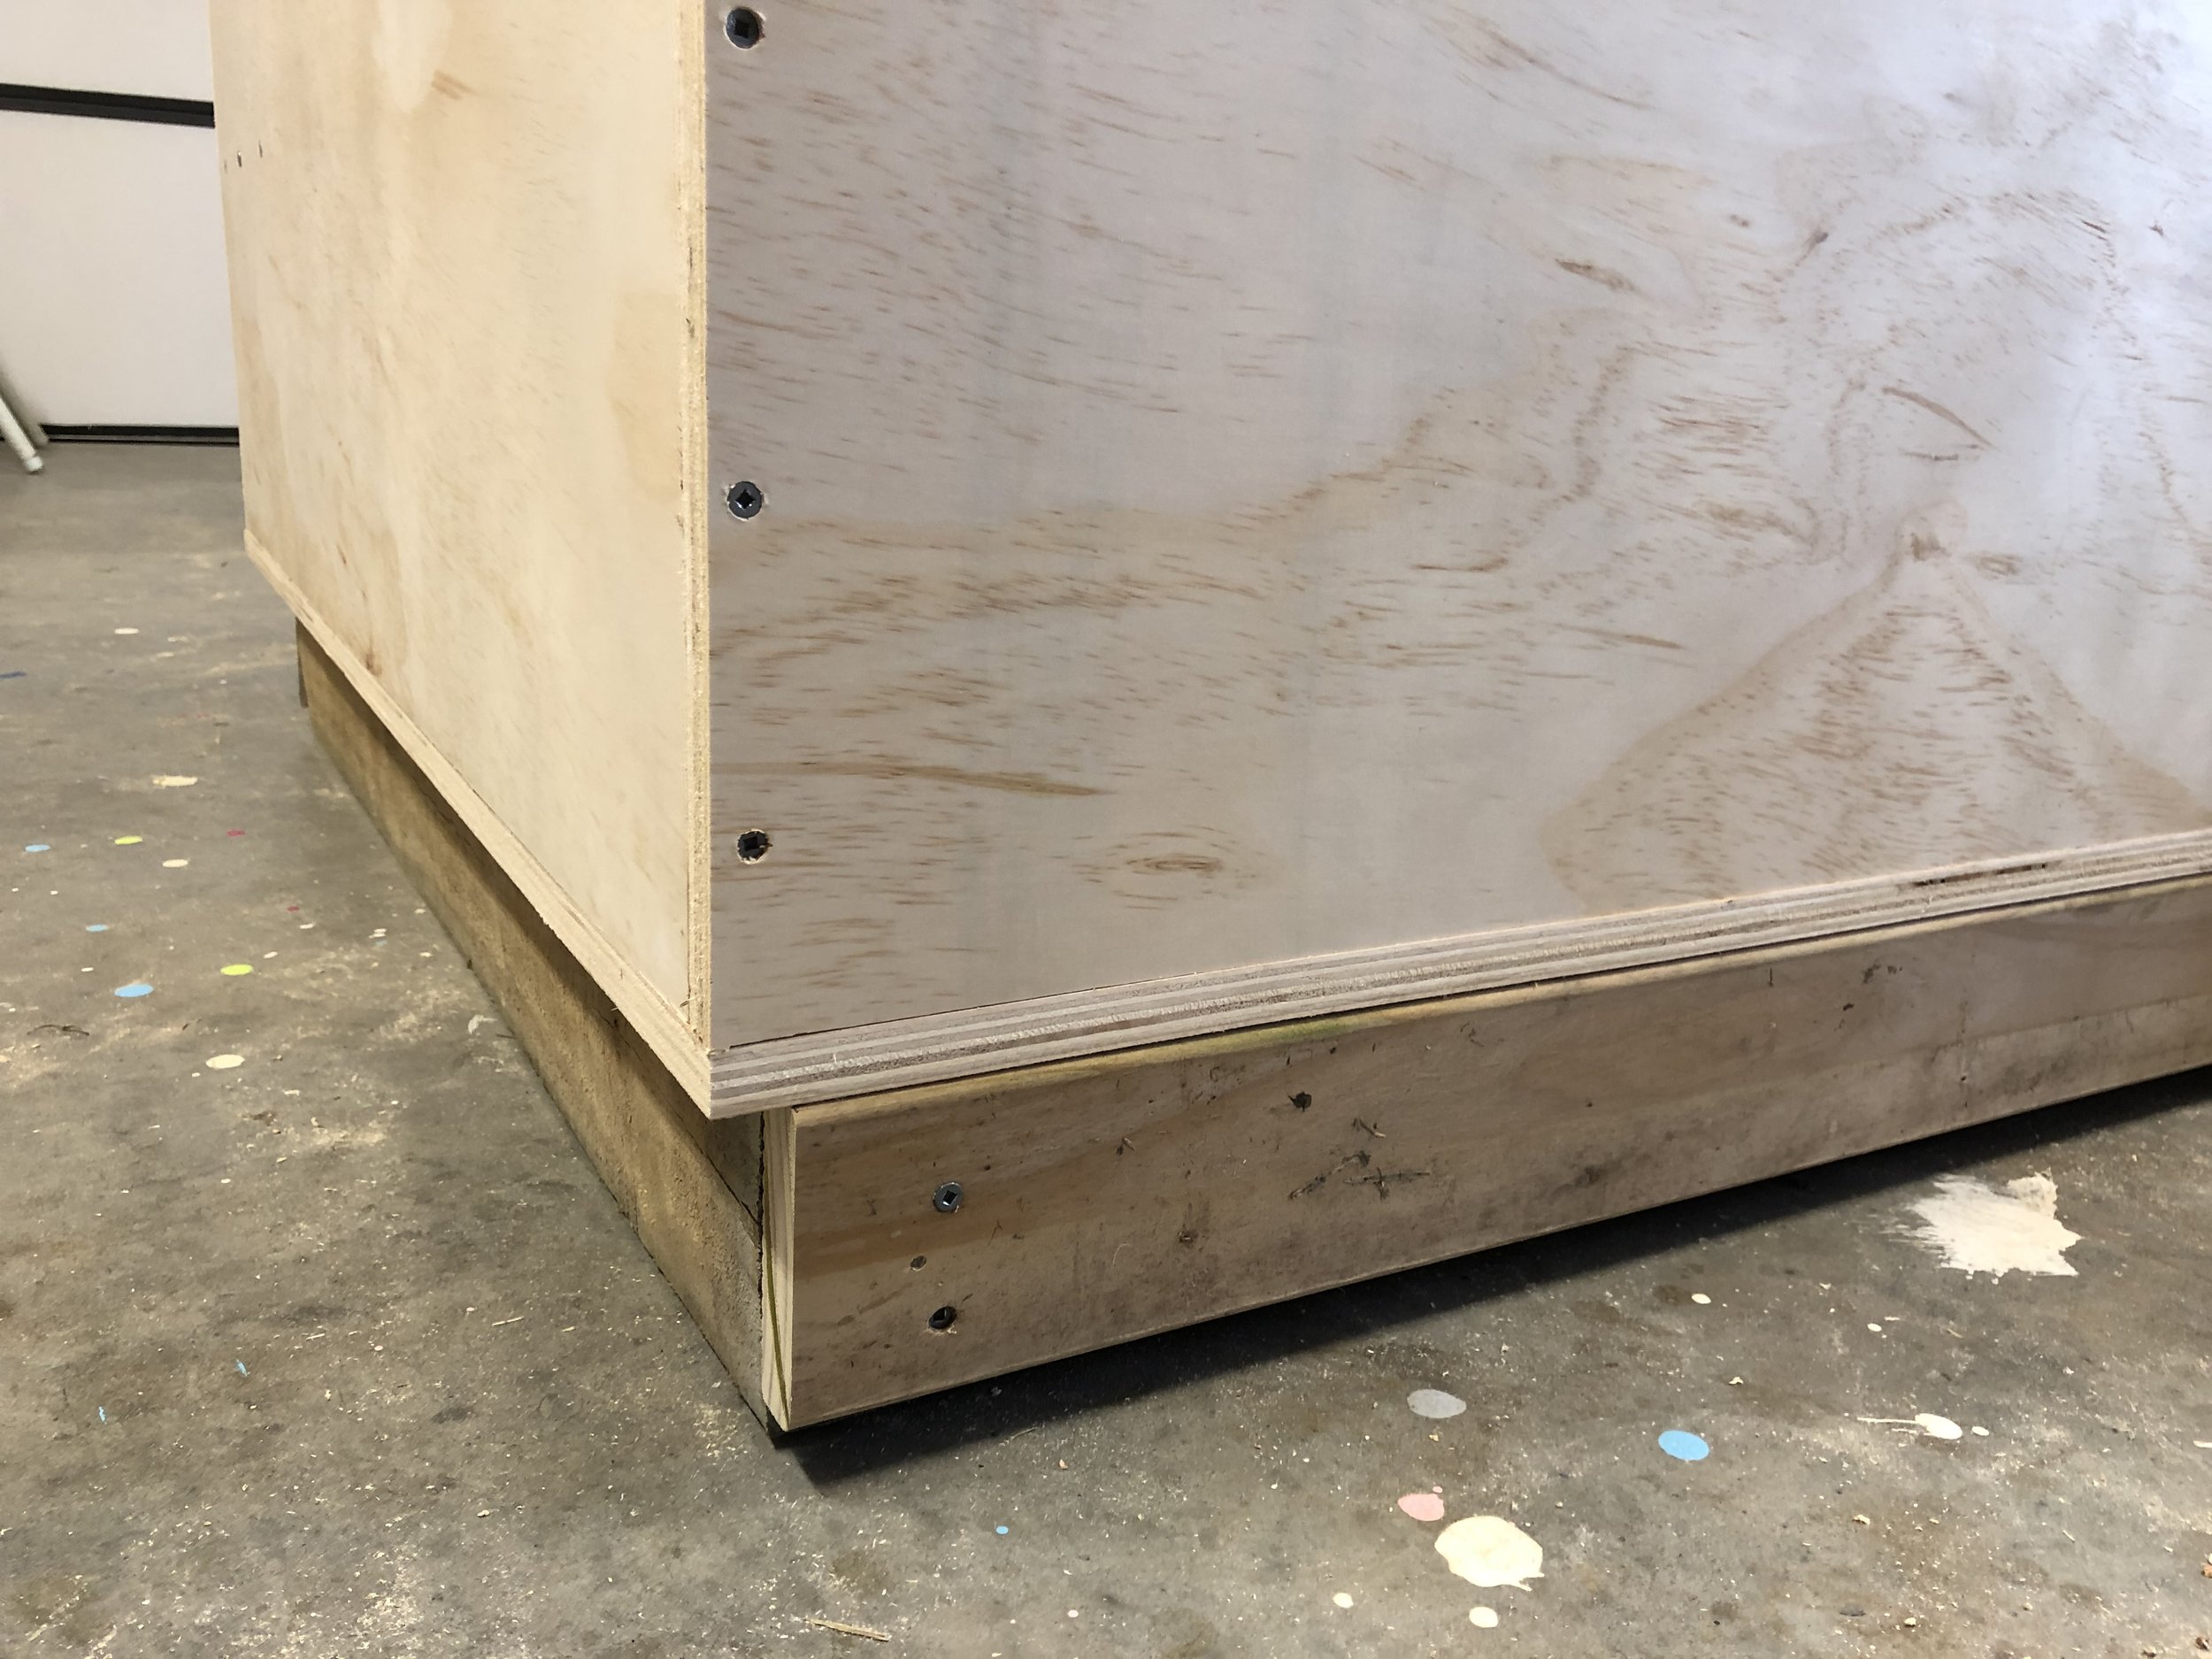
Adding Footing or Skids.
It is wise to elevate your Snuggle Box up off the ground to avoid it becoming damp inside. We’ve done this a couple of different ways.
If the Snuggle Box is inside the rabbit’s enclosure and is not on an elevated platform, I like to block off their access to underneath it. The reason for this is that a sick rabbit will ‘go to ground’ and getting a rabbit out from underneath a heavy Snuggle Box is not easy task.
If the Snuggle Box is outside the enclosure then a pair of skids will work fine.
You can use rough sawn 100mm x 100mm or 75mm x 100mm fence posts for this. We buy a 1.8m length and cut it in half, giving 2 x 90cm skids.
Place the SB on the skids and screw in down to the skids from inside the SB.
You can leave the front and back open or close them off to stop the buns squeezing under if they are small.
On one box we trimmed the ends at a 45 degree angle to help the skids slide if it will be moved. On another we used some scrap decking across the front and the back of the skids to stop rabbits from going under the SB.

This is the only waste that will be left over after you have built your Snuggle box!
THE TOOLS NEEDED TO BUILD THE SNUGGLE BOX
30cm ruler
Tape Measure
Screw Driver - Manual or Powered.
Pencil
Saw - Skilsaw or Handsaw
Clamps x 2
Drill - Hand or Powered
Drill bits - 2.5mm for pilot holes and appropriate size for the bolts used.
Screws
- about 100 x 35mm
- 40mm screws (for box assembly)
- 20 x 25mm screws (for shelf supports)
- screws for the Catch. They will often come with their own screws.
Jigsaw for round door holes / Skilsaw or manual saw for rectangular door holes.
‘Pattern’ for round door hole
Hinges
Countersunk Bolts, washers and Nylock Locknuts for attaching hinges
Hasp and Staple to secure the roof to the front.
Sand paper
Paint, Mini roller and paintbrush.
Tea, Coffee, Beer, Wine etc to help keep you sane!